I sure hope everyone managed to have an awesome celebration with the kids on Friday. For me, we were out the whole day strolling, eating, catching up with friends, learning about puppets and watching the delightful Very Hungry Caterpillar production.
Anyway, last week, I was racking my brain over what presents to get for the girls. For obvious reasons, I wanted something that was handmade, something that they would adore and yet something that wouldn't cost more than a dime. So, I finally had the motivation to do something that I have been wanting to do in a long, long time - DIY stuffed animals!
I'm sure many of us have heard of sock and glove stuffed animals, so I was contemplating doing either of that and started to rummage through their old clothes for something that would fit the bill. While I couldn't find an old pair of socks with a design or color that was suitable, I chanced upon some pairs of tights and thought, why not make the most of these?
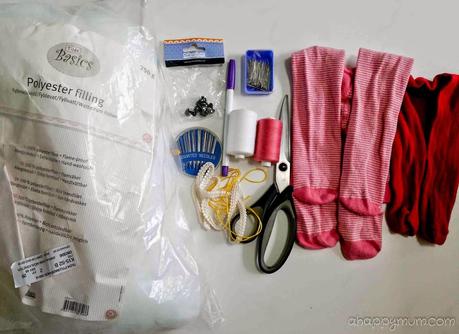 What I used for Angel's stuffed animal:
1) Polyester filling
2) Black shank buttons for the eyes
3) Embroidery thread
4) Vanishing fabric marker
5) Needle, pins and thread
6) Scissors
7) Old pair of tights
8) Ribbon
I have to first tell you that I am not skilled in sewing and I basically cut out shapes and sew in any manner I deem fit. Well, the fact that these animals are handsewn stitch by stitch and not very professionally done just make them all the more sincere and endearing, right?
For Angel, I once asked her on what animal she would like if I were to make her a stuffed toy and her answer was not surprisingly "A rabbit". So I wanted to make a sweet little bunny for her which I thought would look great in this pair of pink, striped tights.
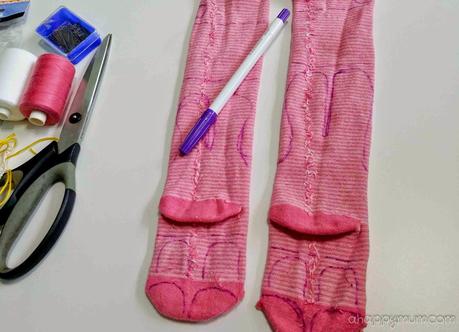 Firstly, I turned the tights the wrong side out and used the marker to draw out the rabbit's head, ears, body, feet and tail. As you can see, by cutting a straight line just below the heel portion, it would make a perfect piece for the chin and neck of the rabbit. (For a more professional tutorial on how to sew a single sock bunny, go here)
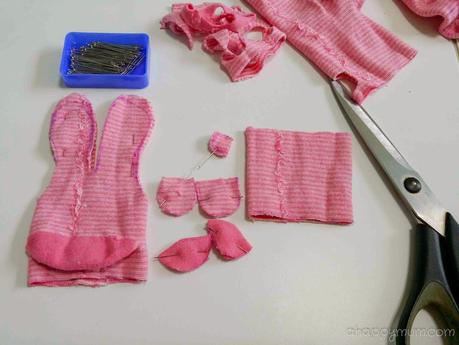
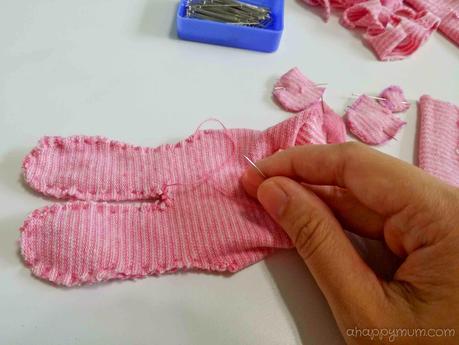 After I cut out the different parts, I used pins to hold them in place and started to stitch the pieces together one by one using a simple running stitch along the outline, leaving a seam allowance of around 3mm.
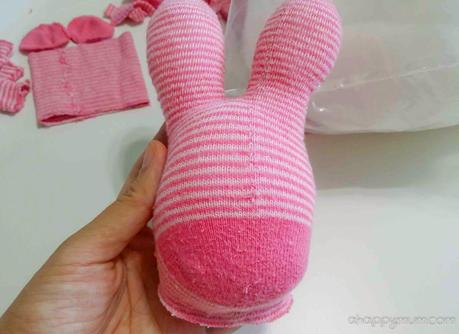
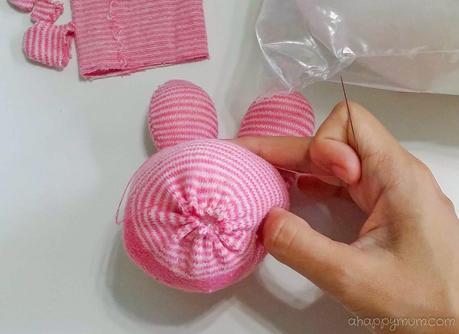 Next comes the fun part - stuffing! For the head, I left the bottom opened, turned it to the right side out, put in the stuffing and then closed the hole by running stitches near the edge and pulling it tight to secure. For the body, I left one end opened and stitched it to the head as shown below, whereas the other end was closed similar to the head. For the feet and tail, I left a small hole near the end when stitching, turned them to the right side out, inserted the stuffing and simply stitched them closed.
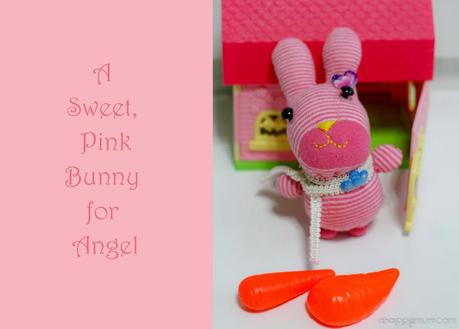
 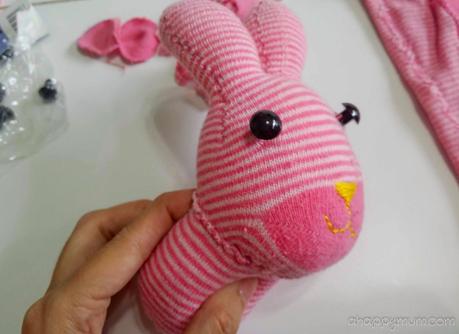 Then, I added the facial details using the shank buttons for the eyes and embroidery thread for the nose and mouth. Lastly, sew the remaining parts of the rabbit onto the body and you get a cute little rabbit! To conceal the stitches between the head and the body, I added a piece of ribbon to act as the scarf which is perfect for the born in winter Angel. She was so pleased with the bunny and immediately pasted some sticker hearts onto it, which of course, eventually fell off.
Look! How do you like our pink little bunny?
******
Initially, I wanted to make the same for Ariel since a rabbit only used up one side of the tights, but that would be just plain boring and unimaginative, right?
So I dug around a little more in the boxes of old clothes and suddenly, I had the perfect idea of what to make for my little one. It would be something huggable, cute and looking at it would remind us of all the happy moments we had when she was still a baby. Can you guess what animal we were going to make?
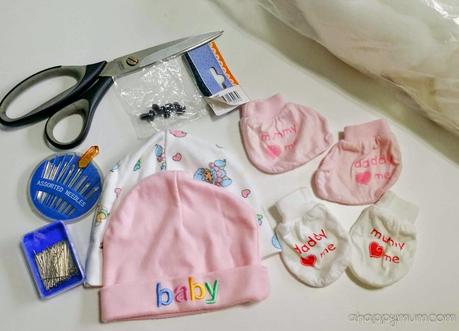 What I used for Ariel's stuffed animal:
1) Polyester filling
2) Needle and thread
3) Scissors
4) Buttons for the eyes (in the end, I used round buttons instead of shank buttons for this)
5) Hat, mittens and booties
I must say this was really done in the spur of the moment but the amazing thing about creativity is that you never know when it might hit you. When it does and you achieve more than you had planned for, that sense of accomplishment is gratifying.
Anyway, I spent five hours making the two animals and by the time I finished one, the kids had woken up from their naps and were all ready to help. Or mess up. Depending on how optimistic you are.
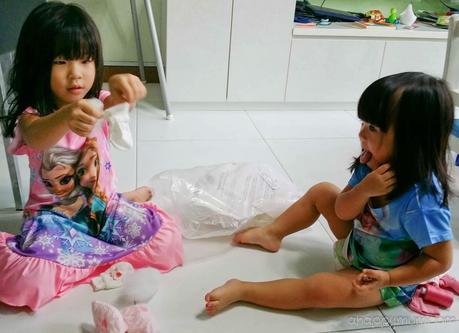 Well, initially they were really thrilled to be allocated the job of stuffing and that was until they discovered how fluffy and fun polyester filling can be. So at one point, my living room was filled with bits of filling flying and floating around, before they decided to take a break and attempted to use the tiny mittens as hand puppets.
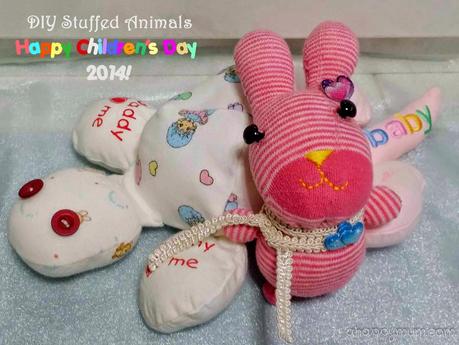
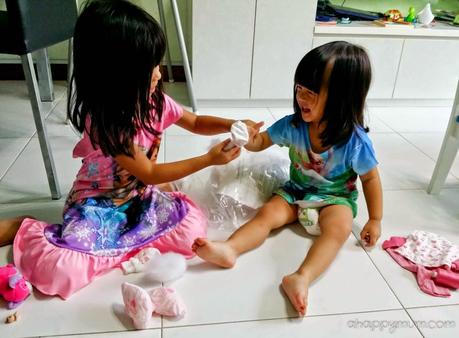 For this second animal which was much more easier to put together, I started with the body which was made using the hat. Firstly, turn the wrong side out, stitch the opening and leave a hole to turn it the right side out, then put in the stuffing and stitch it closed.
Next, I stuffed a pair of mittens and sewed them onto the bottom of body, making them act as the front legs. Isn't it great that I could recycle these adorable mittens that say "Daddy loves me" and "Mummy loves me"? Makes the gift speak so much of love, don't you agree?
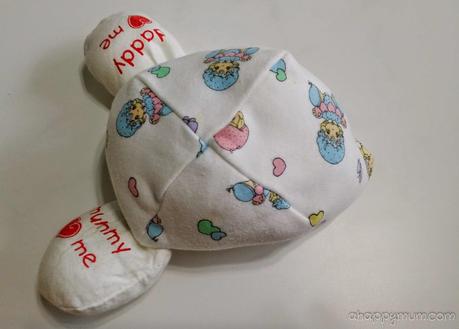 After that, I did the same for a pair of booties and stitched them onto the body to act as the hind legs. Pretty sure you know by now what animal we are talking about, right?
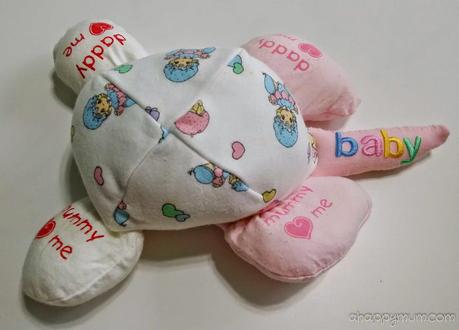 For the tail, I used two triangular pieces of cloth which were cut out from another hat. I thought it would be pretty neat for it to have the word "Baby" on it.
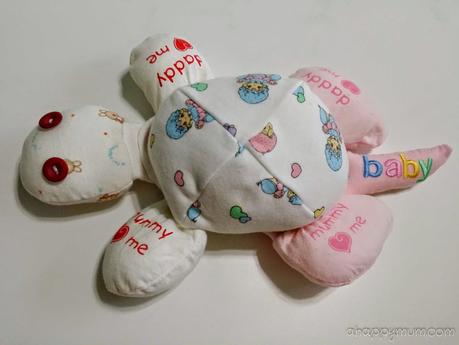 For the head, I used a mitten of another design and sewed on round buttons for the eyes. Stitch the head and tail onto the body and yes, we are done!!
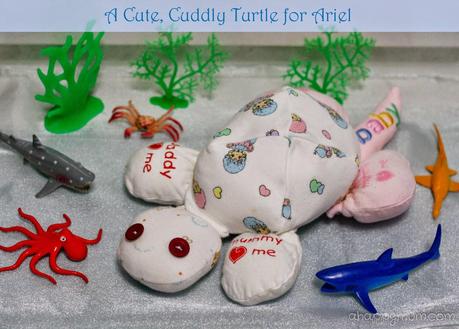
How do you like our soft, lovable turtle?
******
You know, I didn't expect the kids to love their presents this much but they do love them to bits. Nowadays, they will hug their newfound animal friends to sleep and would plant sweet kisses on them now and then.
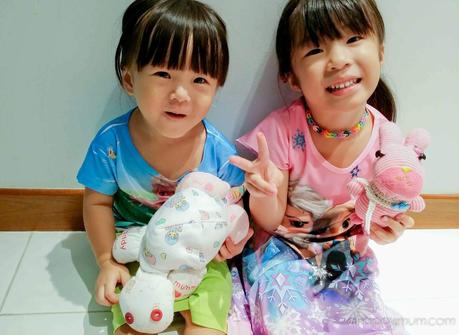 Why, they even insisted on bringing them out when we went out for dinner or made a trip to the playground.
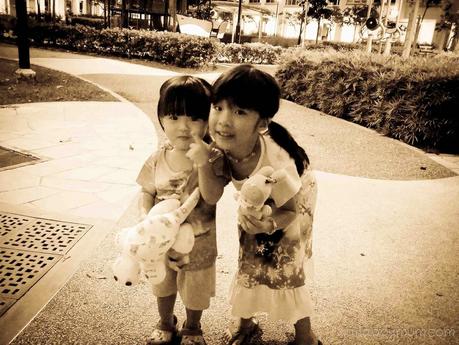
Well, even if this love only continues for a few days or few weeks more, I'm already more than contented to see the joy and happy faces that these simple, handmade gifts have brought about.
 It's not just the part about these gifts not costing me a cent since I had all the supplies at home, it's more of the fact that they are made using the girls' old clothing - can you smell that newborn baby scent? - that deeply warms my heart.
 Made of memories, filled with love. Happy Children's Day 2014, my dears!
******
 <a href="http://www.ahappymum.com/search/label/Creativity%20521"><img src="https://lh5.googleusercontent.com/-FA3rgSeuQWo/T_K49p08YZI/AAAAAAAAJTY/AxV0r9kjU_c/s150/Creativity%2520521%2520button.jpg" alt="new button" width="125" height="125" /></a>
To fellow bloggers who have a fun craft session, DIY tip or creative idea to share, come join in the party! Highlight and press Ctrl + C to copy my button above, include it in your post/sidebar and add your link below. I will be hosting Creativity 521 on the 5th and 21st of every month, do hop over for more inspiration. Remember: The sky's the limit when it comes to creativity!


