We were looking through our stash of craft supplies at home and found some things that would make simple and pretty accessories for the girls - DIY Rainbow flower crowns.
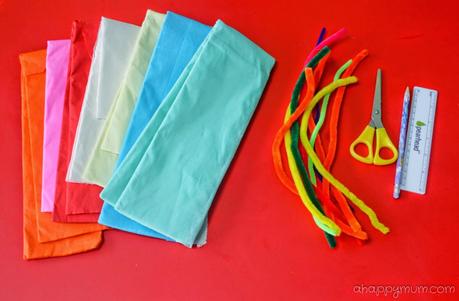 Materials:
1) Crepe paper
2) Pipe cleaners
3) Scissors
4) Pencil and ruler
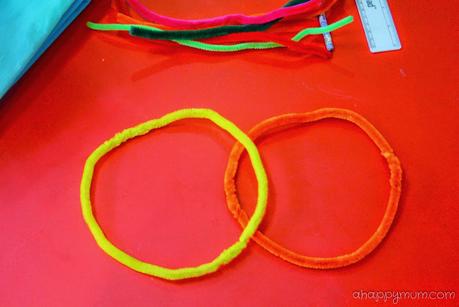
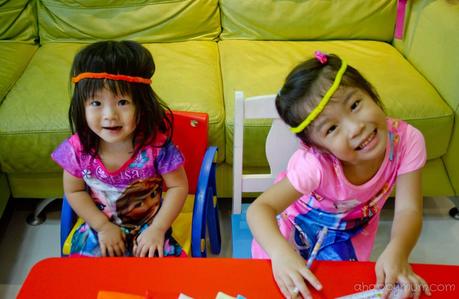
Firstly, join two or more pipe cleaners to form a ring that fits the head perfectly.
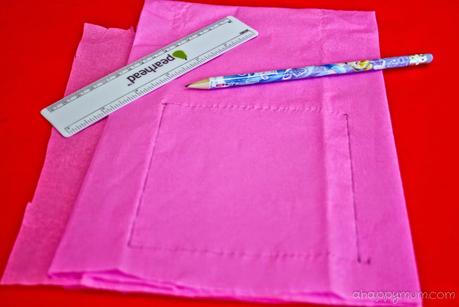
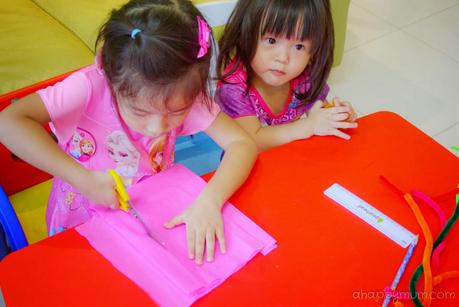
Next, fold the crepe paper such that it forms six layers and draw a 4.5" x 4.5" square on the top. Pressing the layers together, cut them neatly to form six squares. I used 3" x 3" squares for Ariel's crown and personally, I prefer the smaller flowers because they look more dainty.
Tip: The layers might start to separate halfway through the cutting so to make it easier for the child, you can ask him/her to rest the crepe paper on the table and use it as a support while cutting. Be extra careful when turning at the corners.
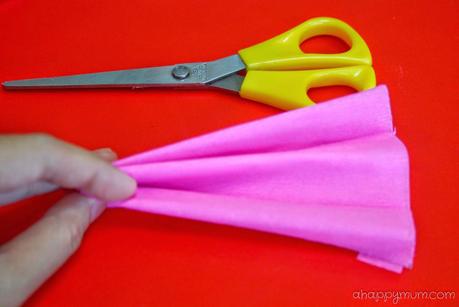 After that, while making sure the layers are neatly on top of each other, make three accordion folds to form six sides as shown.
 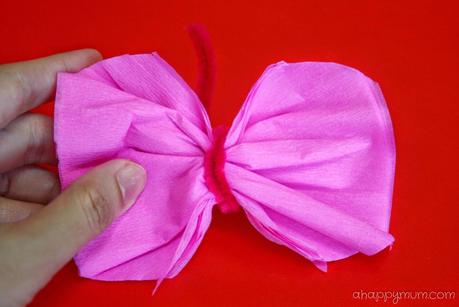 Cut a pipe cleaner into half and use one of it to securely the middle, leaving a tail at the end. Open up to flatten the sides and round the edges. You can even cut petal like shapes if you prefer.
Tip: It does not matter if the crepe paper gets a little torn or move out of place. Flowers are not supposed to be too neat or perfect looking too!
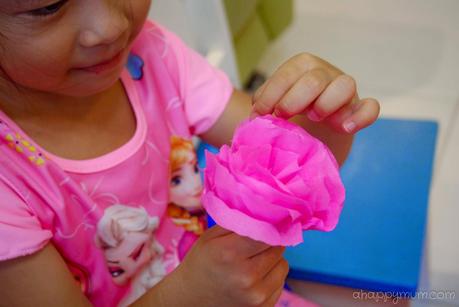 Fold the sides together to form a V-shape and start separating the layers one by one. I find that this step really helps to train up patience, something that my girl can definitely do more of!
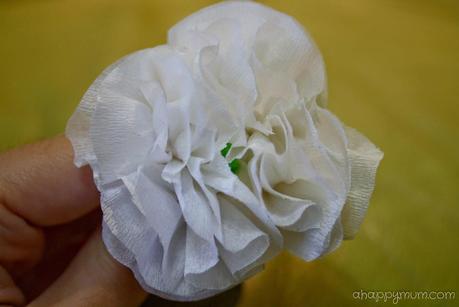 Adjust the petals and final look of the flower till you are satisfied. Tighten the pipe cleaner and give it some additional twists below the flower to hold the shape in place.
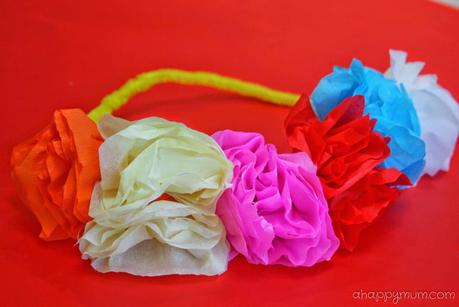 Repeat the steps using a different coloured crepe paper until you achieve your desired number of flowers. Attach the flowers to the ring using the loose ends of the pipe cleaners, ensuring that there are no sharp ends sticking out.
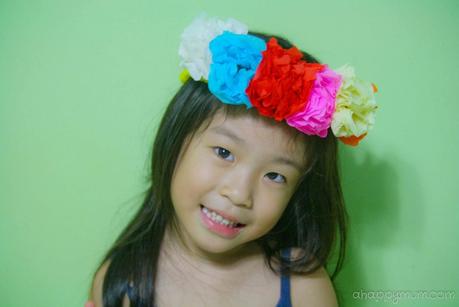 Voila! We are all done! =) You know, I was the first to try on the flower crown and I looked a tad silly in it. Then Angel put it on and I thought she rocked it. Oh well. The most important thing is that she loves wearing it!
 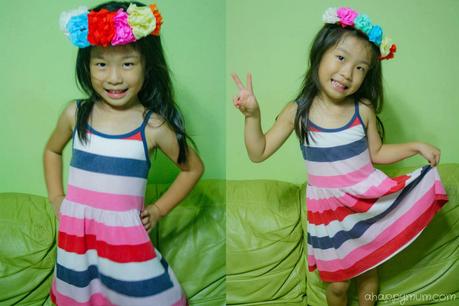 Yay! Now we have flower crowns for the girls that didn't cost us a cent!
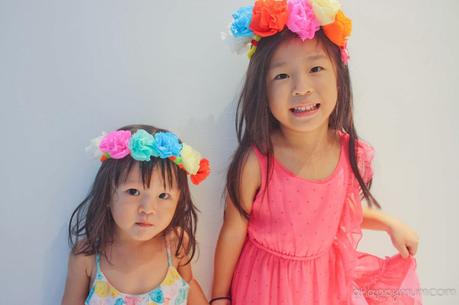 I love the bright, colourful flowers because they remind me of summer, joy, positivity and all the simple but beautiful things in life.Things that we sometimes take for granted.
******
 <a href="http://www.ahappymum.com/search/label/Creativity%20521"><img src="https://lh5.googleusercontent.com/-FA3rgSeuQWo/T_K49p08YZI/AAAAAAAAJTY/AxV0r9kjU_c/s150/Creativity%2520521%2520button.jpg" alt="new button" width="125" height="125" /></a>
To fellow bloggers who have a fun craft session, DIY tip or creative idea to share, come join in the party! Highlight and press Ctrl + C to copy my button above, include it in your post/sidebar and add your link below. I will be hosting Creativity 521 on the 5th and 21st of every month, do hop over for more inspiration. Remember: The sky's the limit when it comes to creativity!


