That being said, there are occasions when even though I don't mind not receiving flowers, I actually feel like giving them. Of course, Mother's Day is one of them.
My mom is pretty much like me - simple, practical and appreciative. So, instead of giving her a big bouquet of flowers, I decided to give her just three stalks to symbolise "I love you" and since these flowers speak much of elegance, grace and pure love, I wanted to make DIY felt tulips.
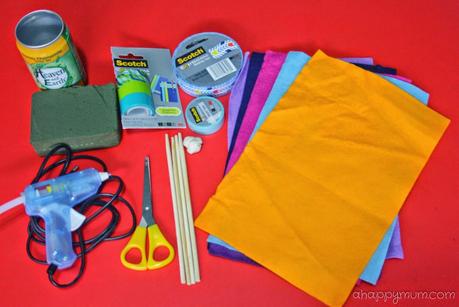 Materials I used:
1) Felt (in colours of your choice)
2) 3M Scotch Expressions Masking, Magic and Washi Tapes
3) Empty can, lid removed
4) Floral foam
5) Wooden chopsticks
6) White Blu-tack
7) Hot glue
8) Scissors
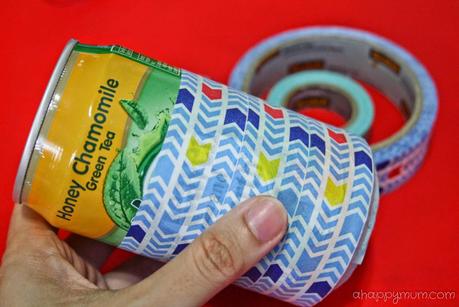 Firstly, I used the Scotch Expressions Masking Tape to wrap around the can. It holds securely to most surfaces and if you find it a little translucent, make it double-layered or add a white masking tape as a base.
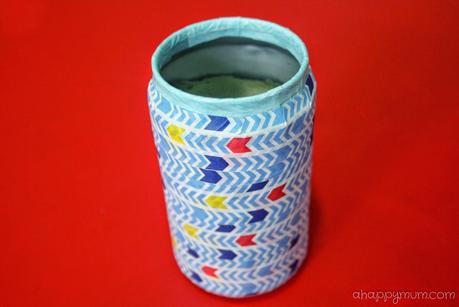 For variety, I also pasted some Washi Tape near the top and bottom of the can. You can use small strips and stick them vertically or use a long strip to stick horizontally near the rim, then make slits at intervals and push the tape inwards. Make sure there are no sharp edges to be safe.
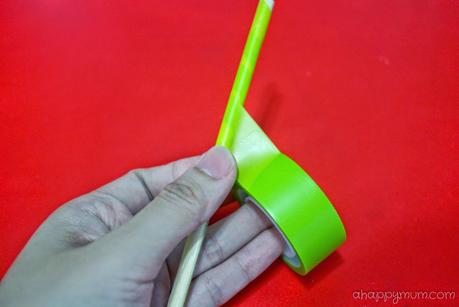 Next, I used a lime green Scotch Expressions Magic Tape to wrap diagonally around the chopsticks, forming the stalks. I really loved this colour!
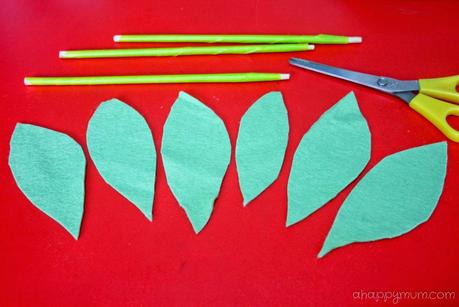 To form the leaves, cut out the shapes from a piece of green felt. They do not have to be equal in size or perfect in shape. You can have one or two leaves for each flower, depending on your final arrangement.
 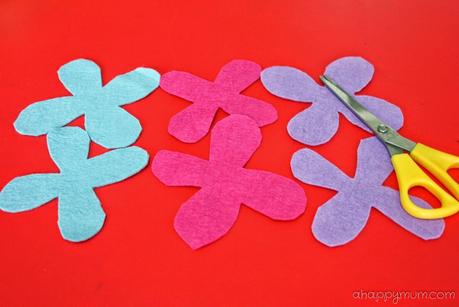 For the flowers, cut out two flower shapes with four petals from each color of felt that you have chosen. They do not have to be symmetrical and for every pair, one flower shape has to be slightly bigger than the other.
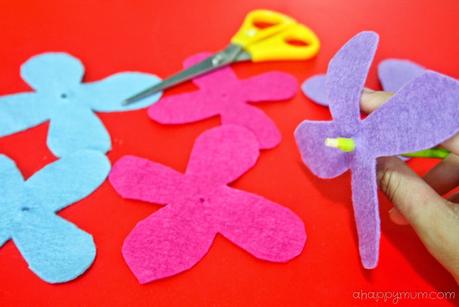 Now comes the fun part! It's time to poke, glue and stick! Using one end of the scissors, poke a small hole in the center of every flower shape, making sure that the stalk can fit into it.
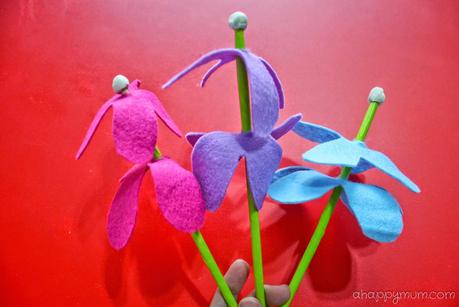 For each pair of flower shapes, insert the bigger shape, then the smaller one onto each stalk and put a small ball of white Blu-tack at the tip to act as a stopper and the flower bud.
 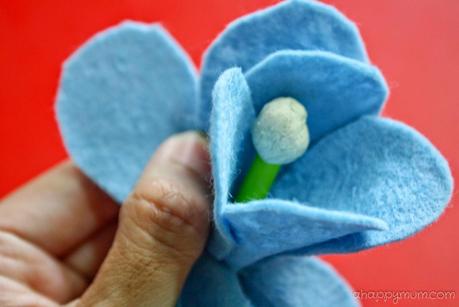 Starting from the inner layer, which is the smaller flower shape, apply a litte hot glue at the side of each petal, overlap it a little with the next one and glue them together. Repeat until you finish one round and form a nice-looking flower.
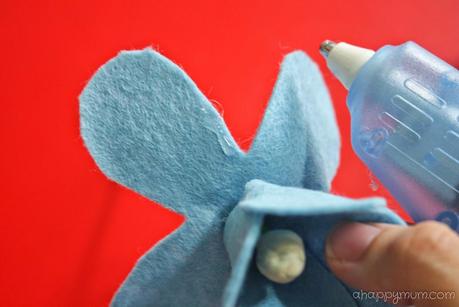 Remember that the glue and tip of the glue gun can get pretty hot so if you have kids running around the house like I do, make sure they stay away. I love that hot glue is easy to use, dries almost instantly and is very lasting. All you need is just a little because it really goes a long way.
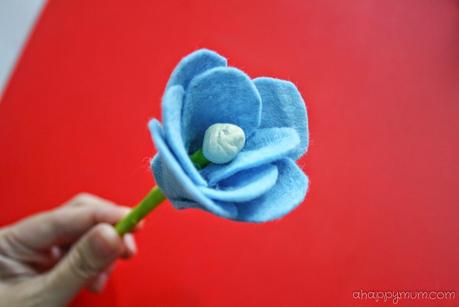 Do the same for the outer layer. To make the petals stay in place, you can put a little glue at the bottom of the inner layer and stick it down to the outer layer, and also a little on the stalk near the base of the flower. This is how a finished tulip should look like.
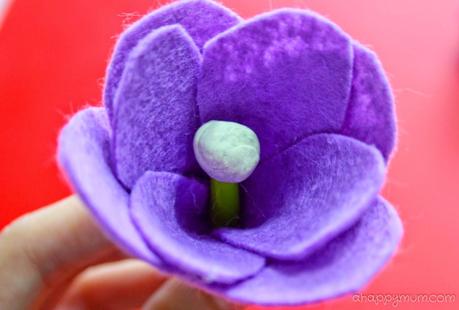 Now that you have gotten the hang of it, repeat the steps for the other flowers. To stick on the leaves, simply apply hot glue at one tip of a leave and secure it onto the stalk.
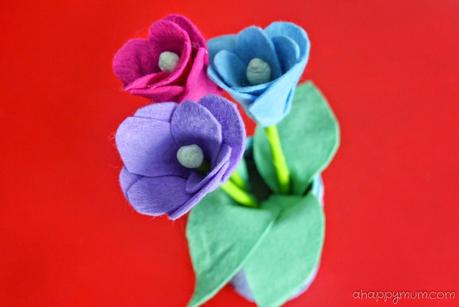 Put a piece of floral form inside the can, poke the ends of the tulips through the foam, arrange the flowers and leaves as you wish.
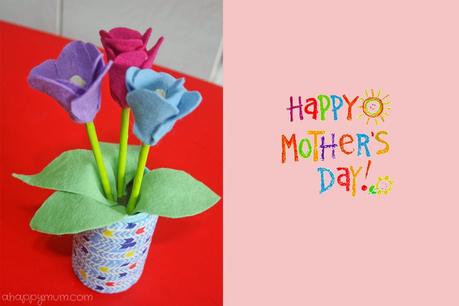 Viola! Here is the final look! I must say these tulips were pretty simple to make but I loved how they turned out in the end. I am hoping my mom will love this gift as much as I do too, I think she will, wouldn't she?
What are you giving to your mom this coming Mother's Day?
For more craft ideas and DIY tutorials, visit my gallery here.
Disclosure: We received the Scotch Expression Magic, Masking and Washi Tapes from 3M for experiment and loved using these bright and colourful adhesive tapes. All opinions, pictures and words are my own.
******
 <a href="http://www.ahappymum.com/search/label/Creativity%20521"><img src="https://lh5.googleusercontent.com/-FA3rgSeuQWo/T_K49p08YZI/AAAAAAAAJTY/AxV0r9kjU_c/s150/Creativity%2520521%2520button.jpg" alt="new button" width="125" height="125" /></a>
To fellow bloggers who have a fun craft session, DIY tip or creative idea to share, come join in the party! Highlight and press Ctrl + C to copy my button above, include it in your post/sidebar and add your link below. I will be hosting Creativity 521 on the 5th and 21st of every month, do hop over for more inspiration. Remember: The sky's the limit when it comes to creativity!


