Anyway, it's still on my mind that today is the 5th of December and since I have not missed a single post of Creativity 521 since it started over a year ago, I don't wish for it to happen now. In this last installment of Angel's Dora birthday party series, I am sharing with you on the fairly simple Hopscotch board we made.
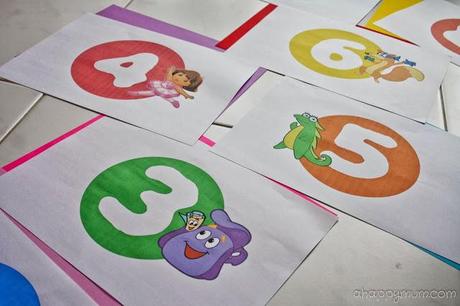 What we used:
For board,
1) Plain paper
2) Construction paper
3) Thick paper or cardboard
4) Colour printer
5) Plastic wrap (the kind used for covering books)
6) Sticky tape
7) Double sided tape
8) Scissors
9) Glue
For bean bag,
1) Cloth
2) Needle and thread
3) Dora picture
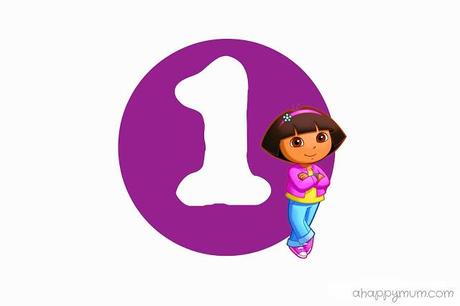 Firstly, since there are many variations of the hopscotch board, decide on your preferred layout and how many numbered rectangles you need. In my case, an A4 piece of paper fitted Angel's foot perfectly which saved me from lots of cutting.
You can use either Photoshop or even Powerpoint to create the above picture. I used the Circulate BRK font (here is how you can install new fonts on Windows) for the numbers and simply overlaid pictures of Dora and her friends. Do look for Portable Network Graphics (PNG) when you search for the pictures (type: Dora png, Boots png etc in Google images) because they are easily transferable and usually come without a background so you do not need to crop anything. All you have to do is save the pictures, insert and place them where you desire.
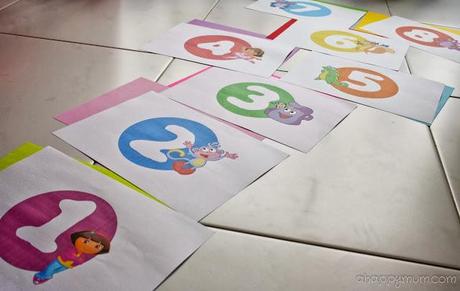 I wanted my hopscotch board to be as bright and colourful as can be so I chose different colours for each of the numbers and printed them out onto A4 plain paper. Next, I cut them out following the outline of the pictures and the numbers and glued them onto construction paper.
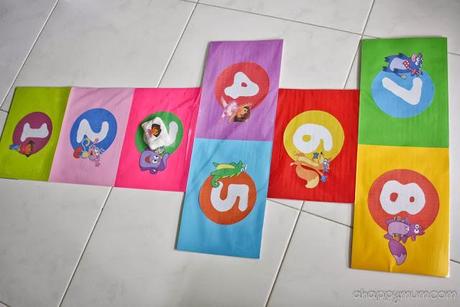 After that, I stuck the back of the papers together using sticky tape so that they form the layout I wanted. Since it felt a little flimsy, it was then I decided to add a piece of thick A4 paper behind every construction paper, using double sided tape to secure them. Make sure that the thick paper lies neatly under the construction paper, once you have the first piece done, it becomes easier to arrange the rest side by side.
In addition, I did not want this board to be a one-off thing so I decided to protect it by wrapping it with a plastic wrap. Cut the plastic at the edges, fold them to the back and secure them with sticky tape. It doesn't matter if it is not very neat at the back! One good thing about plastic wrap is that the kids can even wear shoes to play the game outdoors because it is so easy to clean up after.
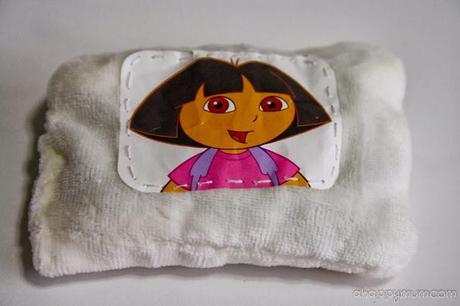 Lastly, I also made a simple bean bag simply by taking two pieces of cloth, tacking all around and filling it up with green beans. Just to let it follow the theme, I also tacked a Dora picture at the front.
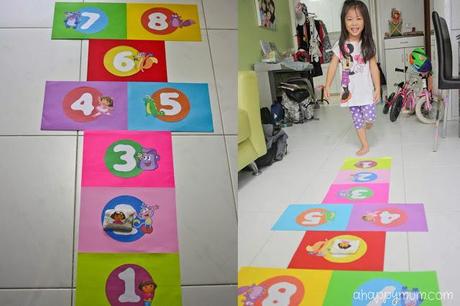
There! A really simple DIY hopscotch board, don't you think so? Oh, because we used individual papers underneath, the board folds up easily and can be stored away until you, or your kid, decide to play it again. Now, you can make any character themed hopscotch board for a party game! Have fun doing and hopping!
******
 <a href="http://www.ahappymum.com/search/label/Creativity%20521"><img src="https://lh5.googleusercontent.com/-FA3rgSeuQWo/T_K49p08YZI/AAAAAAAAJTY/AxV0r9kjU_c/s150/Creativity%2520521%2520button.jpg" alt="new button" width="125" height="125" /></a>
To fellow bloggers who have a fun craft session, DIY tip or creative idea to share, come join in the party! Highlight and press Ctrl + C to copy my button above, include it in your post/sidebar and add your link below. I will be hosting Creativity 521 on the 5th and 21st of every month, do hop over for more inspiration. Remember: The sky's the limit when it comes to creativity!


