After all these years, I still feel that handmade gifts are better than store bought ones. They can be very simple and might not cost much, but because they speak volumes of sincerity and are handcrafted by the kids themselves, that makes these gifts truly unique and priceless.
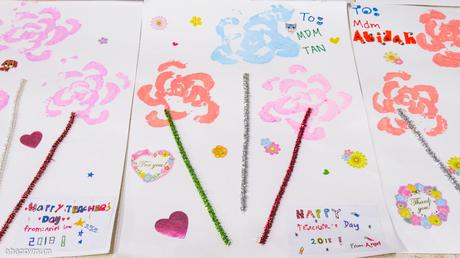
Here's sharing what we did this year - Celery stamped flowers - and though they might look really simple to do, it took us a few weeks for all of the three kids to complete everything together and I'm so glad we made it in time!
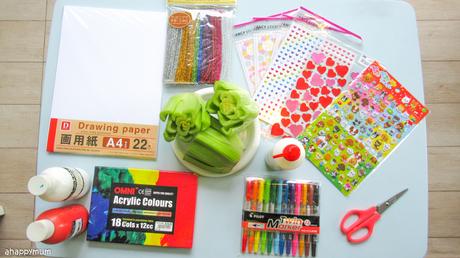
Materials used:
- Celery
- Acrylic paint
- A4 sized drawing paper
- Pipe cleaners
- Colour markers
- Scissors
- Glue
- Stickers for decoration
We started off with the stamping as this was presumably the most fun part for the kids. Yup, and the messiest part for me. But hey, what's a few minutes of cleaning up compared to hours of fun and possibly memories to last for a lifetime?
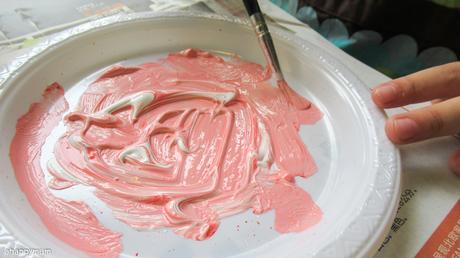
The kids chose their desired acrylic paint colours and to make the colours more vivid and to have some shades of white too, we added some white paint and deliberately didn't mix it too thoroughly.
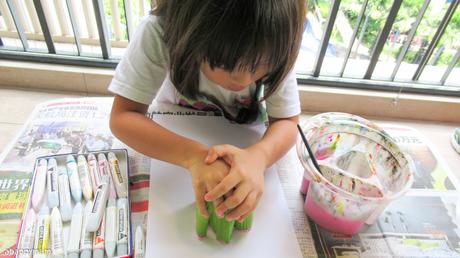
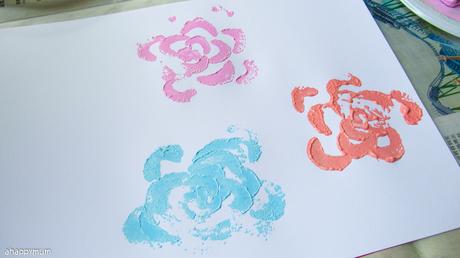
Using the bottoms of the celery, start stamping away! When cutting the bottom part of the celery, leave enough of it to make sure that the stalks part can be clearly seen. Also, cut as straight and as flat as you can so that the stamp can be seen clearly later on.
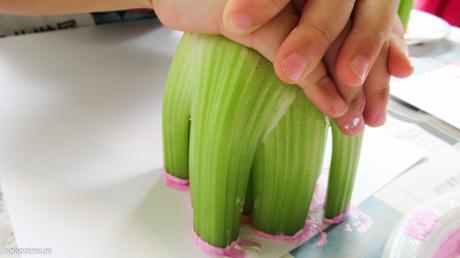
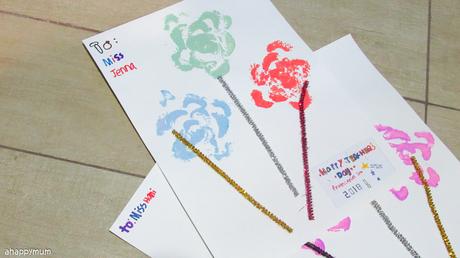
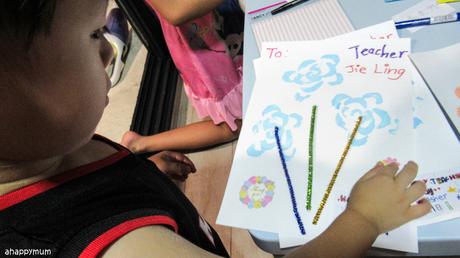
Stamp three flowers close to each other as shown on a piece of drawing paper. Make sure that the stamps stay within the paper as the bottom are huge and it can be quite hard for the kids to gauge on their own. Let them decide if they want to have three flowers of the same color or vary them.
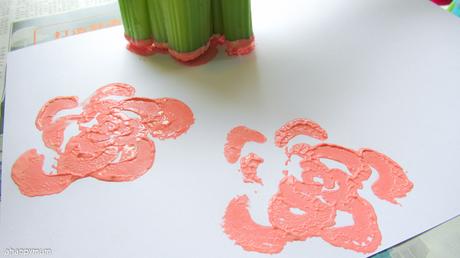
The easiest way to get paint onto the celery stalk is to dip it into the paint on a plate as shown below. I find that even though some parts of the paint might be thicker than the rest or even form some small clumps, it gives the flowers more depth and a 3-dimensional feel too, so we just let them be.
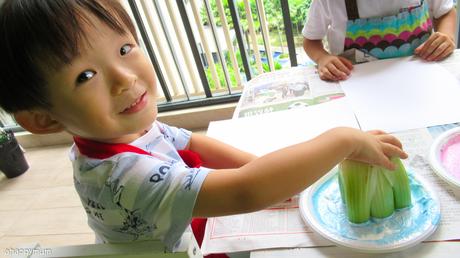
Keep on stamping and mixing the paint and stamping again till you have done enough cards! We did over 30 (*gasp* quite a lot, I know!) because we wanted to present the cards to all the teachers in their schools, art class and Heguru too.
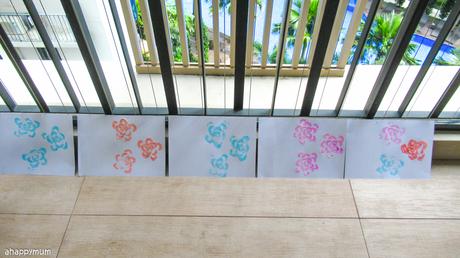
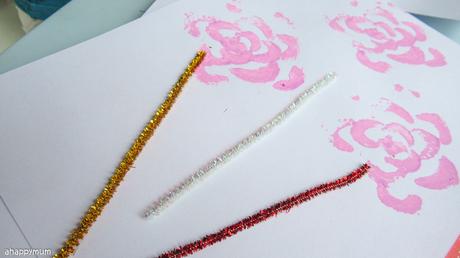
Allow the paint to dry up and once done, the next part is to add in the stalks!
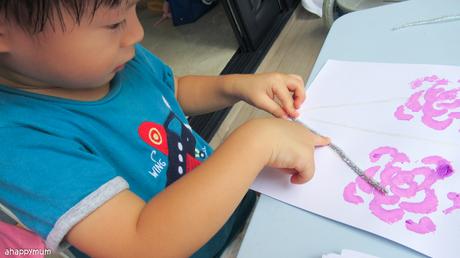
We used pipe cleaners for this and if you have a strong glue that can stick them onto paper and hold well, please do. If not, I find that double sized tape works well for us too. What I did was to cut the tape into thin strips and then let the kids paste and peel them off themselves.
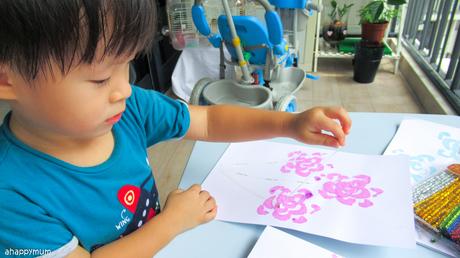
They also chose the colours of and picked out the pipe cleaners themselves, followed by pasting them accordingly to form the stalks.
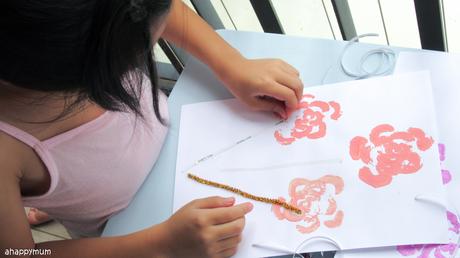
Now, what's a card without a personalised message, right?
I wanted the girls to design and write their own "Happy Teacher's Day" and sign off with their names. However, in considering that this might take ages if we were to write it over 30 times, I did a shortcut method whereby I let them design one message on a A5 paper, then proceed to scan it, shrink it to fit and then print it out in color. Haha, smart or not? Well, at least every card is still 'written' by them, right?
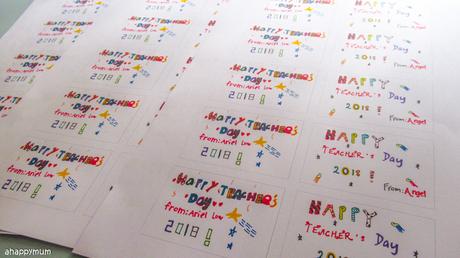
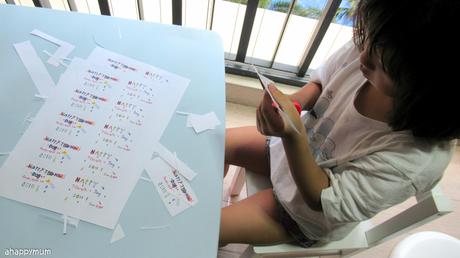
Next comes the tedious but necessary part of cutting and pasting the messages onto the cards. While the 5yo took charge of the cutting, the 2yo helped in applying the glue and sticking the messages too.
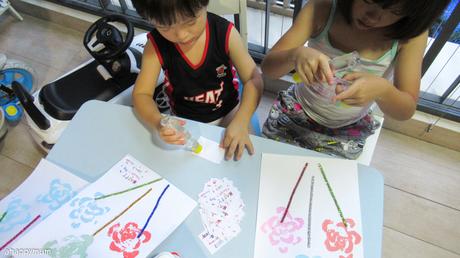
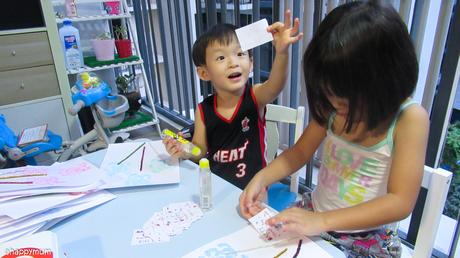
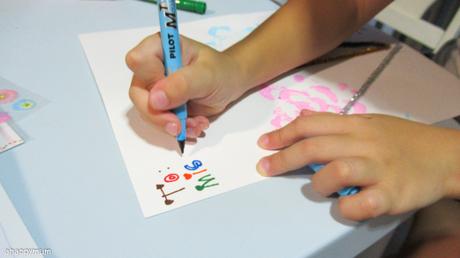
To personalise every card and make it truly one of a kind, the kids wrote the names of every teacher. I love how they tried to come up with unique designs and played around with the fonts and letter shapes too.
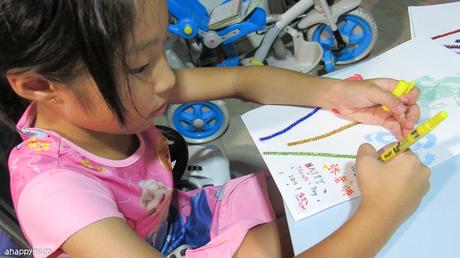
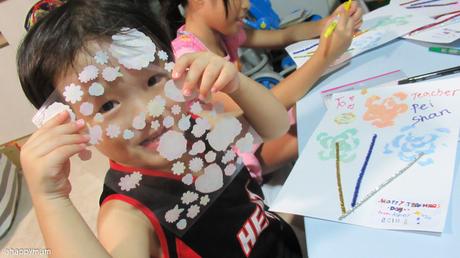
Lastly, the kids suggested to add in some stickers as decorations and I let them have freedom to do what they wanted. We managed to get some stickers from Daiso that came with hearts, flowers and even the wordings "Thank you" - perfect for us to show our gratitude on Teacher's Day!
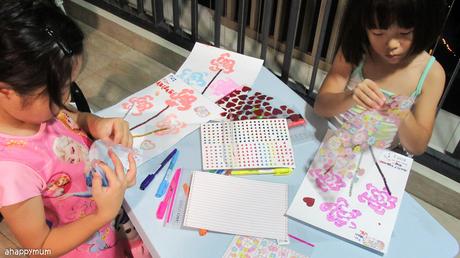
Ta-dah! And we are all done! I love how colourful and vibrant the cards look and hopefully these will bring a smile onto the teachers' faces on this special occasion. I have to give the kids a pat on the backs too for doing most of the work themselves and I hope they had fun in the process and are proud of what they achieved too.
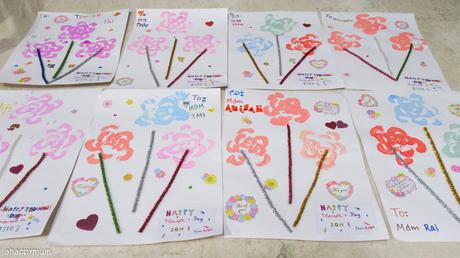
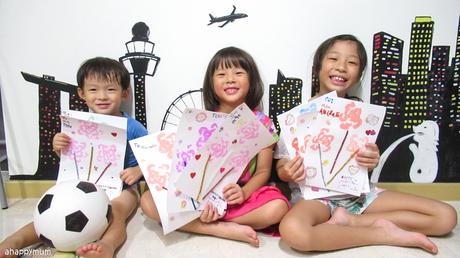
Here's wishing all teachers a very happy Teacher's Day 2018! It takes a BIG heart to shape LITTLE minds and you are the reason why ordinary kids dare to dream extraordinary things.

