In this Creativity 521 post, I'm sharing about something we did last week that took us less than 45 minutes to complete but speak volumes to express our love and gratitude to our mums and grandmas - DIY Felt Roses.
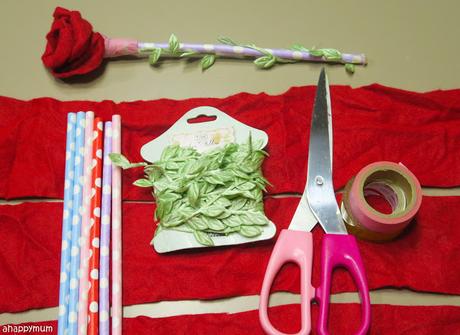 What we used from our craft stash (yes, we didn't spend a single cent!):
1) Red felt (doesn't matter if it is creased and folded)
2) Patterned straws
3) Leaf ribbon (I got this from a shop in Sweden previously)
4) Washi tape
5) Clear tape
6) Scissors
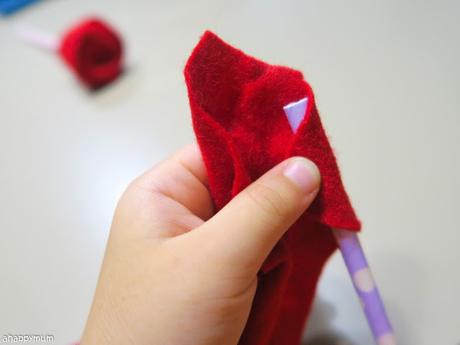 Firstly, cut the felt into rectangular strips. They don't have to be exact but just for a gauge, ours measured around 50cm by 6cm. Take one end of the straw and start wrapping the felt around it as shown above. The starting part has to be tight and secure, and you ease the tension a little as you move along.
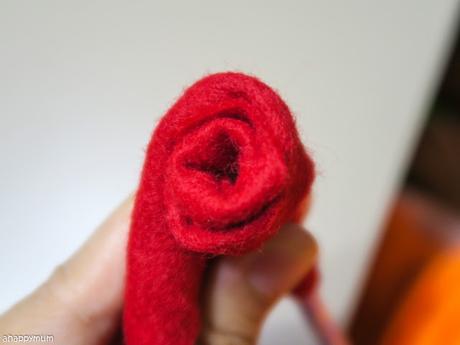 Continue to wrap the felt around and around, folding it back to form corners and loosening it a little to make it look more real. It's all about trial and error so just practice more along the way and it gets better.
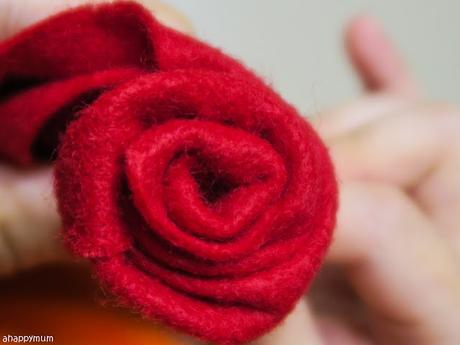 The good thing is anytime you are not happy with the look, just unwrap the felt and start all over again! I have to say that this can get challenging, even a little daunting, for the kids so do try to guide them whenever needed.
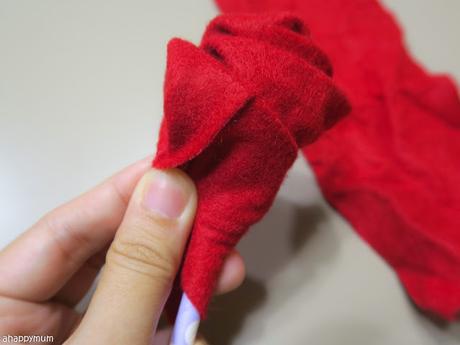 Upon reaching the end, wrap the felt tightly around the straw, making sure that it tucks in the rest of the felt and holds the rose bud in place. Use washi tape to stick around it and make sure it stays tight and neat.
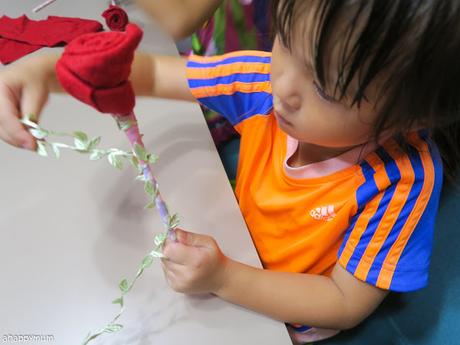
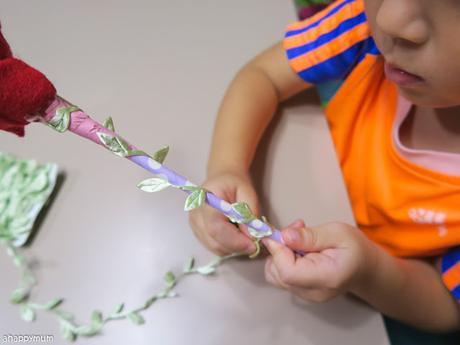 I've always had this beautiful leaf ribbon that I brought over from Sweden but have yet had the chance to put it to good use. We were thinking of cutting out leaf shapes from green felt and stick them onto the stalk but eventually decided this will look more unique. (Yes, we do know real roses don't look like this but this is art and craft we are talking about, right?) So I left this to the girls and they used the ribbon to go around the straw, using thin strips of clear tape to stick the ends.
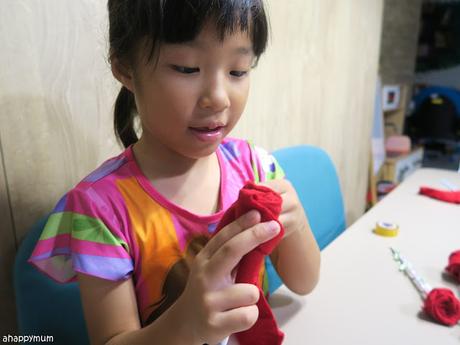
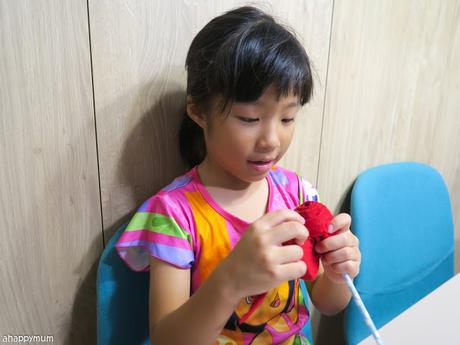 The big sister was very intrigued by the rose and amazed by how it took only some felt, and a few minutes, to be transformed into a beautiful rose. My only regret these days is that I've been crafting so much less with them but let's hope that I can get back on track with them once I am settled with writing the A Happy Home series.
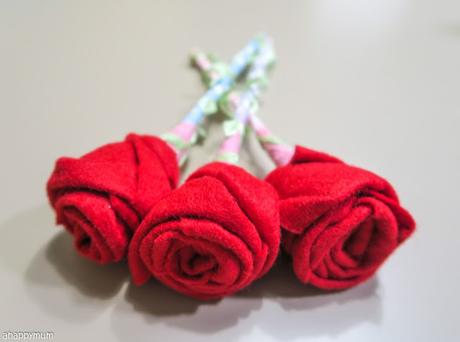 So, here you go! Our felt roses are all done! Easy peasy rosy breezy. I especially loved how the red felt made the flowers stand out and I'm sure that our mums and grandma will be elated to receive these simple handmade gifts from us (yes, the girls make sure I will have one too and they chose the most beautiful one for me. Awww).
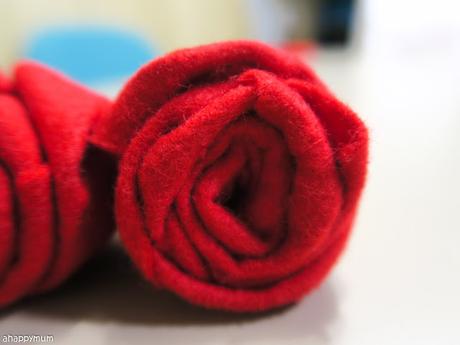 Our Mother's Day celebration, as usual, will not be an elaborate or luxurious affair. But I know it will be one that will be filled with love, handmade gifts and be another precious moment for us to last a lifetime.
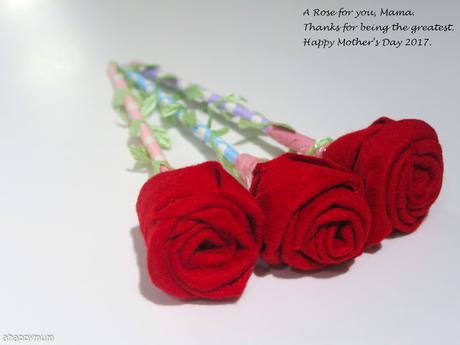 Happy Mother's Day in advance to all fellow mums out there!
For more Mother's Day gift inspiration, check out our origami tulips, chocolate boxes, felt flowers, paper carnations.

