So we might not have a garden in our new house and don't have the much space for it either, but there was something that the hubby and I wanted to let the girls have a go at - making DIY terrariums. I'm still trying my best to keep up with the Creativity 521 series and in this week's post, I'll share with you how the girls made their first terrarium at A Tilly A Day.
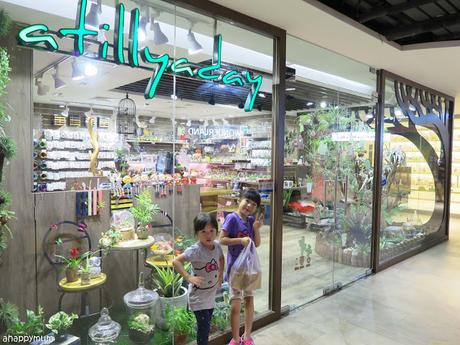 We've walked past this shop in Waterway Point many times and kept telling ourselves that one day we would step into it and see what it has to offer, especially for the kids. So last week, which was a rare day when the hubby could join us on a Friday night, we decided to make our way here.
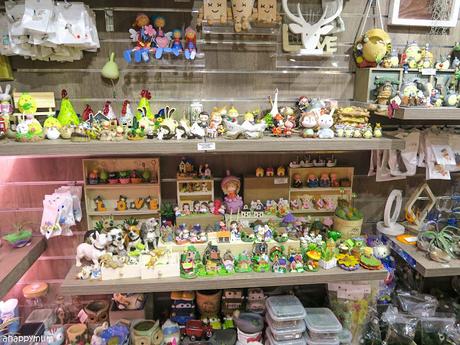
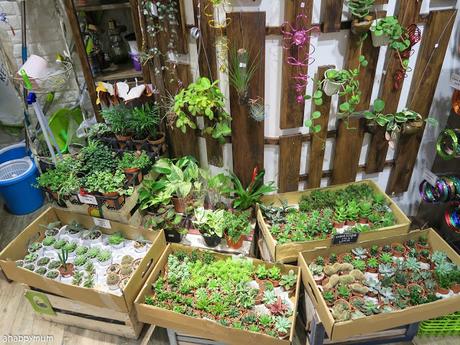 A check with the staff revealed that the kids could do a DIY terrarium which could be completed in about 20-30 minutes, depending on what kind of terrarium you choose and how long your kid takes to select his/her preferred decorations.
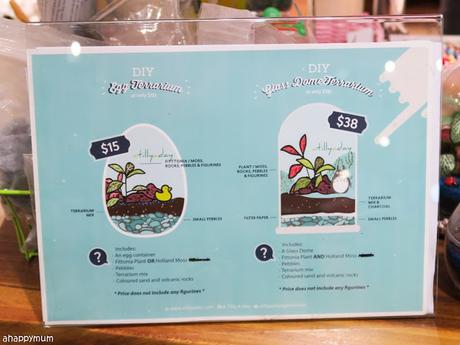
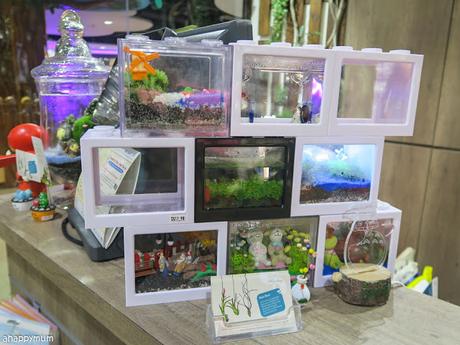
You can choose from 3 kinds of terrariums - Egg terrarium ($15), LEGO terrarium ($25) or Glass Dome terrarium ($38). Each package comes with:
- Container
- Fittonia plant/Holland Moss/Seeds
- Pebbles
- Terrarium mix
- Coloured sand and volcanic rocks
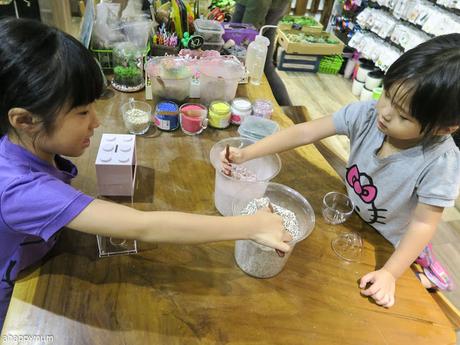 Firstly, the girls had to pick out their terrariums and while the big sister chose to go with the LEGO one, the little sister was contented with the egg (which was what I would have chosen too!). To start off, they had to fill up the bottom with a layer of pebbles.
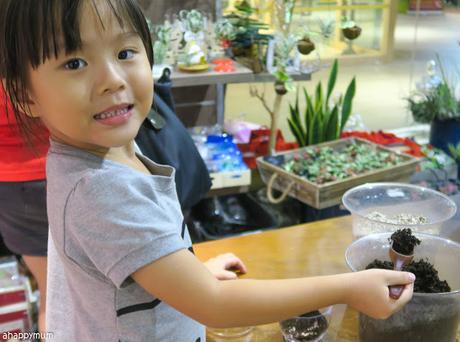
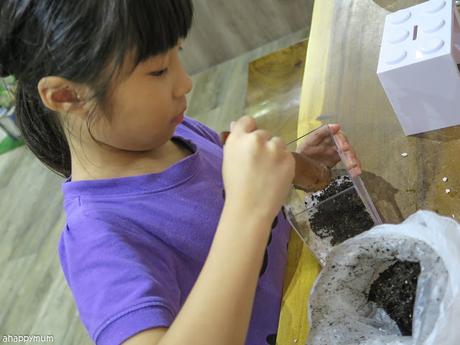 Next comes the soil! I could see that the girls were really happy and excited that they were allowed to do every step on their own and see their terrariums taking shape.
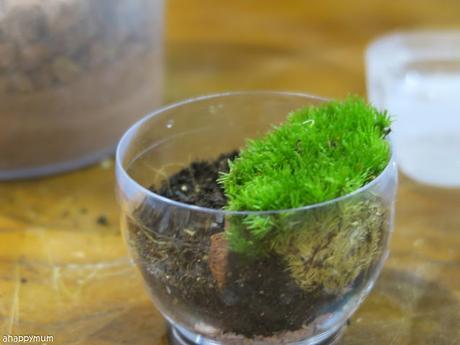 They were then asked to choose between a plant or a moss for the terrarium and both of them decided on the latter, which was then placed onto the soil.
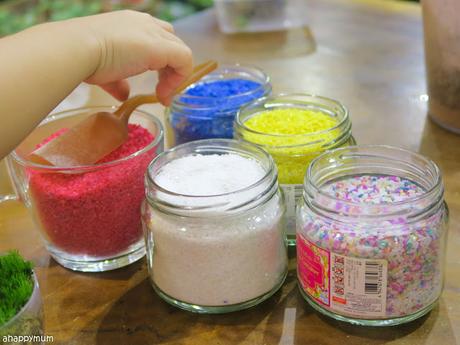 Next comes the colourful part - the sand!
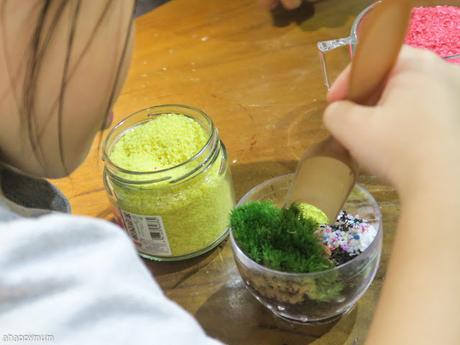
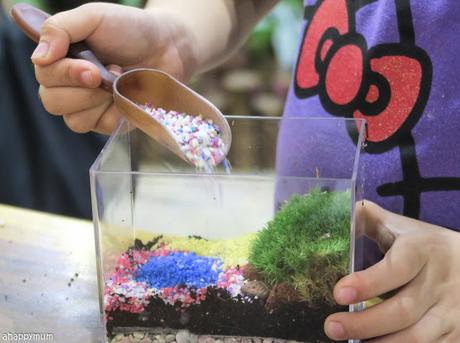 The girls loved picking up scoops and scoops of sand and pouring them in. While they did try to it layered, I think the sand eventually mixed together and became rainbow sand - which was still very pretty.
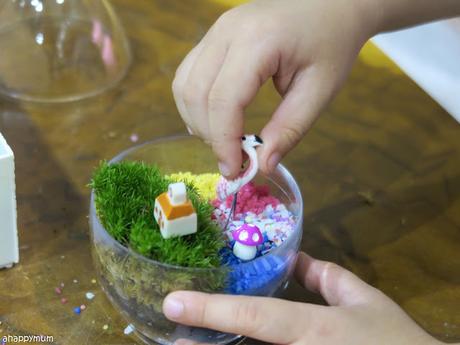 Last but not least, it was time to personalise their terrariums by picking out the figurines and positioning them on the top layer.
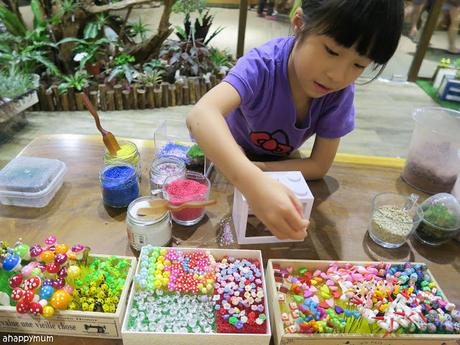 There was a wide variety of figurines to choose from and the pricing had a range too. We decided to just go for the cheapest ones which cost $1 or $2 each. It was easy to tell how their characters were different because while Ariel took just a couple of minutes to decide on hers, Angel took a good 10-15 minutes before she was finally happy with her choice. I love how they both wanted the pretty pink flamingo in the end. Here's presenting the final look!
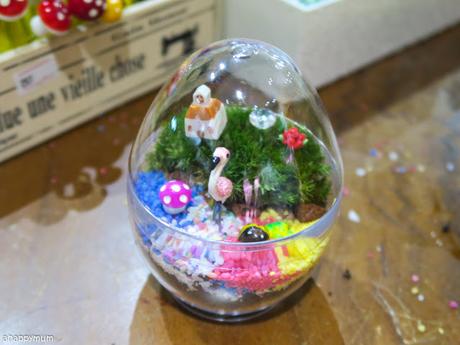
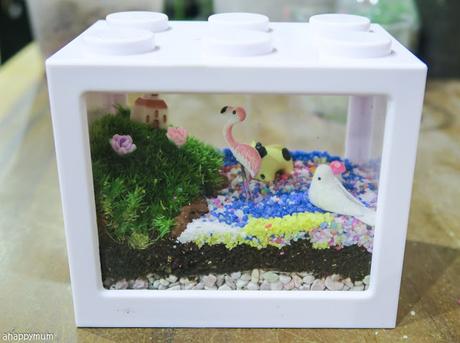
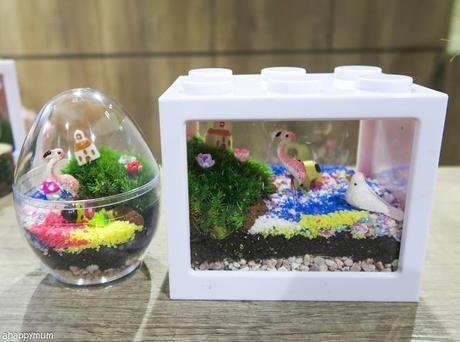 Yup, simple but nice and I hope these will be well taken care of by the girls. For now, they are going into our balcony and it might be a very small step but hopefully, we can try to build up this space and make it more green by adding more plants, flowers or terrariums slowly but surely.
I'm hoping to get back into crafting mode with the kiddos so hopefully we have more hands-on and fun learning stuff to share with you soon! Till then!
A Tilly A Day is located at Waterway Point, 83 Punggol Central #02-03 (West Wing).
P.S. This is not a sponsored post. We paid for the terrariums and all opinions are our own.

