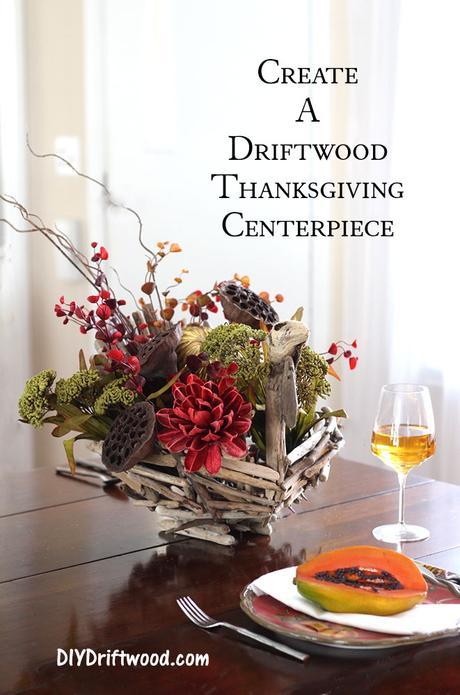
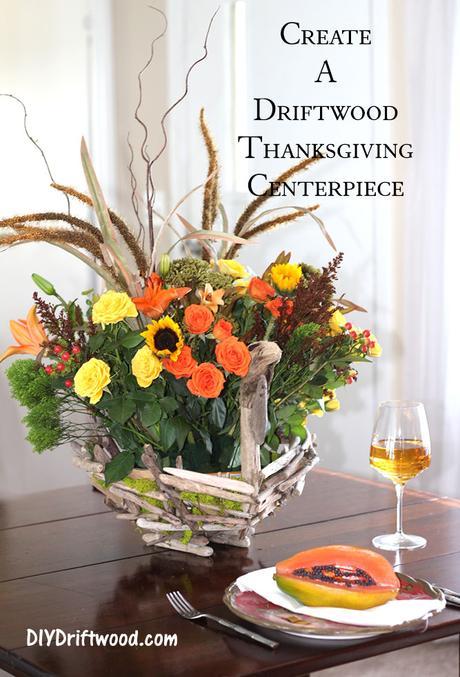
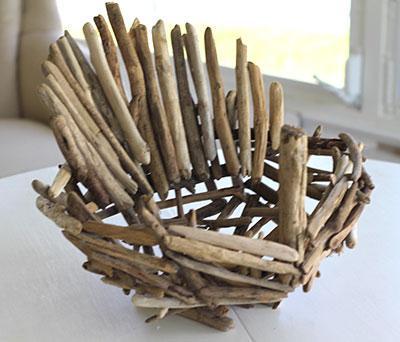
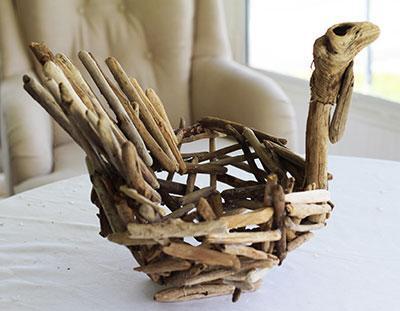
Why not a driftwood Thanksgiving centerpiece inspired by Autumn? It’s pretty easy to make and quite lovely on a holiday table. Fill it with flowers, fruit, nuts and berries or even leaves, pine cones or perhaps beach inspired.
Materials Needed:
- Balloon (look for “Punch Ball” balloons at Walmart for a strong balloon)
- Magic Marker
- Heat Gun such as HiPur Former Adhesive Applicator by Franklin International or Professional Glue Gun
- Titebond WW30 or WW60 (for use with HiPur Adhesive Applicator) or Ad-Tech Wood Glue Sticks or All Temperature Wood Stik (look for glue sticks that will hold up in all temperatures)
- Approx. 100 pieces driftwood 3″ – 12″ (available from LittleDriftwoodShop)
- optional nail gun
- optional nails
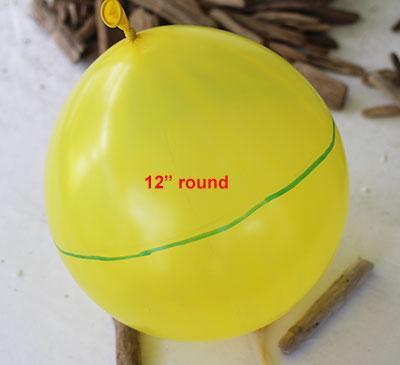
- Using a balloon will help give you the shape you need for this project. I use the “Punch Ball” balloons for their strength and durability and I use them for lots of different projects and since I wanted a round shape for my “turkey” centerpiece, I brought out the balloons. I started with blowing up a balloon to about 12″ round but you can make it bigger or smaller depending upon how big you want your centerpiece.
2. Once you have the balloon about the size a round that you want, use a marker to indicate a half way mark around the balloon. This will be approximately how high to build up the sides and will help keep it looking fairly uniform.
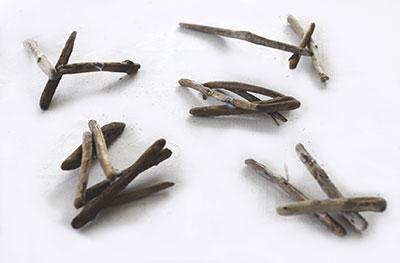
3. It can be difficult to glue the driftwood pieces onto the balloon and hold them in place while the glue dries so you may want to work with small sections at a time – maybe 3 or 4 pieces – let the glue dry and then pull them away from the balloon while you create another section. Once you have created enough small sections to go all the way around, it becomes easier to actually start gluing them around the balloon.
You may also find it helpful to sit the balloon inside or on top of a bowl while working with it. These balloons also come with a strong rubber band attached which can come in handy if you want to suspend the balloon in mid-air while working on your project.
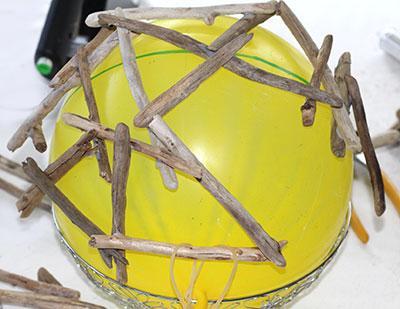
4. Once you have your basic “bowl” shape then just start filling in areas with pieces of driftwood to make more of a completed bowl shape.
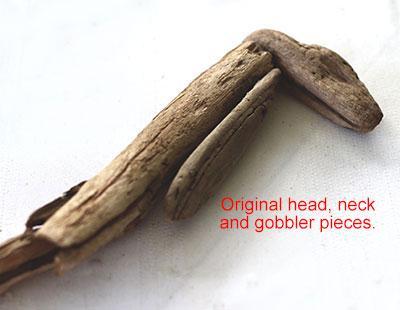
5. Pick out a piece about 10″ long and 1 1/2″ thick that will be your neck and a smaller oblong piece to be your head that will sit atop the neck. And find a piece to be what I call the “gobbler” which will be attached to the neck underneath the head.
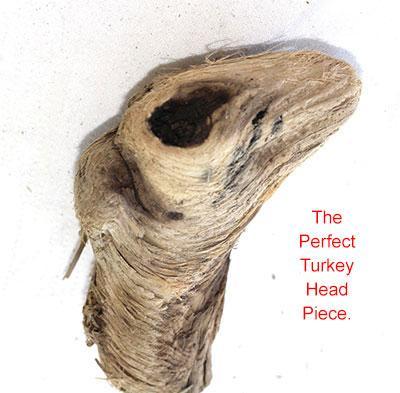
I initially found all three pieces and used both glue and nails to attach both the head to the neck and the gobbler to the neck. I later discovered the perfect piece to use for the head and took apart the pieces in order to use the new head. Sometimes you get lucky and a piece is just perfect.
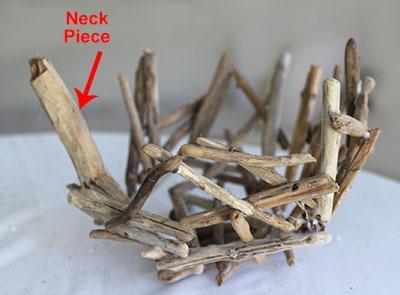
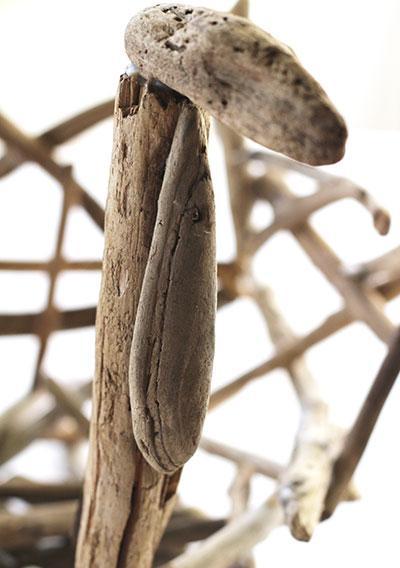
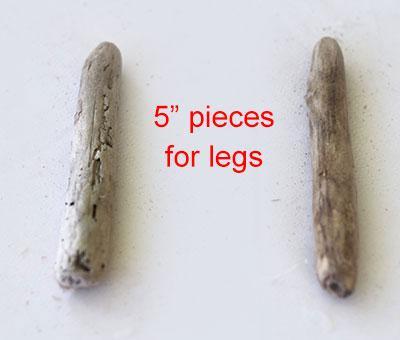
6. Find two driftwood pieces about 5-6″ long and fairly straight to use as the legs. These pieces will help balance the basket. Glue them on the bottom about 3-4″ apart to stabilize the basket and to look like the turkey is sitting on its legs.
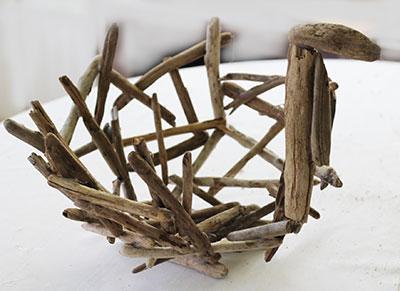
7. Now you can start adding the tail. You want to attach longer driftwood pieces on an angle so you may have to add an additional driftwood piece or two to the back end in a horizontal position to use as a brace to help support the longer pieces. Start with your longest pieces in the center and taper the length as you go down both sides.
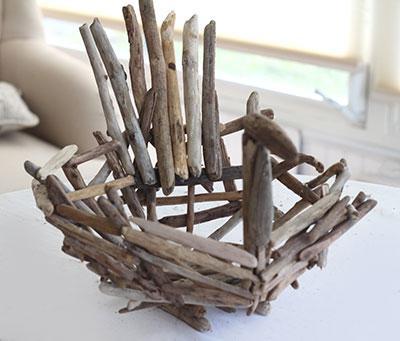
8. And this is where I attached the new head. I did end up using a power tool and cutting both the neck piece and the head piece so both were straight cuts and I could easily glue the two pieces together. You have to admit, the new head is perfect. But there is only an eye on one side but it makes a great driftwood Thanksgiving turkey centerpiece.
Throughout this project I used a professional glue gun – Steinel HiPur former Advanced Bonding System by Franklin International which required specific hot melt adhesive. These adhesives are not cheap but the glue will hold up in Florida’s hot weather, indoors or outdoors where cheap glue will fall apart. The glue is also opaque and I find myself using an exacto blade to remove unwanted glue here and there but the good news is there is a lot less “webbing”.
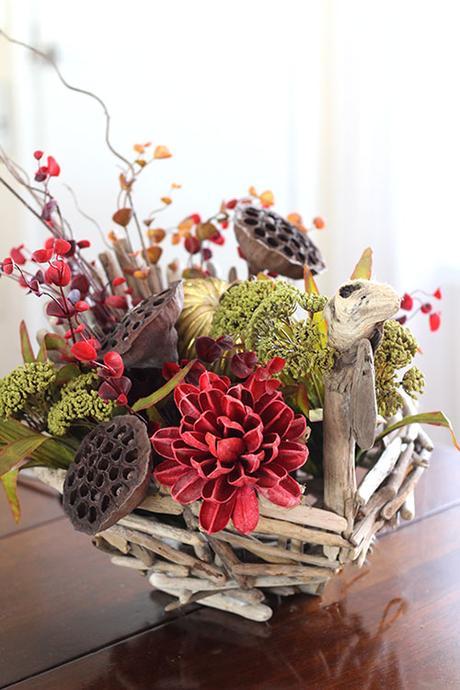
Well, here it is – the final centerpiece. I used dried flowers in one arrangement and fresh flowers for the other and as you can see, it really makes a beautiful driftwood Thanksgiving centerpiece. It might even look great on a mantel.
