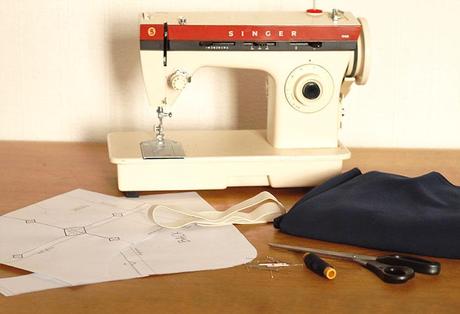

This month it’s time to get summer ready with some cool DIYs coming up! For the first time on the blog, I’m going to show you how to make these shorts from scratch. It’s really really easy, believe me! All you need is a free couple of hours and a little concetration.
Whats even better is that I made a printable pattern for you, which I developped from a couple of other patterns I previously used. The sizes are graded from a size x-small (around a uk size 6 us size 4) to medium, next time I promise I’ll go up to large, but I have been strapped for time, and it’s not a quick thing to do. It is a ridiculously easy pattern to use with just a few lines and no fitting or darts. Plus I included the seam allowance so no worries there! Download the DIY shorts pattern here !
I used a blue polycotton, you could use this with an old silk scarf or other fabric, I may make them in leather soon! I’ve already bought some black fabric to make another pair!
How to make the DIY shorts


1. You will need : Fabric (around 120cm x 60cm) , elastic for the waist, the downloadable shorts pattern (here), pins, thread and scissors, a pencil or chalk to mark the fabric, an iron and a sewing machine.


2. Fold the fabric in half with the right side facing in (genrally the wrong side is shinier with a cotton) and place the pattern on the fabric. Make sure the straight grain line is at the right angle. This should be horizontal with the weave. Not diagonal (that would change the way the shorts hang). Pin the pattern to the fabric and cut.


3. Mark the elastic casing line on the now cut pieces from the pattern.
4. Test the sewing machine on the fabric, that the stitch is the right length (general rule is 2.5) and working correctly.
Optional : I made a zig-zag stitch around all of the edges to avoid fraying in the future. You can use pinking shears to avoid this, or fray stop. You don’t have to do this but I recomend you do if you want to wear the short often or wash them in the washing machine.


5. Pin the outside legs togther still with the rightsides still facing in. Sew along the seam with a 1.5 cm seam allowance. Ususally your sewing machine has lines to guide you. ALWAYS pin horizontally to the stitch, never vertically.


6. Iron the outside seam open. Repeat step 5 and iron on the inside leg seam so you now have two pieces like the photo above right.


7. Now onto the hem. To acheive a curved edge cut four slits along the curve about 1 cm deep. Pin the hem and topstitch the edge.
8. Attaching the legs : The right sides still facing in, place one leg inside the other. Pin along the seam and sew a continuous line from front to back, with a 1.5cm seam allowance. Press the straight lines of the seam open with the iron. DON’T iron along the curve.


9. The waistband! Fold the waist line inside the short matching the elastic casing line as you drew in step 3, iron and pin it. Topstich around 3.5-4cm from the upper edge of the shorts. Leave a 5cm gap between the begining and end of the stitch. Insert the elastic and attach through the 5cm hole you left before. Once the elastic is inserted stitch over the gap. Cut off any loose threads and ties any knots. And that’s it!!
If you have any questions don’t hesitate to ask me in the comments below!
