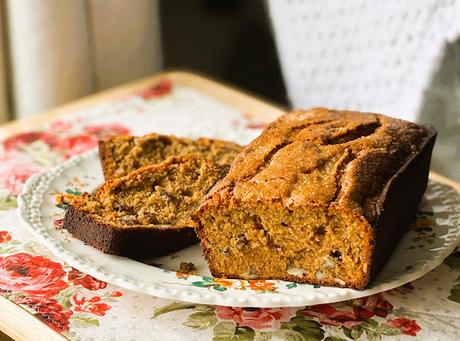
Usually at the weekend I like to bake a little something sweet to enjoy over the weekend and in the days to come. Something that I can enjoy with a hot drink. Now there is just me in the house I don't really bake as much as people think I do. Once a week, a cake or cookies, maybe scones, sometimes a pie, and not all of them at once.
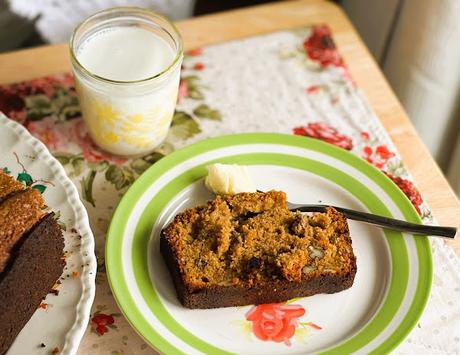
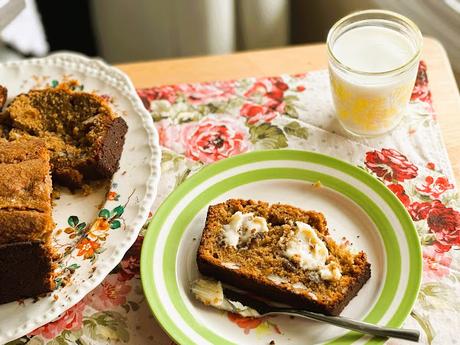
I had seen a coffee walnut loaf recipe online and I thought I had saved it. Do you think I could find it again. No way! I hate it when that happens. In any case my sister shot over this recipe from Bake Play Smile and I thought it looked exactly like what I was looking for. I didn't want a full blown cake. Just something simple that I could enjoy sliced as is or with some butter spread over it.
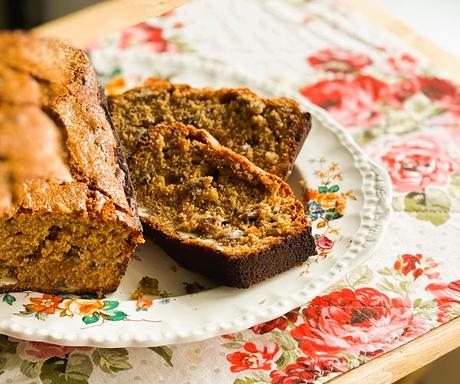
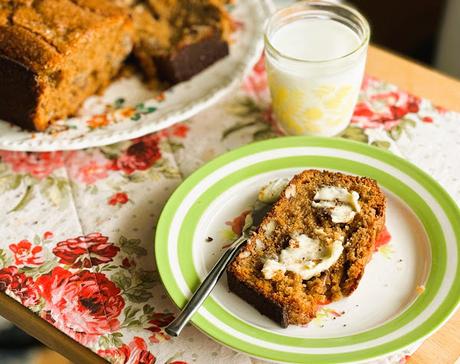
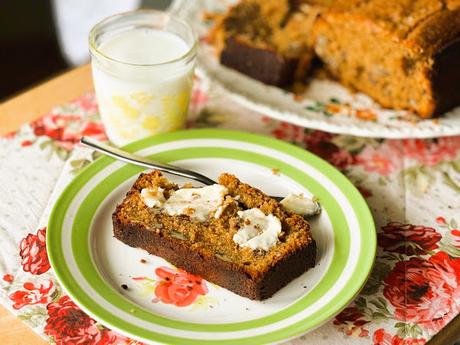
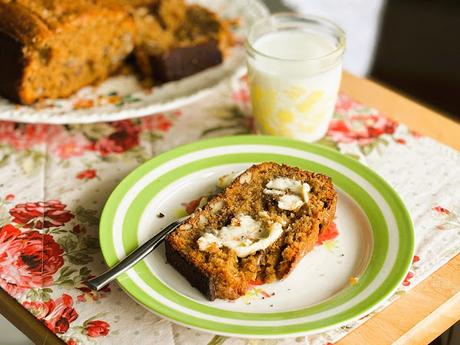
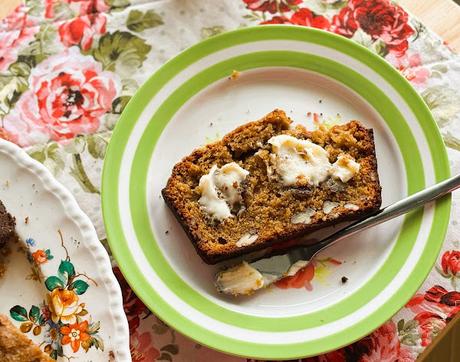
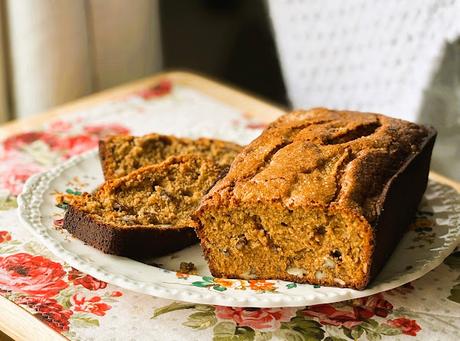
My photos are not the greatest and I will be the first to admit that, but I hope it doesn't put you off from baking it. This is one of the nicest coffee loaf cakes that I have ever baked. It is moist and tender and has a lovely coffee flavor without it being over the top.
It was really easy to put together as well. It required no special ingredients or equipment. Just things that most of us already have in our kitchens. Do note that it browned really quickly at the edges. Perhaps it was my pan, I am not sure, but I ended up having to top it loosely with a sheet of aluminum foil about 20 minutes before it was done.
The flavor is exceptional, as is the texture. I love the addition of the toasted walnuts. Coffee and walnuts are such a beautiful marriage of flavors! They go together like peas and carrots! I hope you will want to bake this. You won't be sorry. I guarantee!
WHAT YOU NEED TO MAKE COFFEE WALNUT LOAF
A few simple store cupboard ingredients. This is a really lovely cake. I can't wait for you to bake it! Prepare to fall in love!
- 3/4 cup (175g) butter, at room temperature
- 1/2 cup (100g) soft light brown sugar, packed
- 1/2 cup (100g) caster or finely granulated sugar
- 2 tsp vanilla extract
- 2 large free range eggs, at room temperature
- 2 TBS instant coffee granules, dissolved in 2 TBS of boiling water
- 2/3 cup (180ml) whole milk, at room temperature
- 1 1/2 cups (225g) plain, all purpose flour
- 2 tsp baking powder
- pinch salt
- 3/4 cup (90g) toasted walnuts broken up
- 2 tsp raw sugar to sprinkle on top (optional)
I take all of my ingredients out of the fridge about half an hour before I want to start baking. That way I can putter with prepping the pan, preheating the oven, etc. and everything will be at room temperature when I start.
I like to use free range eggs, but you use whatever you can afford. I don't like using eggs from caged hens. It is sticking point with me and so I buy according to what my conscience can live with.
I always keep a jar of organic free trade instant coffee in the cupboard, mostly for baking and sometimes for the occasional guest I have that might enjoy a cup of coffee. I throw it out regularly when it gets out of date. I don't drink coffee myself, but it is nice to have some on hand for baking, etc.
I always toast my nuts. I will do a whole bag at a time and then keep them in the freezer to use when baking, or even for munching on. Just pop them all onto a baking tray and toast for 8 to 10 minutes at about 350*F/180*C.
HOW TO MAKE COFFEE WALNUT LOAF
This is very simple to make. You can use a stand mixer or an electric hand whisk. Both are quite suitable. You can even beat it together by hand with a wooden spoon, but that is appreciably more work.
Preheat the oven to 375*F/190*C/ gas mark 5. Butter a 9 inch by 5 inch loaf tin really well and line with baking paper. Set aside.
Cream the butter and both sugars together until light and creamy. Beat in the eggs, one at a time, mixing thoroughly after each addition. Beat in the vanilla and coffee mixture.Sift the flour, baking powder and salt together. Add this to the creamed mixture alternating with the milk, making three dry and two wet additions, mixing only until thoroughly combined, and scraping down the sides of the bowl. Fold in the walnuts.Spoon into the prepared tin, smoothing over the top. Sprinkle the raw sugar evenly over top if using.
Bake in the preheated oven for 1 hour. Check when it is about halfway through the bake time to make sure it is not browning too quickly. If it is, loosely cover with some tin foil.The loaf is done when the top springs back when lightly touched and a toothpick inserted in the center comes out clean.Leave to cool in the pan for 10 minutes before lifting out to finish cooling on a wire rack. Cool completely before cutting.This will keep for 4 to 5 days at room temperature in a tightly covered container.
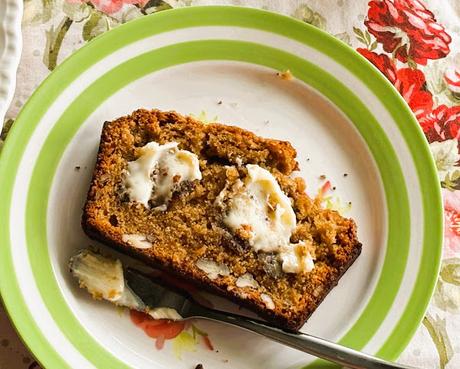
This cake does have a tendency to get really dark at the edges, so do check it during baking to make sure it doesn't burn! Other than that it is a lovely cake with a beautiful moist and tender crumb.
I thought the flavor was exceptional. It was still warm when I was cutting it so it did crumble a bit, but it was not dry in the least. The sugar coating on top was perfect. This was quite simply delicious!
There is something very comforting about having a tea loaf/bread in the house, and by that I mean a loaf shaped cake that you can enjoy with a hot cuppa or a glass of cold milk. Here are a few more of my favorite loaf cake recipes that I thought you might also enjoy!
SIMPLE BRITISH MALT LOAF - This tasty and simple loaf is a favorite throughout the U.K. It is a rich and moreish, low fat sweet quick bread that is made with whole meal flours and Malt syrup. It is studded generously with raisins. With its dense and chewy texture it is beautiful served thickly sliced and lightly buttered to enjoy along with a hot drink!
PINEAPPLE AND ZUCCHINI LOAF - It won't be long before gardens will be inundated with more zucchini (courgettes) than we know what to do with. I have always loved stir frying them and popping them into salads and casseroled when they are young, but what I love more than anything else is to bake them into delicious quick breads. This pineapple and zucchini loaf is one of my absolute favorites. Moist and delicious with a tender crumb, flecked with green and studded throughout with sweet chunks of pineapple.
Yield: one 9 by 5 inch loafAuthor: Marie Rayner
Coffee Walnut Loaf
Prep time: 10 MinCook time: 1 HourTotal time: 1 H & 10 MThis lovely loaf is moist and delicious with a beautiful crumb. The coffee flavor is not overly intense, but there. An old fashioned favorite generously studded with plenty of toasted walnuts.Ingredients
- 3/4 cup (175g) butter, at room temperature
- 1/2 cup (100g) soft light brown sugar, packed
- 1/2 cup (100g) caster or finely granulated sugar
- 2 tsp vanilla extract
- 2 large free range eggs, at room temperature
- 2 TBS instant coffee granules, dissolved in 2 TBS of boiling water
- 2/3 cup (180ml) whole milk, at room temperature
- 1 1/2 cups (225g) plain, all purpose flour
- 2 tsp baking powder
- pinch salt
- 3/4 cup (90g) toasted walnuts broken up
- 2 tsp raw sugar to sprinkle on top (optional)
Instructions
- Preheat the oven to 375*F/190*C/ gas mark 5. Butter a 9 inch by 5 inch loaf tin really well and line with baking paper. Set aside.
- Cream the butter and both sugars together until light and creamy. Beat in the eggs, one at a time, mixing thoroughly after each addition. Beat in the vanilla and coffee mixture.
- Sift the flour, baking powder and salt together. Add this to the creamed mixture alternating with the milk, making three dry and two wet additions, mixing only until thoroughly combined, and scraping down the sides of the bowl. Fold in the walnuts.
- Spoon into the prepared tin, smoothing over the top. Sprinkle the raw sugar evenly over top if using.
- Bake in the preheated oven for 1 hour. Check when it is about halfway through the bake time to make sure it is not browning too quickly. If it is, loosely cover with some tin foil.
- The loaf is done when the top springs back when lightly touched and a toothpick inserted in the center comes out clean.
- Leave to cool in the pan for 10 minutes before lifting out to finish cooling on a wire rack. Cool completely before cutting.
- This will keep for 4 to 5 days at room temperature in a tightly covered container.
Did you make this recipe?
Tag @marierayner5530 on instagram and hashtag it #TheEnglishKitchen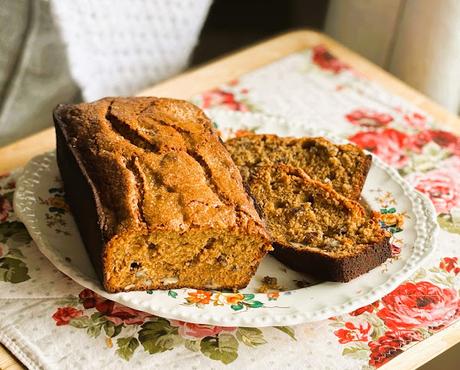
Thanks so much for visiting! Do come again!
If you like what you see here, why not consider signing up for my newsletter and/or subscribing/following me on Grow. You can also bookmark my recipes via the Grow platform. Check out the heart on the right hand side of the screen.

