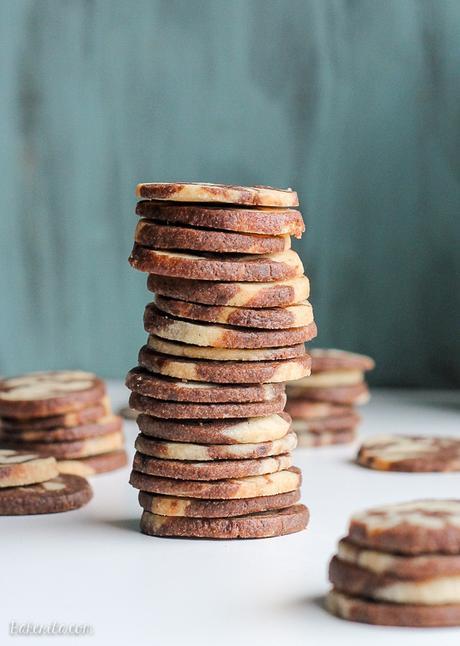
This recipe for Chocolate Vanilla Swirl Icebox Cookies makes tons of cookies that are perfect for holiday baking. They look beautiful and you can keep a roll in your fridge or freezer, ready to slice ‘n bake!

I’m very much a maker. I love to create things and make things from scratch, which is where my love of baking derives from. There’s such a feeling of satisfaction from being able to look around the kitchen and see a bunch of things you’ve made (cookies! jam! brownies!). Even though it takes more time, I get so much more out of making something myself than I do from buying it.
This spills over into my home decor too. When I moved into my apartment, I was obsessive about getting my apartment beautifully decorated and accessorized without spending all my money. Harder than it looks, folks – but I ended up DIYing some fun art pieces and knick knacks that now make my apartment look a little bit more fun and personalized.
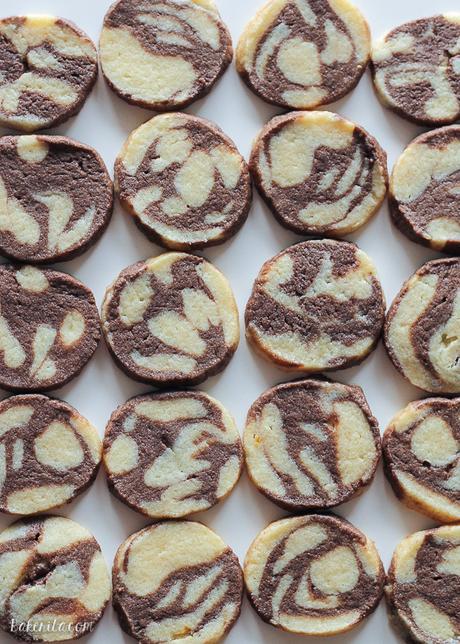 One of my absolute favorite projects that I did was making these marbled clay ring dishes from A Beautiful Mess. They were super easy to make and so much fun, and the whole time I was making them, I couldn’t help but think about applying the same rolling and marbling technique to cookie dough – and it worked!
These cookies were a whole lot of fun to make, and I promise, making those beautiful swirly patterns is really super simple. The cookies are simple sable cookies. You do have to make two doughs – vanilla and chocolate, but you end up with a whole TON of cookies, perfect for sharing and gifting.
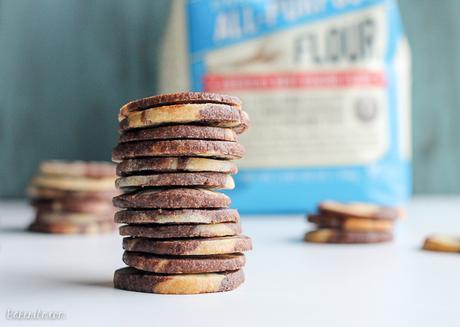
I used Bob’s Red Mill Organic Unbleached All Purpose White Flour, and it produces such perfect cookies! The quality of Bob’s Red Mill products is always top of the line, and this kitchen staple is incredibly versatile and perfect for all of your baking needs. My kitchen is stocked with their products! Get a Bob’s Red Mill coupon by clicking here.
As for how these cookies taste? They’re delicious! The vanilla and chocolate flavors are subtle but flavorful and they’re just crisp enough around the edges without being crunchy. They’re also perfect for gifting! The cookies stack like a dream and don’t take up too much space so they’re perfect to add to a gift or cookie box. This recipe also makes a ton of cookies and the dough can be made weeks in advance if stored in the fridge, or months in advance if stored in the freezer.
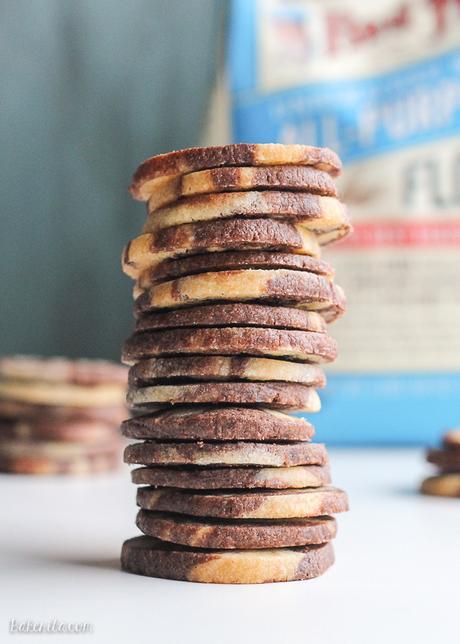 A trick to keep icebox cookies round: save your empty paper towel rolls, cut a slit down the side, and store your icebox cookies in the roll! It will keep the sides from getting flattened out.
These Chocolate Vanilla Swirl Icebox Cookies are a fun-to-make, easy-to-eat treat you’ll be glad you have 8 dozen of! Enjoy :)
Facebook | Instagram | Twitter | Pinterest
Remember to #bakerita if you try the recipe!
Chocolate Vanilla Swirl Icebox Cookies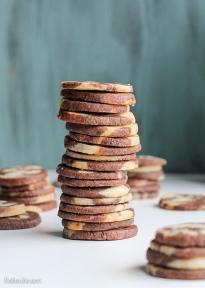 Save Print Prep time 1 hour Cook time 12 mins Total time 1 hour 12 mins This recipe for Chocolate Vanilla Swirl Icebox Cookies makes tons of cookies that are perfect for holiday baking. They look beautiful and you can keep a roll in your fridge or freezer, ready to slice 'n bake! Author: Rachel Conners Serves: 8 dozen Ingredients For the vanilla dough
 - ½ cup (1 stick) unsalted butter, softened
- ⅓ cup granulated sugar
- ¼ cup powdered sugar
- 1 large egg yolk
- 1 teaspoon vanilla extract
- 1 cup + 2 tablespoons all-purpose flour
- ¼ teaspoon salt
- ½ cup (1 stick) unsalted butter, softened
- ⅓ cup granulated sugar
- ¼ cup powdered sugar
- 1 large egg yolk
- 1 oz. dark chocolate, melted and cooled
- 1 teaspoon vanilla extract
- 1 cup all-purpose flour
- 2 tablespoons Dutch-processed cocoa powder
- ¼ teaspoon salt
- Begin with the vanilla dough. In a large bowl, cream together the butter and both sugars until light and fluffy, about 3-5 minutes. Beat in the egg yolk and vanilla extract until fully combined. Add the flour and salt and mix until just combined. Place the dough in a bowl or on a clean counter while you prepare the chocolate dough.
- In a large bowl, cream together the butter and both sugars until light and fluffy, about 3-5 minutes. Beat in the egg yolk, cooled chocolate, and vanilla extract until fully combined. Add the flour, cocoa powder and salt and mix until just combined. Place the dough in a separate bowl. Cover in plastic wrap and refrigerate until firm, about 1-2 hours.
- Once the dough has firmed up, use your fingers to roll about 2 tablespoons of vanilla dough into a a long snake about 8" long. It helps to do this on a flat, non-stick surface. Repeat until you have three rolls of vanilla dough and three rolls of chocolate. Combine the smaller rolls into one big roll and twist together carefully - you don’t want to break the dough.
- You should have a thick, twisted log of dough at this point. Roll the dough gently to flatten out the sides, being careful not to make the log too thin - it should be about 2” diameter. Wrap the log in plastic wrap and store in the refrigerator for at least one hour or up to 2 weeks. Repeat with the remaining dough until all has been used.
- Preheat oven to 325°F and line a large baking sheet with parchment paper. Slice cookies ¼” thick and place 1 inch apart on baking sheet. Bake for 12-15 minutes or until lightly browned around the edges.
- Dough can be frozen for up to 6 months.
I was selected for this opportunity as a member of Clever Girls and the content and opinions expressed here are all my own.


There's more where that came from!
 Pistachio White Chocolate Chunk Cookies
 Cookie Butter Stuffed Soft Ginger Cookies
 Peanut Butter Chocolate Chip Caramel Filled Cookies
 Peanut Butter Oatmeal Chocolate Chip Cookie Sandwiches
 Cinnamon Raisin Peanut Butter Oatmeal Cookies
 Red Velvet Oreo Cookies with Cream Cheese Filling
