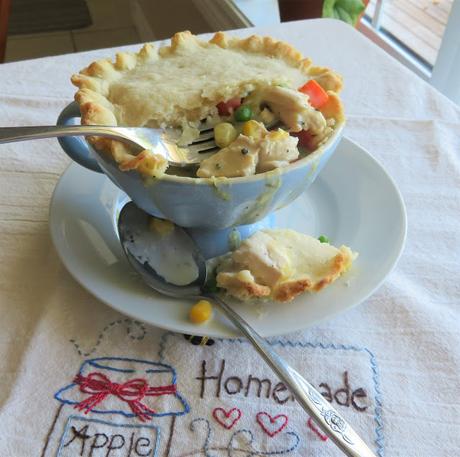
 Chicken Pot Pie. There is nothing that brings to mind the picture of comfort, family and Home-Sweet-Home more than Chicken Pot Pie. Just the thought of an old fashioned chicken pot pie recipe can get our taste buds to tingling!
If you are a small family, an empty nester or a singleton all on your own, you may think that having a homemade chicken pot pie is no longer in your future. That you will be relegated to eat nothing for the rest of your days, but frozen single sized pot pies that never quite live up to your dreams and leave you wanting more.
That is not to say that there is anything wrong with frozen chicken pot pies. Some of them are actually quite good, but there is not a one that can quite come up to the deliciousness of a nice homemade one!
Of course you could make a full sized pot pie and break it down into four single pies, eating one now and freezing three for later. If you are like me however, your freezer space is probably quite limited.
All I have at the moment is the freezer section on the top of my refrigerator. Hardly ideal or large enough to hold very much really.
Today I decided that I was going to make myself a chicken pot pie sized just for one. For me, and that it was going to be a chicken pot pie that lived up to every dream of pot pie I have ever had!
 My mother made the best pot pies. Whenever we had a roast dinner of any kind, we could be pretty certain that some of the leftovers and the gravy would be made into a pot pie. They were delicious.
As delicious as they were however, all of us got really excited when my mom bought us good frozen pot pies. (not the cheap ones) There was something about that tender chicken meat and those vegetables in that creamy white gravy that sang the song of our pot pie loving hearts!
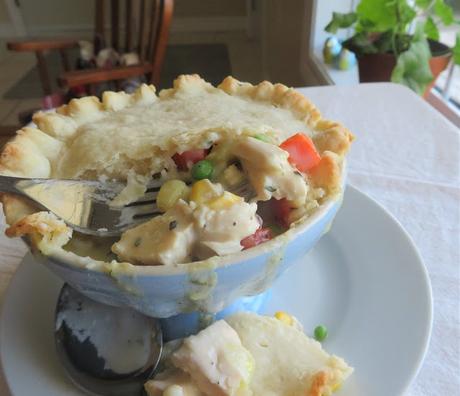 Am I wrong? Isn't there something about a good quality frozen pot pie (say a Stouffler's) that is incredibly delicious? Probably about the worst thing I could say about them is not enough chicken or vegetables.
I wanted to recreate that, and to recreate it just for me. However, I wanted a thick and creamy white sauce, filled with lots of tender pieces of chicken breast and vegetables.
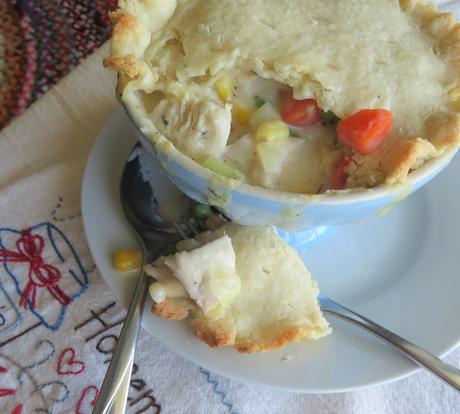
I also wanted a tender and flaky crust that was both pleasing to the eye and to the tongue. My butter/lard pastry is the best pastry going. (scroll down the page of the link for the recipe) I didn't want to have to make a full recipe of it however, just to top a single serve pot pie.
I managed to reduce the quantities to make a beautiful butter/lard pastry topping that was perfectly sized for my single serve pie. This is the BEST pastry.
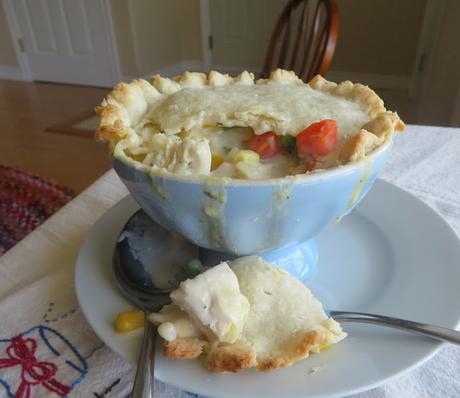 It is flaky and butter, melts in your mouth . . . and at the same time crisp edged. I love, LOVE it.
 Of course you could use a small amount of a store purchased pastry or even puff pastry. For me, however, it had to be my butter/lard pastry.
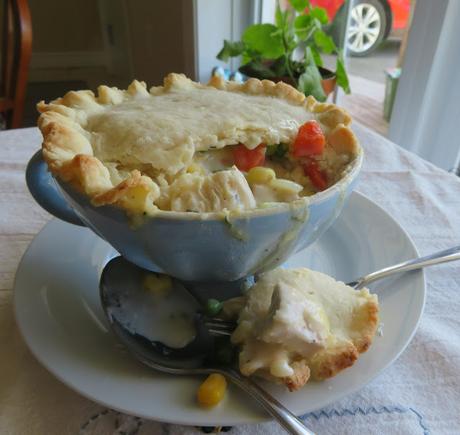 Remember those chickens I bought and cut up for freezing? I used one of the breasts to make this pie. It was sufficient enough to give me plenty of chicken and even some stock for the gravy/sauce.
Chicken with the skin and bone will give you the nicest flavored stock, no stock cubes needed. And it is really very easy and quick to make. Just follow my instructions and you will end up with perfectly cooked, juicy chicken breast meat and beautifully flavored stock.
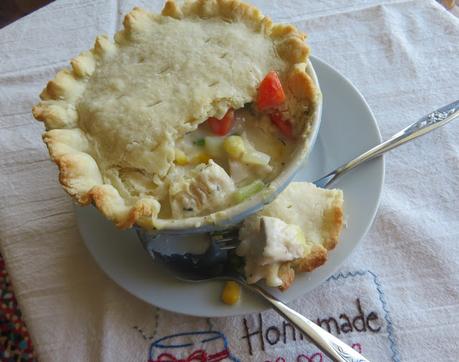 The pies of my childhood were filled with peas, carrots, corn and green beans. Never any potato, unless my mom had made them. I know I could have used a few tablespoons of frozen mixed vegetables for this which would have worked great.
I didn't have any however, so I cooked a small quantity of carrot and added some frozen peas, corn and chopped green beans.
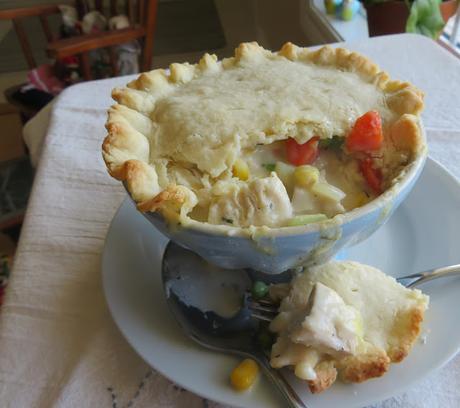 The sauce is your basic cream sauce, broken down to make only 1/2 cup in total of sauce. You start by sautéing a small amount of onion and celery in some butter, just to soften it. You don't want it to brown.
Into that you add an equal amount of flour. Cook for a minute to cook out the flour taste and then whisk in a small amount of stock and milk. Equal amounts.
A tiny bit of seasoning, some summer savory and you end up with a sauce that is very reminiscent of those pies of our childhoods. Rich, creamy, delicious. Not too thick, not too thin.
I stirred the chicken and vegetables into that (well drained of course) to make a beautiful, perfectly sized, ample filling for my pie.
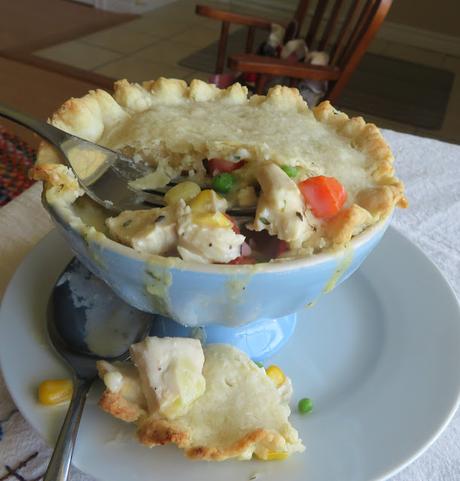
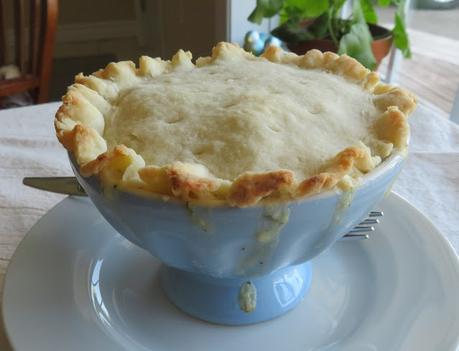
This got put into my one sole surviving blue cup. I had quite a number of pretty large cups that I could use to bake pies in. Unfortunately, this is the only one that made the journey over from the UK unscathed.
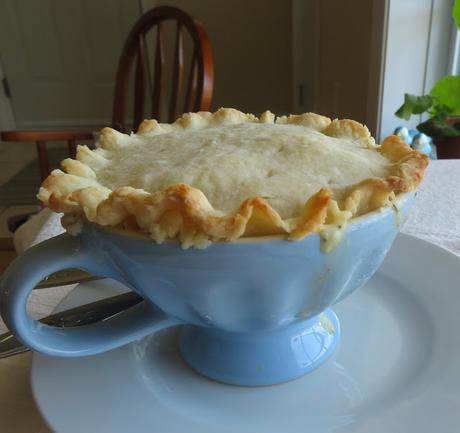 I lost the pretty blue plates that matched as well, but never mind. Its only stuff and you can't take it with you, plus it makes this one even more precious and beloved.
I rolled out the pastry, set it on top and fluted it all around very prettily. I thought it was pretty anyways.
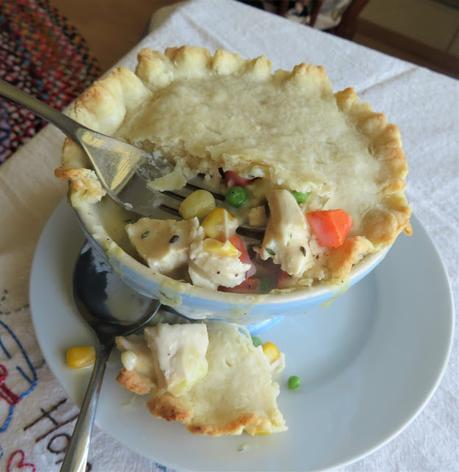
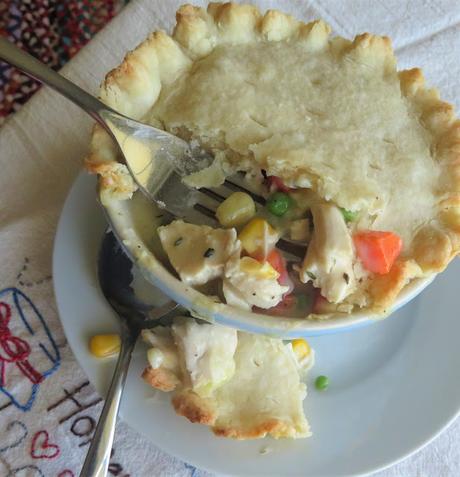
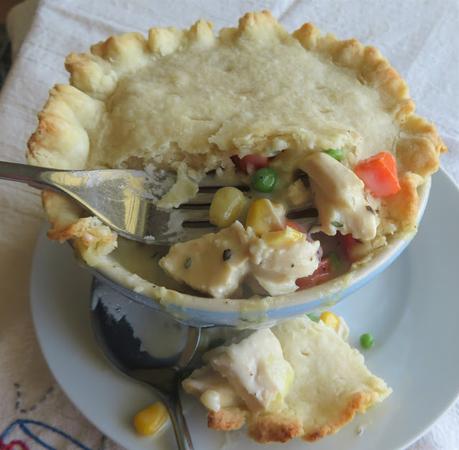
Twenty minutes later I was rewarded with a delicious pot pie just for moi! The filling was really wonderful, rich, creamy and filled with plenty of tender chicken and vegetables.
The crust was golden brown on the edges, flaky and short textured. I don't know about you, but I call this a result!
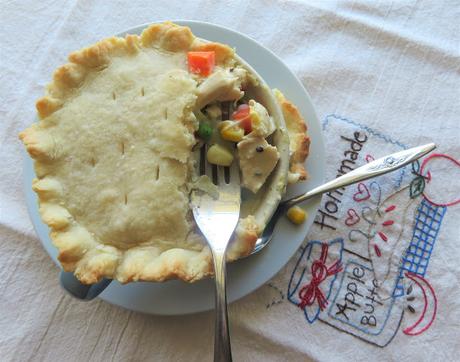 It really didn't take an awful lot of effort and was fabulously tasty. All natural ingredients. Hand crafted with not a preservative in sight.
My pot pie craving has been sated for the immediate future . . . at least until I am craving one again. Its nice to know that with only the tiniest bit of time and effort I can have something much more delicious than a frozen pie, and perfectly sized just for me.
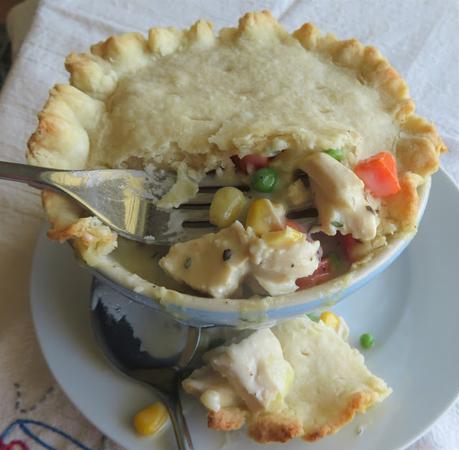
Chicken Pot Pie (for one)
Yield: 1Author: Marie RaynerPrep time: 20 MinCook time: 20 MinTotal time: 40 MinYou may think that because you are only one you can't enjoy a lovely chicken pot pie that is homemade. Not true. This pie is delicious, easy to make and perfectly sized just for you!Ingredients
For the chicken:- 1 small, bone in, skin on, chicken breast
- cold water to cover
- 1/2 medium sized carrot
- 1/2 small onion, peeled
- 1 6-inch piece of celery with the leaves
- 1 tsp salt
- 1/2 tsp black peppercorns
- 1/2 small bay leaf
- 1/2 medium sized carrot, peeled and cubed
- 2 TBS frozen peas
- 2 TBS frozen corn
- 4 whole green beans sliced into 1/2 inch lengths
- 1/2 TBS butter
- 1/2 TBS flour
- 1 TBS minced onion
- 1 TBS minced celery
- 1/4 cup (60ml)chicken stock
- 1/4 cup (60ml) milk
- salt and black pepper to taste
- 1/4 tsp summer savory
- 3 TBS all purpose plain flour
- 1/4 tsp salt
- 1 (1/2-inch) cube of cold butter
- 1 (1/2-inch) cube of cold lard
- 1 tsp ice water (or as needed)
Instructions
- First cook your chicken. Put the chicken breast into a saucepan along with the other ingredients and just barely cover with cold water.
- Bring to the boil, then simmer, covered. Simmer for 10 to 15 minutes, until cooked through and the juices run clear. Remove from the heat and remove the chicken from the saucepan, setting it aside to cool.
- Reserve 1/4 cup (60ml) of the stock it cooked in, discarding the remainder.
- Add your carrot to a small saucepan of boiling water, cook until crispy tender. Add the frozen vegetables. Remove from the heat and set aside for a few minutes, then drain well and cool.
- For the sauce, melt the butter in a saucepan. Add the onion and celery. Cook over low heat to soften, stirring frequently. Do not allow to brown.
- Whisk in the flour. Mix together the stock and milk. Slowly whisk this into the flour/butter mixture. Cook over medium heat, whisking constantly until the mixture comes to the boil and thickens. Leave to simmer for several minutes. Add the salt, pepper and summer savoury. Taste and adjust seasoning as necessary. Keep warm.
- Remove the chicken from the bone, discarding both the bone and the skin. Cut into 1/2 inch cubes. Put into a bowl along with the cooked and drained vegetables. Pour the sauce over top and mix well to combine.
- Pour this mixture into a small oven-proof dish capable of holding it all and place the dish onto a small baking sheet.
- Preheat the oven to 400*F/200*C/ gas mark 6.
- Measure the flour and salt for the pastry into a bowl. Drop in the butter and lard and rub it in with your fingertips until the mixture resembles coarse sand. Stir in the water (you may need extra) to make a soft dough.
- Tip the dough out onto a lightly floured board and shape into a flat round, then roll out with a rolling pin, 1/4 inch thick to a round large enough to cover your baking dish.
- Place the pastry on top of the filling in the dish and crimp the edges all around. Vent in a few places with a knife.
- Bake in the preheated oven for about 20 minutes, or until the pastry is golden brown and the filling is bubbling.
Did you make this recipe?
Tag @marierayner5530 on instagram and hashtag it #marierayner5530Created using The Recipes Generator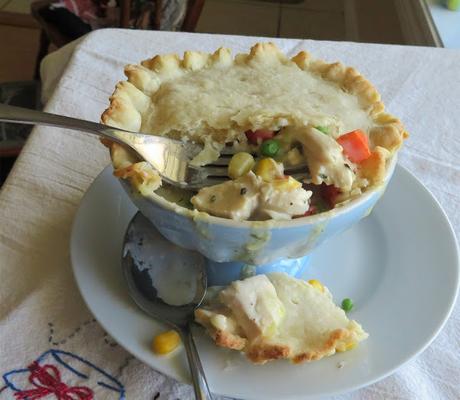 This content (written and photography) is the sole property of The English Kitchen. Any reposting or misuse is not permitted. If you are reading this elsewhere, please know that it is stolen content and you may report it to me at: [email protected]
 Follow my blog with Bloglovin

