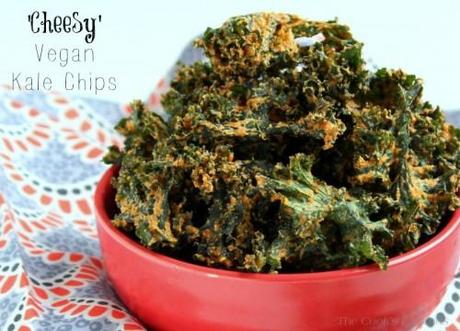
It is really easy to mock something without ever having tried it. I spent a large part of last year thinking that everybody singing the praises of kale chips were either far too healthy or ever so slightly crazy. We are talking about dried vegetables here. How good could they really be? Then we planted kale in our own garden, and those six plants were absurdly productive. I put kale in everything I could, but the plants just kept producing. So I succumbed, and I made kale chips. I’m not too big to admit it. I was wrong. Very, very wrong. Kale chips are so very good, and so very addictive. Particularly if they are cheesy kale chips.
There are fights over these kale chips in our house. The Princess does not like to share at the best of times, and is of the opinion that every batch I make is her sole property. Mr Grumpy and I are very partial to them as well, so there has actually been yelling over ownership rights. Mostly from The Princess. I just eat them when she is at school to avoid the raised voices. Seriously though, if you have a child yelling about ‘who ate all the kale chips’, that can only be a good thing.

The cheesy flavor comes from nutritional yeast, a deactivated yeast strain commonly sold as a food product. Nutritional yeast has a cheesy, nutty flavor and can lend an almost creamy texture to dishes. It is these characteristics that see it favoured by vegans as a replacement for cheese. The Princess also loves nutritional yeast sprinkled on hot, buttered popcorn as an afternoon snack.
Nutritional yeast is high in protein and B complex vitamins, and is often fortified with B12 and iron. It is commonly sold in Australia as savoury yeast flakes, and can be found in your local health food store. Do not mistake it for the dried yeast that is used in baking or for brewers yeast, a by-product of the brewing industry that is sold as a health supplement.

I have made these chips with many different kale varieties. All have been successful but I do find that the curly leaf varieties tend to be more fragile, so you may end up with more crumbs. I make these in my dehydrator but many people have had success making kale chips in the oven. I have not tried this method myself, but from what I have read the secret to successful oven cooking appears to be time. Don’t rush them.
Kale is just coming into season now in Perth. We have planted a lot more this year to cope with our growing kale chip addiction, which may mean I can keep the yelling to a bare minimum. If I’m lucky.

You can soak the cashews if you wish to help them blend with the rest of the ingredients. I don't bother and still get quite a creamy mixture.
I make these in a dehydrator, but I have provided oven dried instructions as well. I have not made them this way but many others have success with making kale chips in this manner. Author: Tania @ The Cook's Pyjamas (adapted from The Kitchn) Ingredients
- 1 bunch kale (preferably organic)
- 1 clove garlic (crushed if not using a Thermomix)
- 1 fire roasted or char-grilled sweet red capsicum (pepper)*
- 1 lemon (organic if possible), thoroughly scrubbed & cut into chunks with as many seeds removed as possible.
- 30g - 40g (heaped ⅓ cup) nutritional yeast (savoury yeast flakes)
- 2 Tablespoons nama shoyu or tamari
- 2 tablespoons olive oil
- 125g (heaped ¾ cup) cashews (soaked if desired)
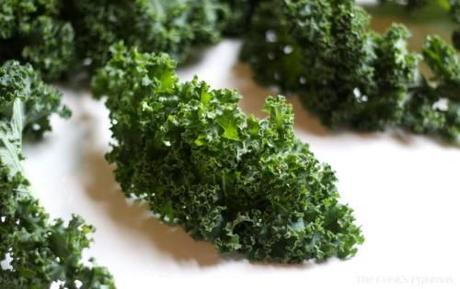
- Remove the thick central stalk from the kale. I do this by holding the stalk in one hand and running the fingers of my other hand up along the stalk. Some varieties work better than others and you may need to cut some stalks out with a knife.
- Break the kale into chip sized pieces and rinse thoroughly in cold water to remove dirt and bugs.
- Dry the kale, either by using a salad spinner or by swinging it around your head in a tea towel. If going the tea towel route, do this outside because water goes everywhere.
- Place the kale in a large bowl and set aside.
- If using the Thermomix, with the motor running on Speed 8, drop the garlic clove onto the blade. Turn the Thermomix off.
- Add the remainder of the ingredients in the order listed and blitz on Speed 6 until you have a smooth, creamy mixture (about 1 minute). If using a food processor or blender, you want to blend until the lemon is well incorporated into the mixture.
- Pour the cheesy mixture over the kale. Stick your hands into the bowl and massage the mixture through the kale leaves until the leaves are thoroughly covered.
- Spread the kale chips evenly over the dehydrator trays, allowing space between the kale pieces if possible. Try not to overlap the kale pieces as they will not dry properly.
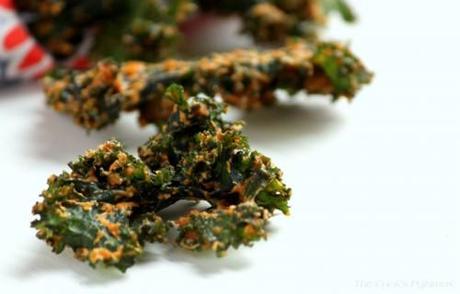
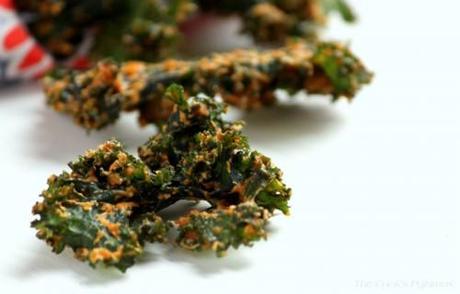
- Dehydrate until the kale chips are thoroughly dry and crisp. I usually do mine overnight and they are crispy by morning.
- Preheat the oven to 100C.
- Line baking trays with baking paper and then evenly spread the kale chips over the trays.
- Bake for approximately 45 minutes, until the kale chips are dry and crisp, turning the chips about halfway through the baking period. The baking period will obviously depend on how wet the chips were initially and your particular oven.
- Keep an eye on the chips, and if they seem to be browning rather than drying turn the heat down.
- These chips will keep in an airtight container for about 2 -3 days, although I will be surprised if they last that long.
- They may start to soften if not completely sealed. If this occurs, you can either put them back in the dehydrator or just give them a brief spell in the oven.
Nama shoyu and tamari are both varieties of Japanese soy sauce. I use them as I find the flavor richer and deeper than traditional soy sauce. If you don't have either then just use soy sauce instead. 3.2.2499
You may also like these posts


