Rich. Decadent. Sticky. Three words which suit any dish sporting delicious gooey caramel.
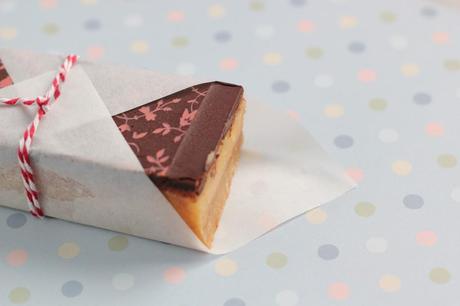
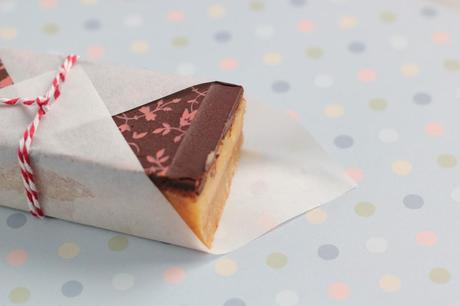
For the caramel lover a fine caramel slice is heaven, gooey caramel sandwiched between biscuit and dark chocolate. Could one ask for anything more??

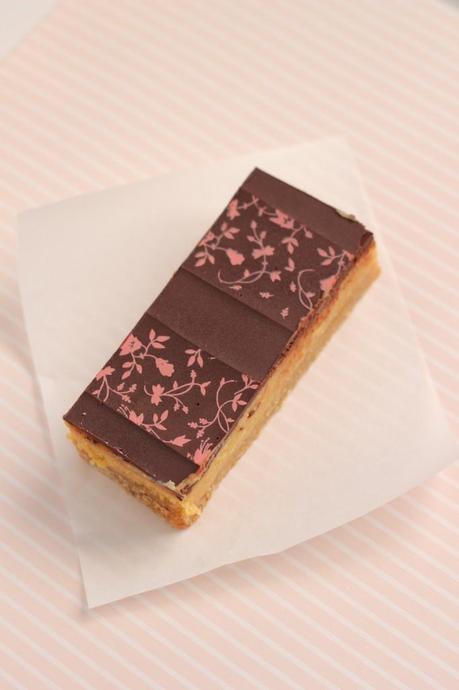
This recipe is so easy – even if you’re scared of making caramel. Made in three easy steps it’s a great recipe to have on hand when you need a lovely, decadent slice that can definitely win friends and influence people! The chocolate transfer sheets add a pretty crown to dress up the dark chocolate. Available at most cake decorating stores (I purchase mine from Cakes Around Town) they are ridiculously simple to use and come in a million different designs. They do melt in the heat though – so keep that in mind when storing!

- 1 cup plain flour
- ½ cup brown sugar
- ½ cup desiccated coconut
- 125g butter, melted
- 100g butter extra
- ⅓ cup golden syrup
- 200g dark chocolate
- 1Tbs vegetable oil
- 2 x 395g condensed milk
- generous pinch of salt flakes to taste (for caramel)
- 1 chocolate transfer sheet
- Preheat a fan forced oven to 160 C and line a 18cm x 28cm lamington tin with non-stick paper.
- BASE: Combine flour, sugar and coconut in a mixer then add the melted butter, mix well and then spread out, pressing the mixture into the tin to form the delicious base.
- Bake the base for 15-20 minutes or until golden. Whilst the base is cooking move onto the caramel filling.
- CARAMEL: In a medium saucepan on low heat meld the condensed milk, extra 100g butter and golden syrup. Season with a generous pinch of salt – this is key to cutting through the sickly sweetness which will overwhelm the slice once the chocolate is on board. Taste until you’re satisfied with the balance of sweet and salty flavours.
- Stir until smooth and golden then pour over the cooked base.
- Return the slice to the oven for a further 20-25 minutes. When done, set aside to cool.
- CHOCOLATE: In a small saucepan over a low heat melt the dark chocolate and oil – stirring until smooth. Pour over the cooled slice and place strips (or the whole sheet if you prefer) of the chocolate transfer sheets (the acetate backing on the transfer sheet should be facing up) on top of the cooling chocolate. Leave until completely cool and then remove the acetate from the transfer sheets, revealing a beautiful pattern.
- Cut into small slices for afternoon tea…or if you’re feeling naughty, larger slices for dessert.
Something to be aware of with this recipe is that once the slice has been stored in the fridge you loose the luster on the chocolate. As you can see below the humidity in the fridge has made the chocolate look dull


On 17 August we welcomed little Aniela into our family. Healthy and amazingly cute, Annie has brought so much joy to our doorstep. Baby + baking is a new challenge, which has made me realise how much time I wasted {Pinterest I’m looking at you} and how time is now made up like little shreds of confetti fluttered throughout the day..and night. Hopefully the munchkin will help make me more efficient, baking vintage recipes which are easy and delicious!

Emmy xx


