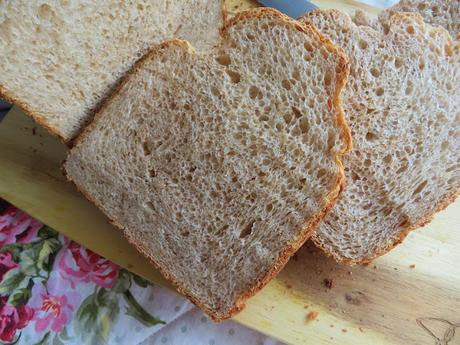
I have to say, although I am living on my own, that has not stopped me from baking and enjoying homemade bread. I am really getting a lot of use from my bread machine these days and I have been baking probably two loaves a week using it.
This past week I baked a loaf of Buttermilk Whole Wheat Bread using a recipe for the bread machine that I adapted from a recipe I found by Beth Hensperger in her book, The Bread Lover's Bread Machine Cookbook.
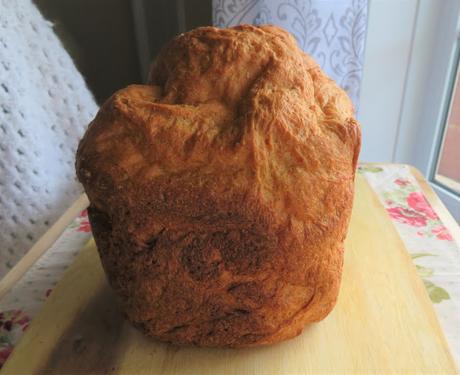
I cannot recommend this book enough. Every recipe that I have tried in it thus far has turned out beautifully, appearances aside. Admittedly when I saw this loaf, once baked, I thought to myself oh my . . . not exactly a pretty loaf.
Its all bumpy and lumpy . . .
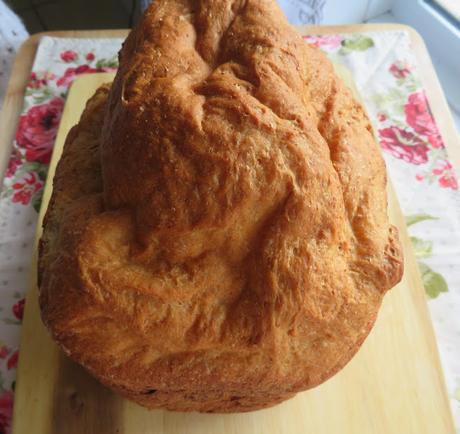
Even from the top. I had my misgivings and I will admit at first I thought it would be a failure when I cut it open. I mean, its not exactly ready to win any beauty contests. I am sure you will agree.
I thought that perhaps it had a big air bubble on top. It kind of looked like it did. It was all I could do to wait for it to cool to room temperature so that I could slice into it and see what it looked like on the inside.
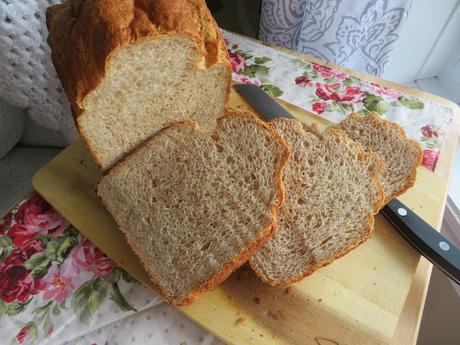
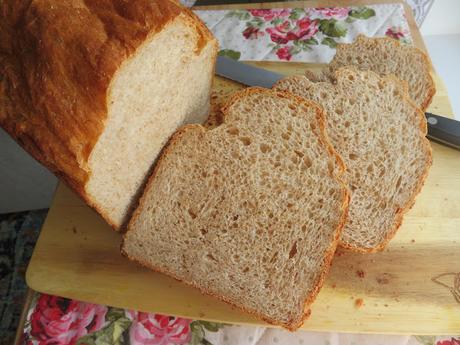
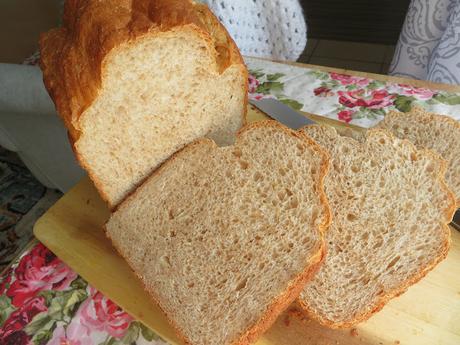
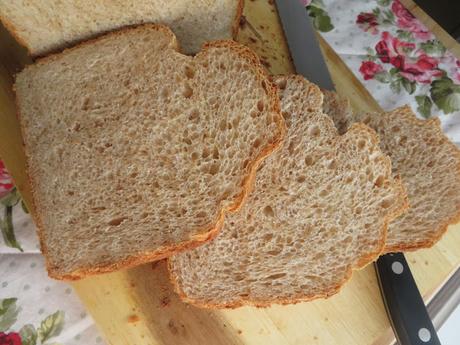
All my fears were for naught however, as is plain to see. There was no huge air bubble and the consistency is perfect, as is the crust. This is a really lovely loaf of bread!!
I immediately enjoyed a slice spread with cold butter. Oh my but it was really, REALLY good! It surpassed my every expectation.
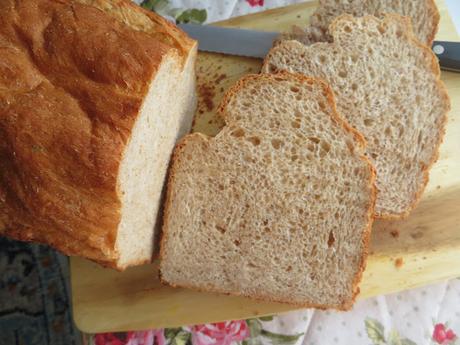
Generally speaking whole wheat loaves will not rise as tall as their white bread counterparts, and I guess the nature of the flour used means that they might actually have a tendency to be a bit lumpy and bumpy.
But this loaf pleasantly surprised me. With a mixture of both whole wheat and white bread flours, and sweetened with maple syrup, and then not forgetting the addition of the buttermilk, it made for a really delicious wholesome loaf of bread!
WHAT YOU NEED TO MAKE BUTTERMILK WHOLE WHEAT BREAD
There are a few specialty ingredients, but most are simple every day ingredients, and things we will all probably have in our own kitchens.
- 1 1/8 cups (250ml) buttermilk
- 2 TBS canola oil
- 2 TBS maple syrup
- 1 1/2 cups (210g) whole wheat flour
- 1 1/2 cups (210g) bread flour
- 1 TBS plus 1 tsp vital wheat gluten
- 1 1/2 tsp salt
- 2 1/2 tsp bread machine yeast
The buttermilk used here is dairy buttermilk. If you don't have any, you can easily make a substitution in one of two ways.
One, add a TBS of either lemon juice or white vinegar to a measuring cup and fill up to the measure required with whole milk. Leave for five to ten minutes to clabber.
Two, mix together equal amounts of full fat plain yogurt and full fat milk to equal the measure of buttermilk required. Leave to clabber for five to ten minutes. Easy peasy. This is my preferred method.
Don't, and I mean this with all of my heart, do not substitute pancake syrup for the maple syrup. You do want to use the maple syrup. The two ingredients are not the same, nor do they have the same viscosity.
Vital Wheat Gluten is something I only recently started using and I have to say it really makes a difference in the loaves produced. It is not 100% required, but it does make for a much nicer loaf.
Note - Vital Wheat Gluten is not the same as Vital Wheat Gluten Flour. Vital Wheat Gluten is much more concentrated and not to be confused with the flour.
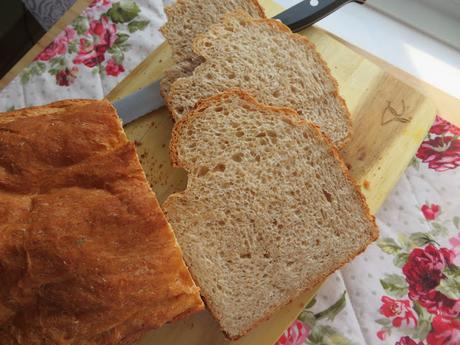
How you put this together will largely depend on your own model of Bread Machine. Some machines require that you put the liquid ingredients in first, followed by the dry. Others, like mine, the Panasonic Automatic Bread Maker Model# SD-RD250, require that you put the dry ingredients in first followed by the wet.In all cases, do not let the salt come in contact with your yeast as it will hinder the ability of the yeast to do its job.Follow the instructions as per your own bread machine model.It is possible to use the dough cycle on your machine and then transfer the dough to a bread pan, let rise, and then bake in the more conventional way if that is your preference. You will still have a lovely loaf of bread. See the recipe notes for instructions on how to do that!
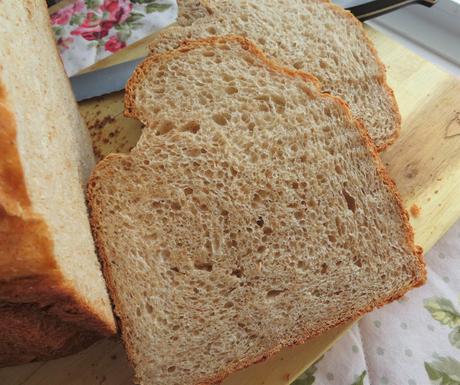
I can say with all honesty that this is the favorite loaf I have baked with my machine thus far. It has a beautiful crumb and texture and is not overly sweet. I was very happy with it.
Some other bread machine recipes you may enjoy are:
BASIC RUSTIC LOAF - Not 100% whole wheat but a beautiful combination of wheats, whole grain and other wise. It slices like a dream and has a beautiful texture, equal to or better than any store bought loaf out there. In fact I would say that is is far better than a store bought loaf!
BREAD MACHINE PARKER HOUSE ROLLS - Lovely rolls made using the dough cycle and then shaped and baked in the conventional way. MILK AND HONEY BREAD - This recipe produces a lovely tall loaf with a beautiful crumb. Soft, tender and slightly sweet. Perfect for sandwiches or along side a nice bowl of soup, stew or chili!
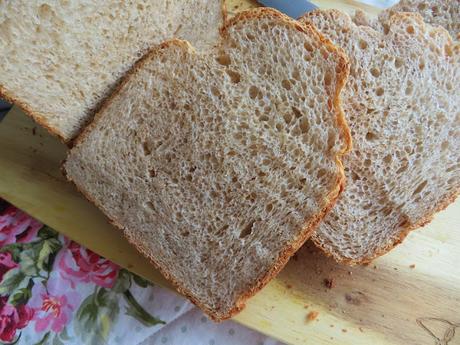
Buttermilk Whole Wheat Bread (Bread Machine)
Yield: 1 1/2 pound loafAuthor: Marie RaynerThis is a recipe for the bread machine that makes an absolutely beautiful loaf of bread. Of all the loaves I have made thus far, it is my favorite. Moist from buttermilk and sweetened with maple syrup.Ingredients
- 1 1/8 cups (250ml) buttermilk
- 2 TBS canola oil
- 2 TBS maple syrup
- 1 1/2 cups (210g) whole wheat flour
- 1 1/2 cups (210g) bread flour
- 1 TBS plus 1 tsp vital wheat gluten
- 1 1/2 tsp salt
- 2 1/2 tsp bread machine yeast
Instructions
- Place all of the ingredients into your bread machine according to the directions for your bread machine. (In my machine (Panasonic) you put the yeast in first, then the flour, then salt, gluten, then the wet ingredients.)
- Set crust on medium and program your machine for the basic or whole wheat cycle. Press start.
- As soon as it has finished baking, remove the bread from the pan, placing the bread onto a wire rack to finish cooling completely to room temperature.
Notes
- It is possible to bake this bread in the traditional way. Simply use the dough cycle on your bread machine. Once finished, take it out, punch down, shape and place into a 1 1/2 pound loaf tin, cover lightly and allow to rise in a warm place until doubled in size. Preheat the oven to 350*F/180*C/ gas mark 4. Uncover the bread, place it in the oven, and bake for 35 to 40 minutes, tenting it lightly with aluminum foil after 20 minutes to prevent over-browning. A digital thermometer inserted into the loaf's center should register at least 190°F/88*C.
Did you make this recipe?
Tag @marierayner5530 on instagram and hashtag it # marierayner5530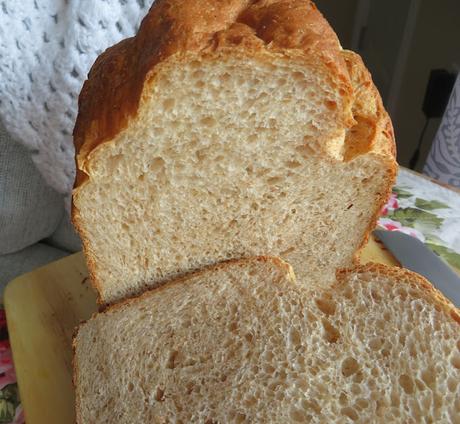
This content (written and photography) is the sole property of The English Kitchen. Any reposting or misuse is not permitted. If you are reading this elsewhere, please know that it is stolen content and you may report it to me at: [email protected]
Thank you so much for visiting! Do come again!
Follow my blog with Bloglovin

