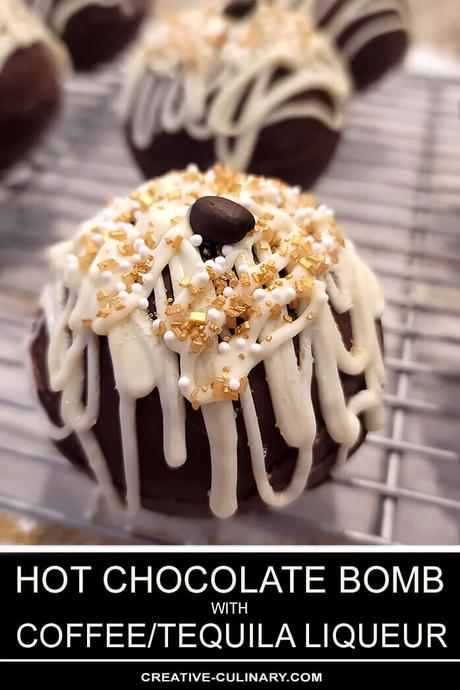
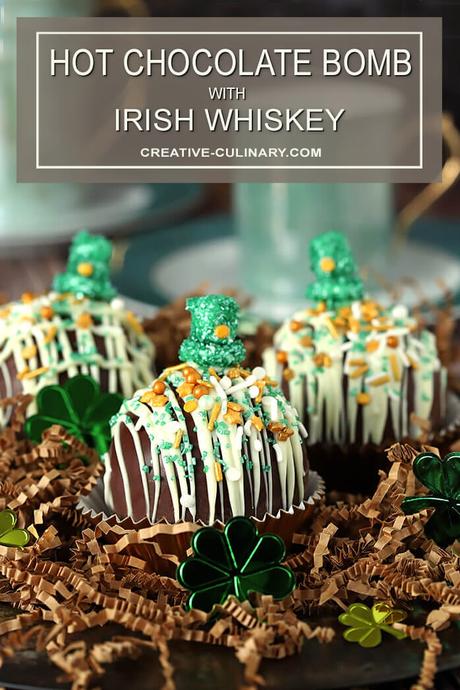
Hot Chocolate Bombs are all the rage, filled with marshmallows for a fun 'explosion.' The explosion is more subtle with Boozy Hot Chocolate Bombs; it includes an ounce of liqueur or liquor inside delicious chocolate for a fabulous treat!
You must have seen them, right? The Hot Chocolate Bomb phase is very real; inspired by a Tik Tok video, which I admit I've never seen. But I did jump on the bandwagon; who doesn't love hot chocolate especially when it's made with luscious chocolate and includes marshmallows too; the little surprise when they melt and open up. If that sounds good you'll love my version; Boozy Hot Chocolate Bombs!
True to form for me, I saw this trend and thought, 'Hmm, maybe a bit of booze in lieu of those marshmallows?' and a very good thing was born.
I made my first batch for Valentine's Day. And I don't mean I made them in December so I could carefully craft a post that would be gaining some traction in time for Valentine's Day...no, I made them two days before the day to give to my neighbors...I might have missed that moment to blog about them but my friends were sure happy.
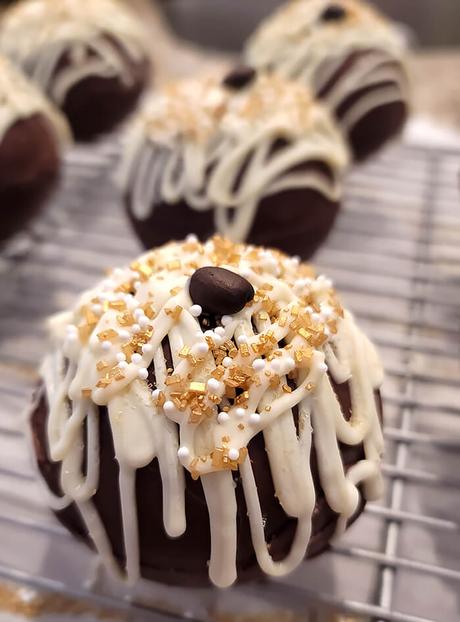
These babes were filled with a combination of hot cocoa powder and a coffee/tequila liqueur. Oh my amazing!
My first effort used a combination of Ghirardelli Chocolate Chips and had one of my favorite liqueurs inside, Cabo Wabo Diablo...a tequila and coffee liqueur. Using the right chocolate and including a touch of the right liqueur will result in a fantastic cup of hot chocolate and the varieties are endless to celebrate special occasions.
I thought the entire process of making Boozy Hot Chocolate Bombs fun, but not without it's pitfalls. I hope to share with you some of what I learned in this post so that if you decide to go a similar route your trip will be easier!
The bottom line is this...sealing up chocolate so that some powdered mix and marshmallows doesn't scatter is about a million times easier than making sure NO liquid escapes. Maybe a billion even!
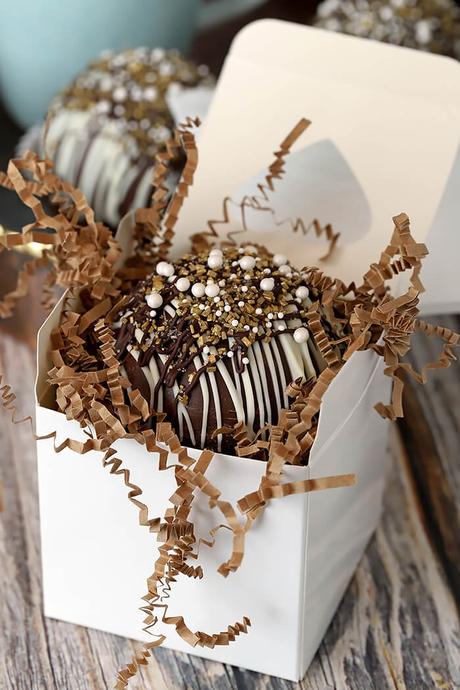
Still, when I gifted these to friends and neighbors, they do make a beautiful presentation and the real gift is the time you take to make something special.
So I'm going to do something that's not typical...I'm sharing steps of the process with photos; these are fun to make and hopefully some of my experience will make them fun for you without the stress I had the first go around!
First things first..use good chocolate. If you decide to make these for kids, the process is the same but you'll eliminate the booze and add some hot cocoa mix and marshmallows. You can try regular chocolate chips or chocolate candy melts because kids are not as discerning but not for these.
A friend of mine, Anita who blogs at Hungry Couple NYC, made these adorable S'More's Hot Chocolate Bombs. She used Hershey's Chocolate Bars and let me just say, not something she would recommend.
The type of chocolate you use does matter; we are finding that out through lots of trial and error and some delicious taste testing along the way! Decorating with it is fine...just don't use it to make the forms.
I mentioned I used Ghirardelli Chocolate Chips (just for your info; purchase at your local grocery; they are way less expensive than online at their site or on Amazon). The resulting hot chocolate was absolutely delicious, very rich; the quality was obvious.
Other choices would be good chocolate bars like Lindt. I found that for me, I loved combining equal amounts of semi-sweet chocolate with milk chocolate; sort of my nirvana of chocolate.
So let's get to the process!
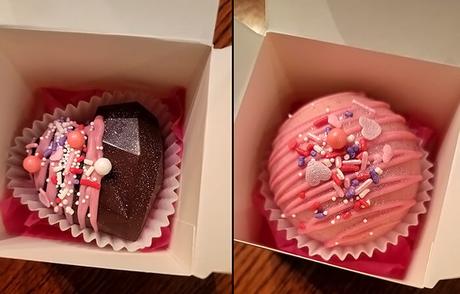
- Step one? Well it could be heating the chocolate but step one for me is cutting the form you use into individual pieces. I have a neighbor who has been making and selling these the last several months and Heather kindly gave me this tip. Seriously makes filling them so much easier than trying to do an entire form. You'll see what they look like in Step Three but I have to share adorable ones I bought from Heather for the kids on my street...I made the boozy ones but didn't want to leave them out!
- I used this form; most come in a sort of burnt red and I thought it was hard to determine if the chocolate was thick enough; the colors are too similar.With these bright blue babies, that is no longer an issue! If you see some blue though the chocolate, you know to dab a bit more chocolate in there.
- Melt your chocolate in a double boiler or a gerry-rigged version with a saucepan and a heatproof bowl on top. Chocolate that gets too hot seizes and is ruined...trying to keep on top of it's temp when microwaving it is simply not worth it. Trust me. The best way to temper your chocolate is to use a thermometer and make sure it does not get above 90 degrees Fahrenheit.
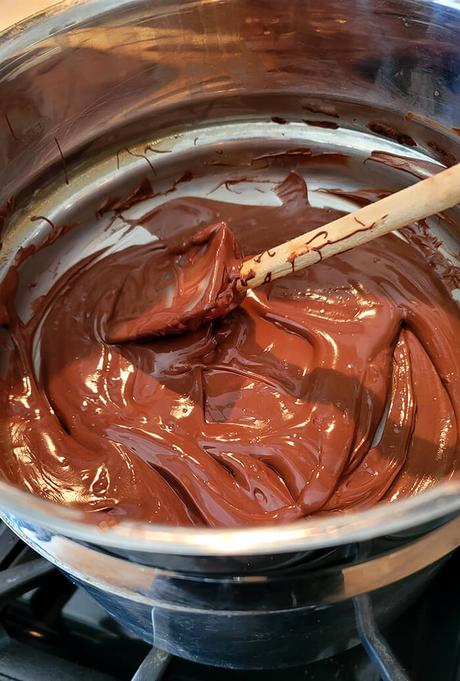
- Starting with about a Tablespoon of melted chocolate, use the back of a spoon to spread it all over the form, making sure you make a rather thick edge of it where the two pieces will meet. Use more chocolate if necessary...with these more is always better!
- Put the forms on a tray with parchment paper UPSIDE DOWN so that any extra flows to the rim and either freeze for 5 minutes or put them into the fridge for a bit longer.
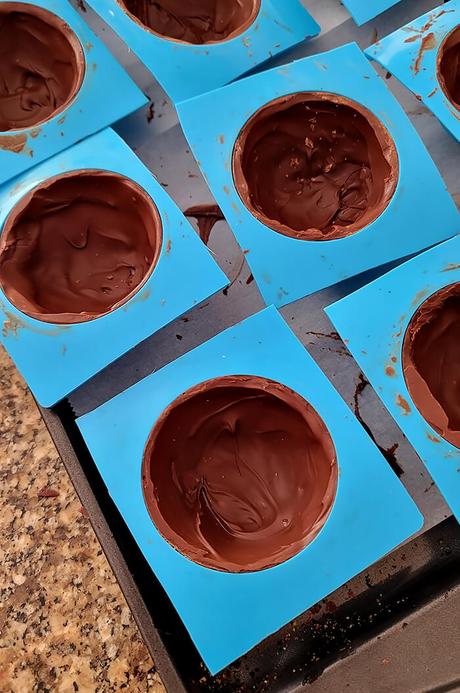
- Seriously working with one at a time is SO much easier than trying to do a form with six sections. See how thick that rim is? Perfect!
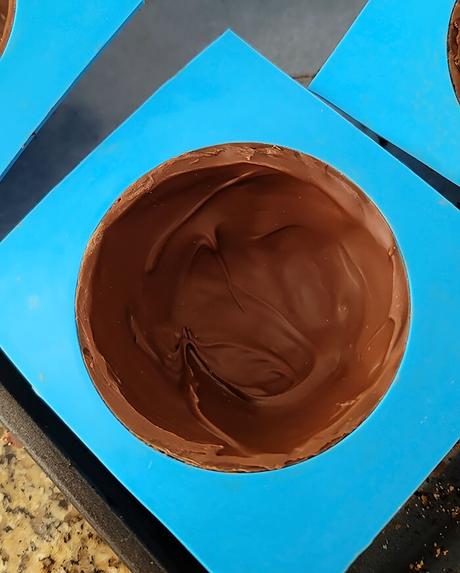
- Once they have adequately chilled remove them from the fridge or freezer and peel off the silicone form; it should be easy. Don't handle the half sections too much; tempered chocolate should not melt too easily but better safe than sorry right?
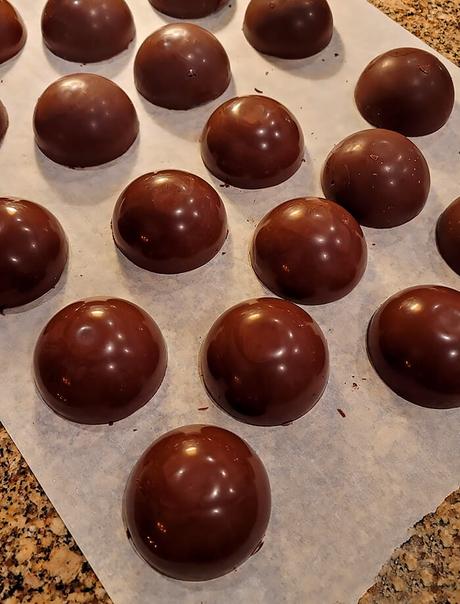
- Once the half spheres are completed, most recipes I've seen call for simply warming one half by putting the edge on a warm plate, filling it, and then warming the edge of the second piece and adhering them together. That might work when marshmallows are inside but I thought it more problematic with a liquid.
- So I changed things up a bit. I added some hot chocolate mixture to the liqueur or liquor I used to make it like a paste and I stuck the top and bottom pieces together with additional chocolate that I piped on the edge of them; that made a huge difference and one I recommend.
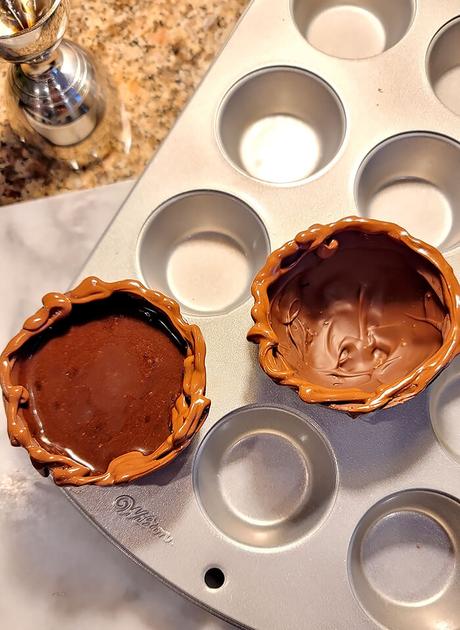
- That edge has to be solid chocolate sealing the top and bottom together so I piped a thin amount along the edge, filled one half, topped with the other piece and then smoothed any extra with my fingertip. With liquid inside, the finished 'bomb' has to be tight. Should I share how much liquid seeped out of mine while I tried to figure out the best way to do this?
- Enough, I'll say that! I worried endlessly about that seam being perfect. Don't. Once you're done and you've both drizzled more chocolate on it, added some sparkle, and put it into a pretty cupcake wrapper, no one, including you, will notice an imperfection. I did find my Wilton Mini Cupcake Tins to be perfect for holding my pieces while working.
- You can even forego smoothing that rim and rolling the edge in sanding sugar or other decorations for a simple way of making them pretty.
- When all of the forms are filled and ready for decorating, please please please remember that I said to use a double boiler OK? White chocolate is even fussier than dark chocolate; watch the temp carefully. If you use the same pan and wash it, make sure it is totally dry, water is the devil if it gets in melted chocolate. If you're using a bowl, just use a second one, even safer.
- After piping on the white chocolate, I decorated with gold sparkles and white pearls. Honestly go crazy with what you love. For the one I made for St. Patrick's Day, I used a mixture of gold and white shapes and green crystals. I love the decorating part, it's what makes this fun. I even bought a new mixture for Easter...of course I'm going to make more regular hot chocolate bombs for the kids on my street and these are perfect colors!
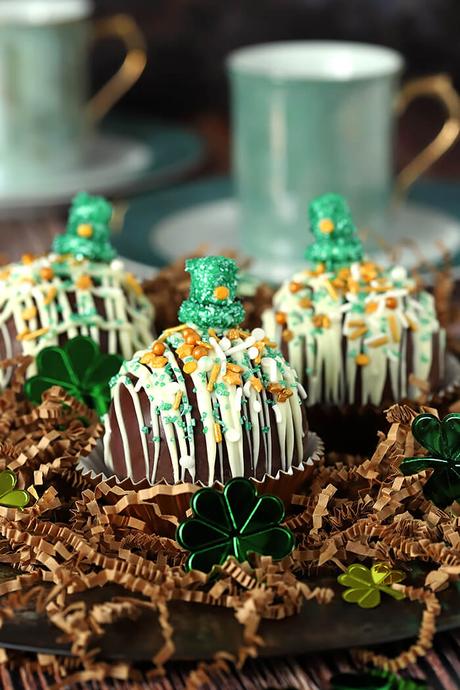
- If you've never piped before before; keep it simple. I used some small sandwich bags for the melted chocolates, snip a little (and I mean REALLY little) from one corner and you've got a small piping bag.
- Better too when dribbling on the hot chocolate bombs if you do it from a bit of a distance, too close and I thought the chocolate was too thick. And like anything, practice makes perfect. Amazing how much quicker I pulled off my second try for St. Patrick's Day compared to that Valentine's Day effort.
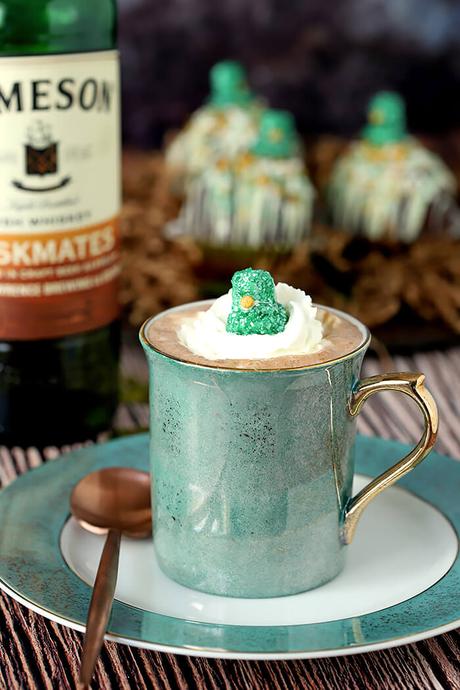
Of course the best part is enjoying the Boozy Hot Chocolate Bombs. Warm, rich, and delicious, it's the perfect cup of hot chocolate. I made the little green hats with two mini marshmallows. I flattened one for the brim part; dunked both pieces quickly in water and then rolled them in green cake decorating sugar.
Let them dry for a bit and then attach the two pieces with a dot of white chocolate and another dot to 'glue' it to the boozy hot chocolate bomb. They were easy to pull off when I went to serve the drink and I got double duty out of them as a garnish too!
While this post concentrates on how to make a Boozy Hot Chocolate Bomb with a liquid filling, if you want to go non-alcoholic, it's easy. Instead of the liquor, fill the bottom half of your chocolate bomb with a couple of Tablespoons of Hot Cocoa Mix (I prefer the Ghiardelli brand) and a small handful of marshmallows.
Proceed to seal them as instructed or for a bit quicker method since there is no liquid to worry about, simply place the bottom section on a warm plate for a minute to melt the edge, fill it with the marshmallows and hot cocoa mix and then repeat with warming the edge of the 2nd half and seal the two together.
Boozy Hot Chocolate Bombs are a fun and creative venture and a delightful drink to boot; once you start you'll find all sorts of ideas that would require the perfect boozy hot chocolate bomb!
PIN IT! 'Boozy Hot Chocolate Bombs'
