Although I only had a few days to cook before we left on our family trip to Alabama to see relatives, I felt like I had to make the most of this week’s box. Nothing makes me more sad than having to toss beautiful produce, so I tried to use up as much as I could – by either eating, freezing, or preserving.
The good news is that I got through most of it.
And there was a lot to get through – here is what we received in this week’s box:
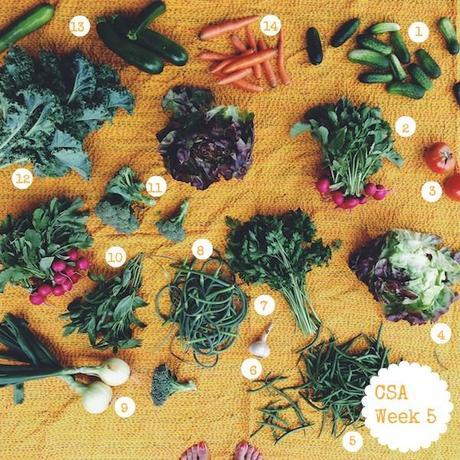
- Kirby cucumbers
- Radishes*
- Tomatoes*
- Buttercrunch lettuce
- Green beans
- Fresh garlic
- Parsley
- Garlic scapes
- Yellow onions
- Basil
- Broccoli
- Kale
- Zucchini
- Carrots
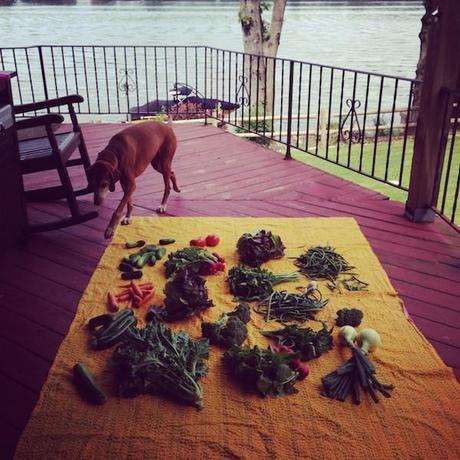
I just had to take this shot of Action Jackson working his way around the vegetables – our boy is never too far out of reach from our food. Even this guy will eat his greens…
I did have some help this week – at the beginning of the week I received an incredible set of cheeses from my friends at the Vermont Creamery. My fridge was packed with crème fraiche, mascarpone, aged goat cheese in all kinds of shapes, sizes and maturities. When you start with great ingredients, it’s almost hard not to cook delicious meals.
One of the first things that I made with my new cheese stash was a whipped rosemary goat cheese spread, which is perfect as a light meal on toasted bread and fresh tomatoes.
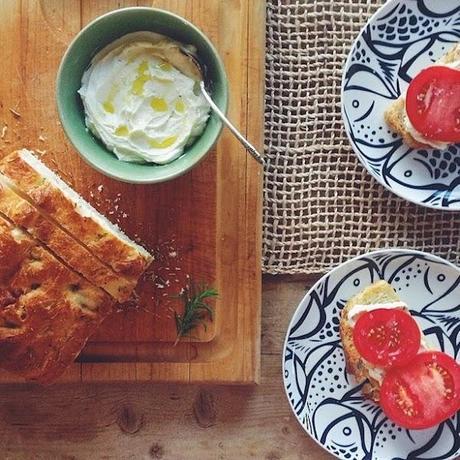
To make the whipped goat cheese spread:
Soften a 4-oz package of goat cheese, and then whip with a handheld mixer until crumbly. Add a few tablespoons of heavy cream, and continue to whip until light and fluffy. Add a tablespoon or two of chopped rosemary, and serve alongside toast, grilled bread, or even on top of grilled fruit. Fabulous especially on peaches with a drizzle of honey.
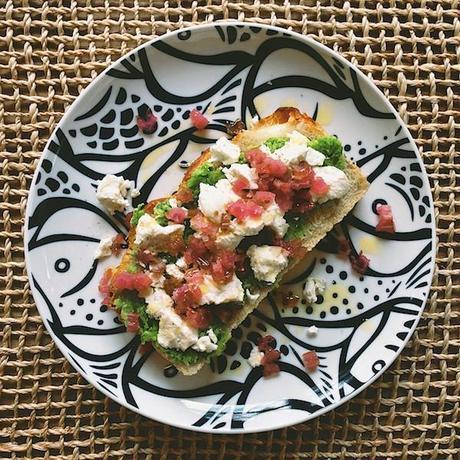
And with a few logs of crumbly goat cheese, I knew that I’d be making tartines for breakfast, lunch and dinner.
This one has some of the leftover pesto from Week 3′s box (click here for the recipe), and is topped with some goat cheese crumbles and pickled chard stems that are still kicking it in my fridge, courtesy of Week 1′s box (click here for the recipe).
A few weeks ago I’d picked up some smoked trout at the grocery store. Fresh fish is hard to come by in our area, but smoked salmon and smoked trout are readily available and delicious, so I’ve been trying to use them where I can. The crème fraiche from Vermont Creamery had smoked trout spread written all over it. Don’t judge before you try it – it’s wonderful. My husband quickly changed his opinion from “I’ll probably pass on that” to “damn this is delicious” once he’d taken his first bite. It’s not at all fishy- just creamy, smoky and a little salty. Perfect as a dip for my fresh, super crunchy CSA vegetables.
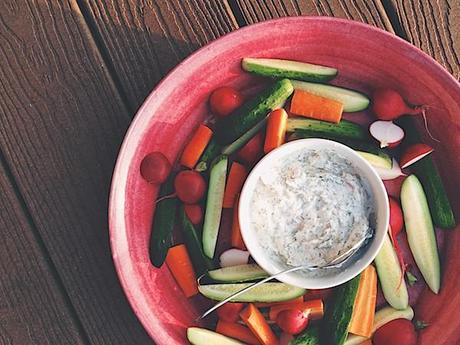
To make the smoked trout dip:
Stir together the following: 8 oz of crème fraiche, 8 oz of plain Greek yogurt, and 1 lemon, squeezed. In to the mixture, add 8oz of smoked trout, flaked (pulling out as many of the tiny pin bones as you can – but a few left in there are fine- they’re edible). Gently fold the smoked trout into the dip, and then fold in a handful of chopped dill. Season to taste with salt and pepper.
My whipped goat cheese experiment resulted in lots of leftover spread which I had no problem incorporating into all kinds of meals. Like breakfast one morning where it topped a heaping plate of toasted ciabatta, smoked salmon, soft-scrambled eggs and dill.

To make the ciabatta and scrambled eggs:
Slice a full ciabatta in half and set the base aside- you can reserve the top for another use. In a medium bowl, whisk 8 eggs and 2 tablespoons of half and half along with a pinch of salt and pepper. Heat a medium sautee pan on medium heat, add a pat of butter, and scramble the eggs, stirring the whole time so that you end up with small soft curds. While the eggs are cooking, toast the ciabatta. To assemble, lay the toasted ciabatta on a cutting board and cover with some sliced smoked salmon. Pile the eggs on top, and then add a few dabs of leftover whipped goat cheese (or simply crumble a little goat cheese on top). Sprinkle the whole thing with chopped dill and cut into quarters.
And beets….goat cheese…you guys should already know by now how I feel about this dish. Match. Heaven-made.
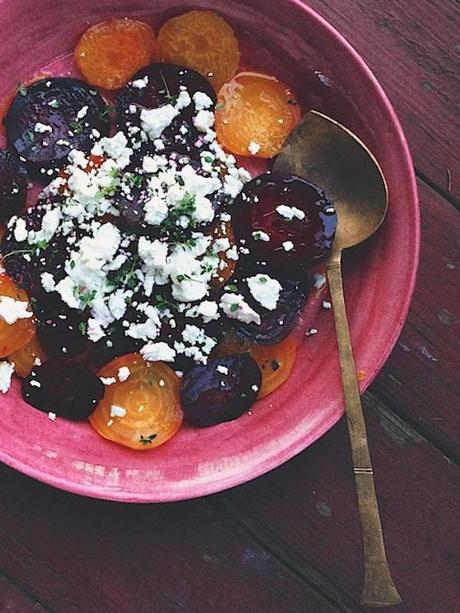
To make the beet salad:
Roast a mix of 3-4 golden and red beets (total) in foil at 350 degrees for 60-90 minutes, depending on size. When the beets have cooled, remove from foil, and rub off the skin and any stem. Slice crosswise, and plate. Crumble some goat cheese over the top, and drizzle the plate with olive oil and white wine vinegar. Garnish with some lemon thyme, and a big sprinkling of flaked salt and cracked black pepper.
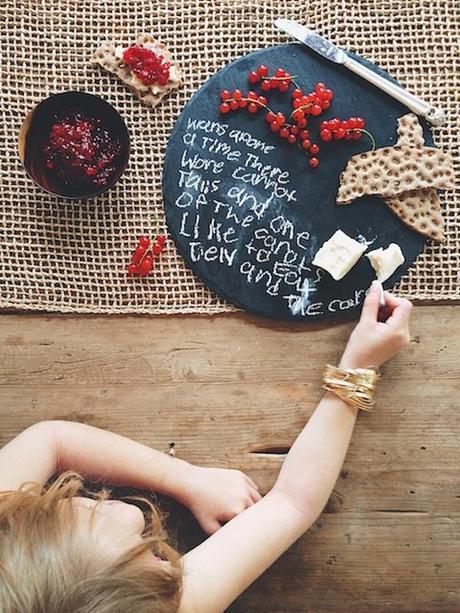
One of the exciting dishes that I cooked this week used some red currants that I found at a vendor next to the Bialas stand. I’ve forgotten the name of the farm, but I promise to hunt it down for you guys because currants aren’t always easy to find.
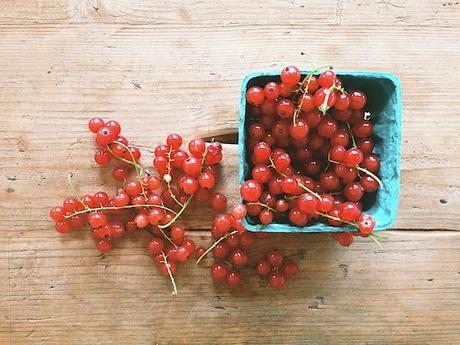
If you’ve never had fresh currants, this is THE dish to make – a ginger and Kirsch-spiked jam that’s delicious as an accompaniment to aged goat cheese (this is Vermont Creamery’s Bijou cheese), but also can give your standard PB&J a fun twist. Especially when paired with almond butter.
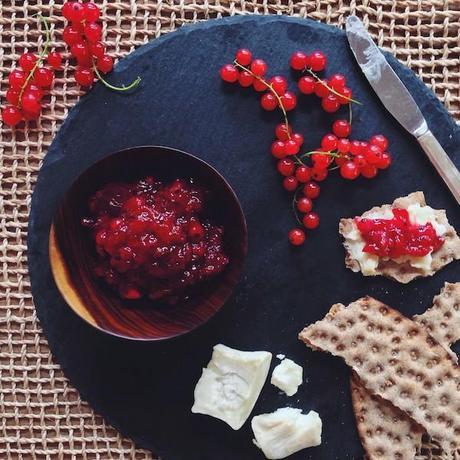
This cheese plate is now the most famous dish on the blog, having been featured on the Bon Appetit website last week.
To make the red currant jam:
In a medium saucepan on medium heat, add 2 cups of cleanted currants, ¼ cup of granulated sugar, and a splash of Kirsch and ginger syrup. If you haven’t got the ginger simple syrup on hand, you can either make it at home using this technique, or you can simply grate a little fresh ginger into the currants using a microplane. Simmer the mixture for 50-60 minutes until thickened, and let cool. This makes a fairly tart jam, so if you prefer a sweeter jam, add a little more sugar.
PS: Chalkboard cheeseboard to be purchased separately. And clearly you should get one of these, even if you don’t use it for its intended purpose.
I have to say that in all of my boxes I’ve rarely been as giddy about the produce as I got over the two heads of buttercrunch lettuce. The size! The rosebud shape!
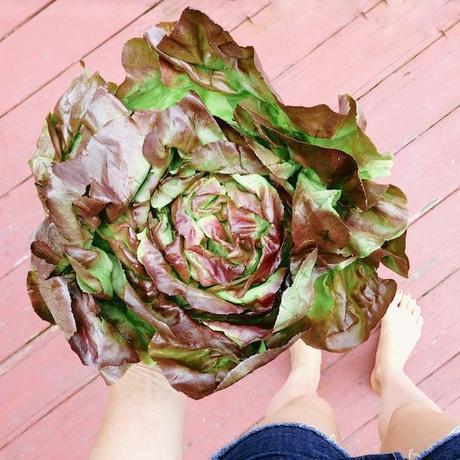
I was so excited to make this (as Kasha at Bialas suggests) into lettuce cups. Kasha suggested a few different options including hummus, and shrimp with peanut sauce. In my dire efforts to clean out the fridge before our trip ended up using leftovers both nights. Chicken with pineapple salsa from last week…
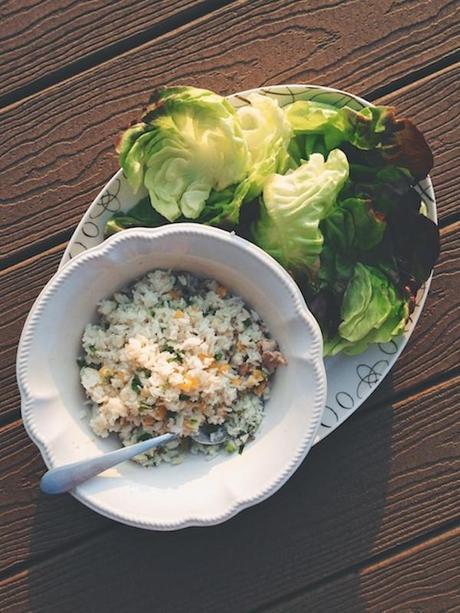
…which we ate down on the dock….

…and a far less glamorous burger patty smothered in some leftover garlic scape butter. Eaten while standing and Windexing the kitchen table the night before our trip, panicking that at 6PM I was still only half-packed for our trip.
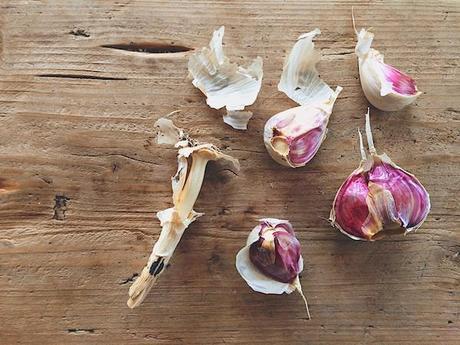
But if the lettuce got me excited, this was probably just as thrilling: my beautiful head of garlic, purple-tinged perfection. There weren’t 30 small undeveloped interior cloves that needed to be peeled. Just 4 or 5 big fat cloves with a spicy garlic punch. This garlic was so good that I actually brought it to Alabama with me to finish using it. If I never eat kind of garlic again it’ll be too soon…
And when garlic’s in the picture, panzanella is always around the corner. Stale bread (which I always have on hand) is toasted and rubbed with garlic, then tossed with some vegetables and dressing. Perfect summer food. The kind of food that I dream about in the Winter….
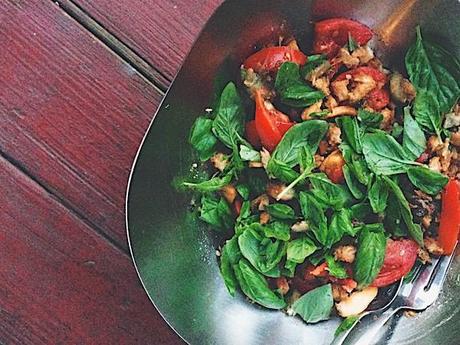
To make the panzanella:
Toast a few slices of stale bread in the oven at 350 degrees until golden (approximately 10 minutes). Once the bread is toasted, remove from the oven, rub with a clove of garlic, and tear into chunks. In a large serving bowl, make your dressing, using a tablespoon of mustard, 1 tablespoon of white wine vinegar or lemon juice, and 1/3 cup of olive oil + salt and pepper. Add the torn bread to the bowl with the dressing. Slice 2-3 tomatoes into half moons and add them to the bowl, with a handful of torn basil. Toss to combine. (This is a basic panzanella recipe ¬– feel free to add your favorite grilled or roasted vegetables and herbs, sliced or pickled onions, etc.)
And a few weeks ago I promised you kale. Here is your kale…Baked into chips – having now tried both the flatter Lacinato or Tuscan varieties and this – curly kale – I can now confidently say that the curly version is my favorite for chips. It makes a crisper chips with more frilly surface area.
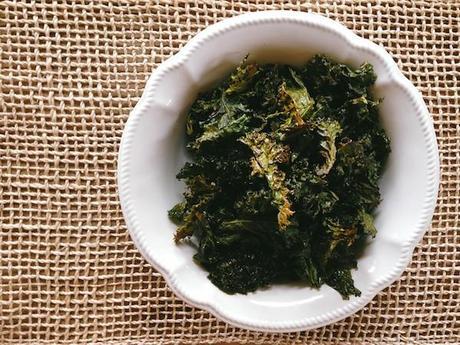
To make the kale chips:
Clean and prep the kale by tearing the leaves into large pieces and tossing the ribs. Rub the kale with olive oil, and season with salt and pepper. Spread on a large baking sheet and bake in the oven at 350 degrees for 20-30 minutes until crunchy and golden. Watch that your chips don’t burn.
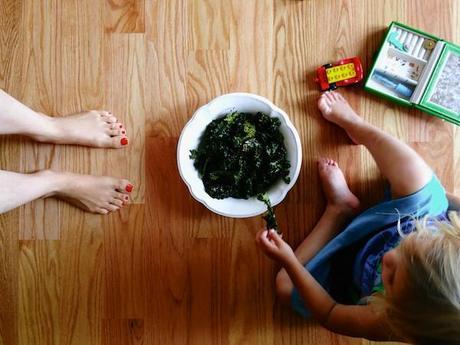
And the best way to get kale into your kids. Who still give me the raised eyebrow when I plunk a bowl of these chips down beside them. But they eat them, and have even grown to love them.
A few last notes before I go – I won’t include recipes here, but it’s worth sharing a few things that I learned this week.
1. That fresh corn in corn muffins is to die for. Just add a cup of freshly-shucked kernels right into your favorite corn muffin batter and they cook while the muffins are baking.

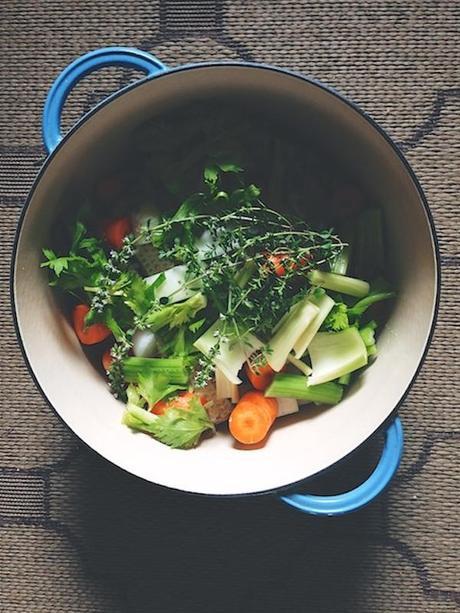
2. That when you’re worrying about an upcoming trip and have tons of fresh vegetables that will go bad when you’re gone: make soup! You’ll be thrilled when you can defrost a warming bowl of vegetable soup on a cool Fall evening – stir in a tablespoon of some defrosted scape pesto and you’ve got a kicked up Soupe au Pistou with no effort at all.
3. If you’re making one type of vegetable, just go ahead and make the whole lot. It’s easier to cook once and eat twice than to cook twice for two meals. I made all of the beets and used them for both the salad (above) pickled the rest for another day. Just use an empty pickle jar or Mason jar, and you can use your gorgeous beets all month long. Nothing like ready-to-go ingredients. For more on making quick fridge pickles, check out this post.
Hope that’s provided some more CSA inspiration – enjoy your vegetables and we’ll see you here again with some more ideas next week….

