We are definitely getting into Fall! The temperature is dropping, the leather boots have made their way out of the closet and into the daily repertoire, and the oven has been cranking away, replacing the grill as my cooking weapon of choice.
I picked up another great box of produce from our friends at Bialas Farms on Saturday….
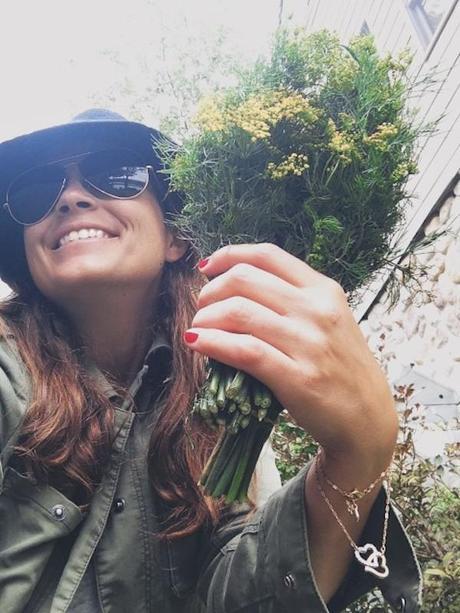
*Photo credit: Lauren, age 6
And yes, there was dill. Amongst other things, including…
- Dill
- Tomatoes
- Zucchini
- Chile Peppers (opt)
- Kirby Cukes
- Swiss Chard
- Bok Choy
- Poblanos *
- Sweet Corn
- Radishes
- Baby Potatoes
- Eggplant
Like I do most weekends after I receive my box, I made a tomato salad as soon as I got home. Which meant slicing up some heirlooms & fresh dill, and dressing the salad with nothing but good olive oil, aged Sherry vinegar, Maldon salt and fresh black pepper. Also typical these days, I had to make room on my dining room table in order to eat.
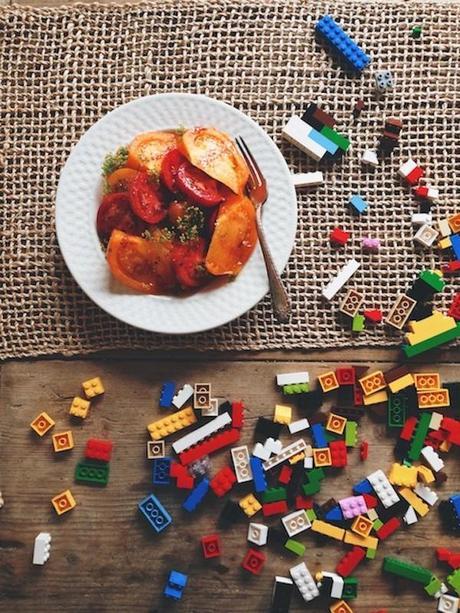
Lego building hit a high note as soon as I sat down, so I transferred myself to the floor so that I could look out the window.
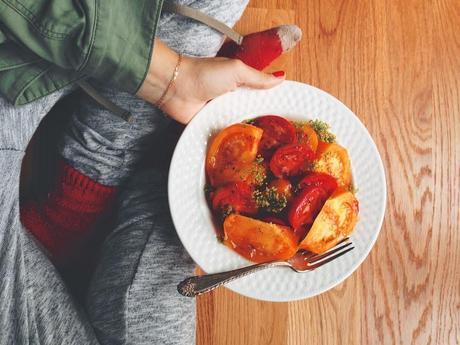
Inescapable…
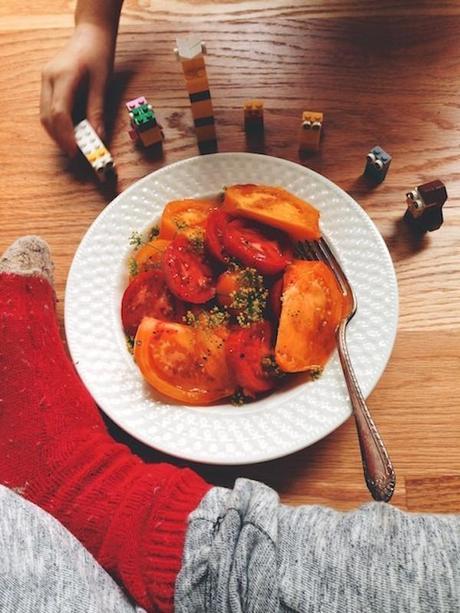
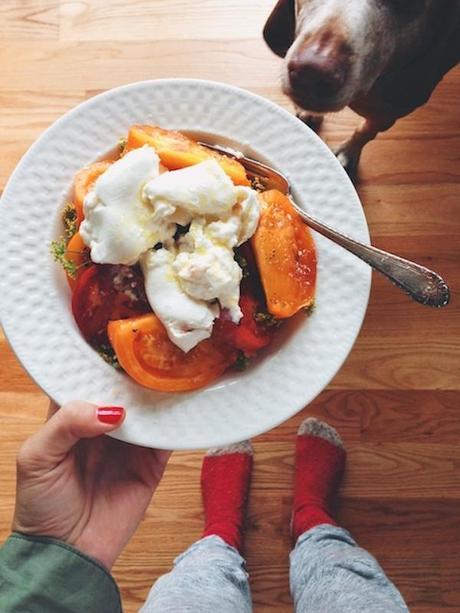
Forced back into the kitchen to get a little quiet time, I decided that my previous salad had been way too healthy and needed some help from a full ball of burrata cheese.
I discovered a new treat last weekend as well. I’ve been wanting to try this stuff for a while, having been intrigued by the concept of making ice cream with nothing but frozen bananas. Low and behold the trick actually works although it might have been my blender’s swan song. If you try this at home, make sure that your bananas are soft enough to blend (you can always firm it up in the freezer afterwards) or that you have a really good machine at your disposal (e.g. Vitamix, Blendtec). (For the record, a shiny new…ok, refurbished…red Blendtec is now on its way to my house, I’m beyond excited.)
I mixed in some of those beautiful elderberries into the ice cream and topped it all with a mix of chia seeds and pistachios. Salty/sweet/creamy – there is no way that this should have been breakfast. But it was, no regrets. And it’s healthy, so there’s nothing to regret anyway.
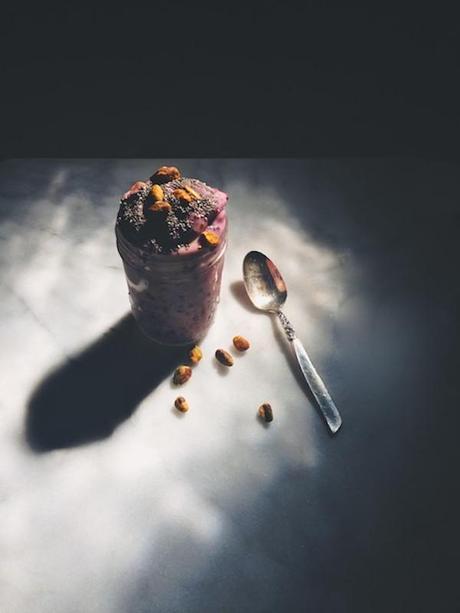
To make the banana ice cream:
Slice 3 bananas and leave them in the freezer overnight. If you’re working with a great blender, you can blend right when you take them out of the freezer, but if you’re working with a lesser blender, make sure to thaw them for 10-20 minutes so that you don’t damage your machine. You can also add a splash of liquid- milk, almond milk, coconut milk, water etc to help things along. Add a cup of frozen elderberries (or other berries) to the blender and blend until the fruit becomes a thick and creamy “ice cream”. If not frozen enough, throw in the freezer for 10-30 minutes to achieve desired consistency. Top with whatever nuts or seeds you have on hand for some added texture – I used plain pistachios and chia seeds.
I have big news this week. It should really be the topic of its own separate post, but here’s a little snippet….I learned to can!
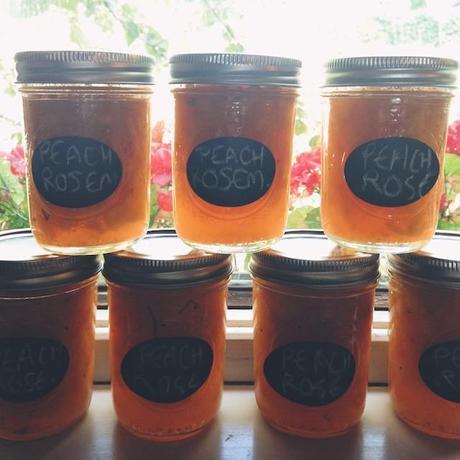
I’ve wanted to try my hand at preservation for a while but have always been a little worried about making food that could potentially harm people. So I took a class at the Natural Gourmet Institute two weeks ago and it was worth every penny. Although I’d read it before in canning books, it’s tough to mess up high acid foods. And with any other kind of spoilage (besides the big B whose name I don’t even want to mention here), it will be as clear as day that something’s wrong with the product when you open it. Off smells, colors, bubbling upon opening, etc.
OK, let’s mention it: botulism, because I don’t want to worry people by being evasive about it. It’s rare, really rare. We didn’t go into specifics in class, so I did a little research on my own when I got home: according to the CDC, 145 cases are reported every year in the US, 65% of those are foodborne, so with a little math, that gives you 20 cases. Which, given how many people in this country are canning, is next to nothing. The biggest lesson that I learned is to Follow A Recipe – something that has been time tested, or created with safety in mind. This is not the time to be riffing, although you can certainly add different spices and small amounts of other ingredients, e.g. bitters.
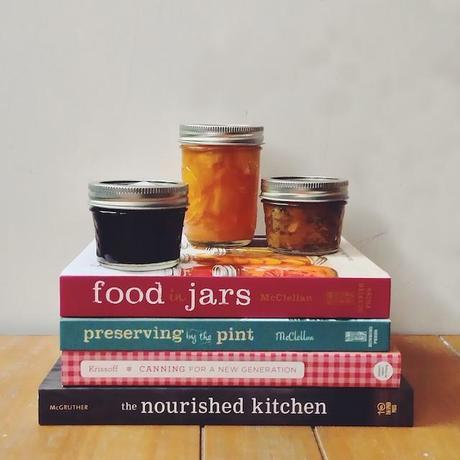
There are a ton of canning books on the market today, and I was thrilled to scoop up a few that seemed to be getting raves on Amazon. So far I don’t have a favorite book, but I’m enjoying the process of reading through these fantastic guides, and expect to be making many more jeweled jars in the weeks to come…
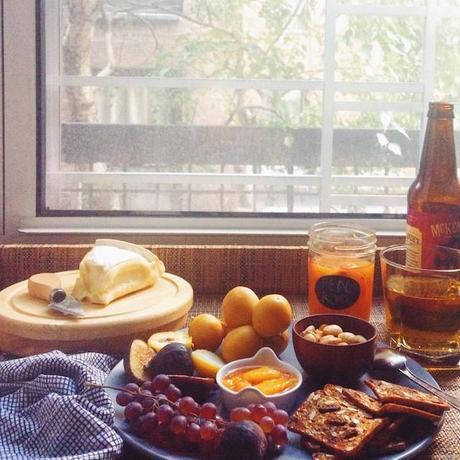
Of course I’ve been eating jam for breakfast, but it’s also been showing up on cheese trays.
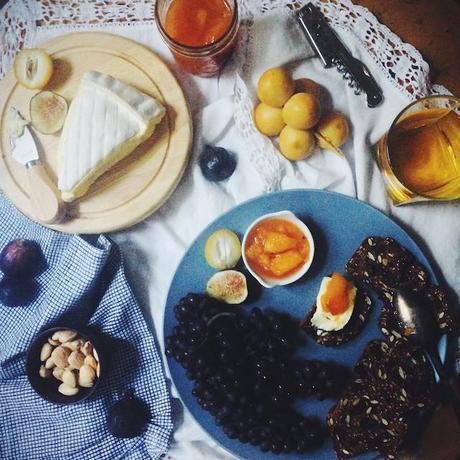
This Rosemary peach & black pepper jam has been indispensable- the flavor is incredible, and if you’re up for it (and have a load of late Summer peaches at your disposal), it’s worth a try. Keep in mind that any jam recipe can be made without canning and kept in the fridge for a few weeks.
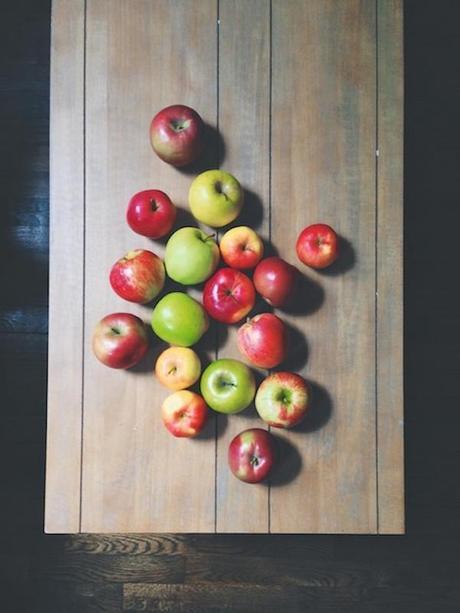
Apples have been invading the house this week. I made the apple cake last week, and was craving more this week, so I bought a ton of different varieties to supplement my CSA box, which tends to be heavy on the vegetables.
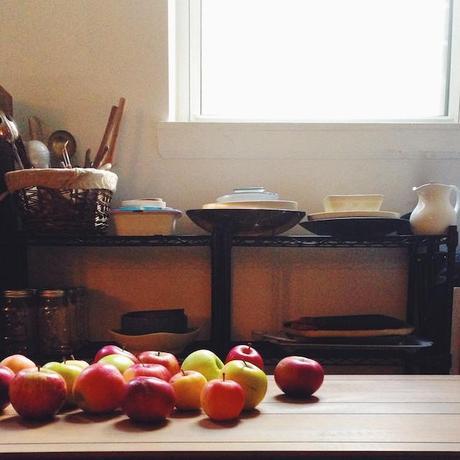
I’ve got my eye on a Dutch apple cake, which I didn’t have time to bake this week, but need to attempt next week, so will keep you posted.
But apples make a quick-fix breakfast. Here, I roasted some figs and grapes in the oven, and while they were roasting, I scooped some yogurt into a bowl. I then diced up some apples and fresh figs, topped the yogurt with all of the glorious fruit, and some salty pistachios. Fall in a bowl….
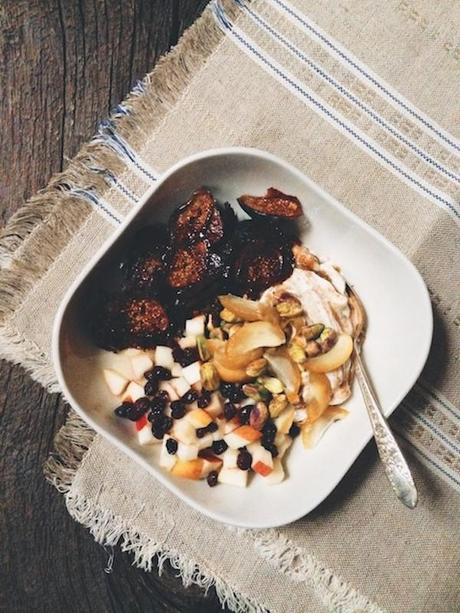
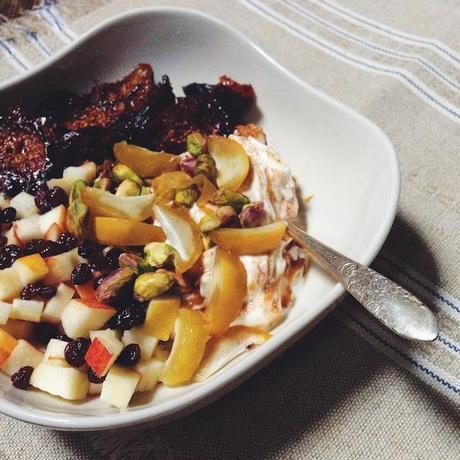
To make the yogurt bowl:
To make the roasted grapes and figs, slice 5-6 figs in half and place on a baking sheet that’s been lined with parchment paper. Add the grapes to the mix and toss the whole thing with a tablespoon of olive oil. Roast at 350 degrees for 15-20 minutes. While the fruit is roasting, prepare the rest of the ingredients. Add some yogurt to a large bowl (I used a date yogurt here – The White Mustache makes one of my favorite yogurts, if you can find it.), and add the following: 1 small apple, diced (I used Honeycrisp); 2-3 fresh, sliced dates, and ¼ cup of pistachios. When the fruit has finished roasting and is looking soft in the middle/charred on the edges, remove it from the oven and add it to the bowl & serve.
Now that I’ve talked about easy kitchen food, let’s talk about things that make cooking even easier, namely, 1) prepping in advance, and 2) cooking once for two meals.
As soon as I get home from my CSA box pick up, I like to prep ingredients for the week. Sometimes it’s as simple as washing and drying fresh greens or herbs. Other times I’ll go so far as to wash, chop, and sautee ingredients for a future meal.
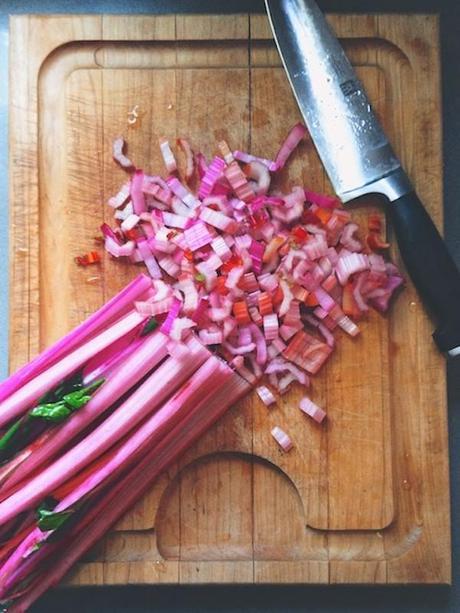
Do I know what the future meal is going to be? Almost never, but when you want a quick fix meal, it’s always nice to know that you’ve got most of the work done already.
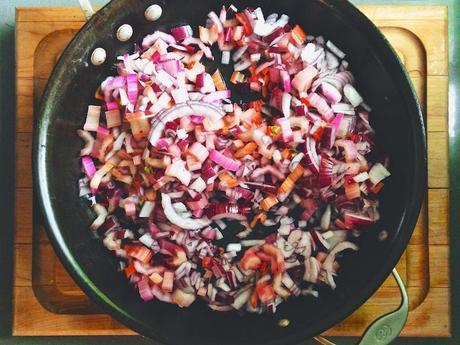
Chard is one of those ingredients that I like to prep ahead of time since it’s usually eaten cooked anyway. I’d sautéed the stems with some chopped red onion, and had mixed it with the leaves which I’d wilted in a big pot of boiling water. Earlier this week, I was hungry and thinking brunch – with the chard already prepped, it was super simple to sautee some mushrooms, add the chard mixture and some cream, and let it simmer away on the stove for a few minutes. Creamed chard & mushrooms was heavenly scooped into a single-serve cast iron dish and baked with eggs… But I’m already getting ideas about Thanksgiving sides. This would be perfect.
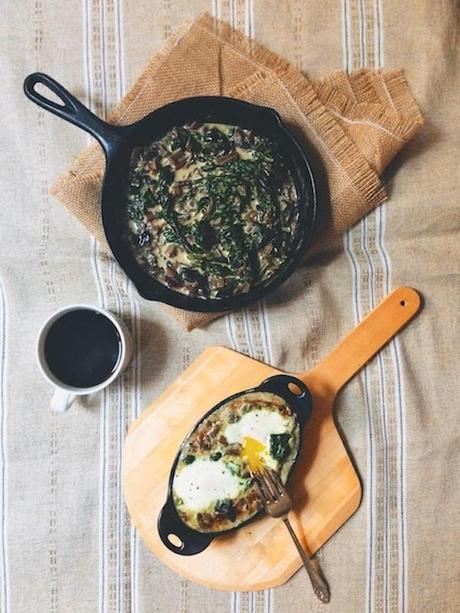
To make the creamed chard and mushrooms:
Clean and dry the Swiss chard and remove the leaves from the stems. Clean a large handful of mixed mushrooms (e.g. shitakes, button) and then roughly chop them. To a large sautee pan on medium heat, add a few tablespoons of olive oil and 5-6 chopped Swiss Chard stems + 1 small red onion, diced. Season with salt and pepper and sautee, stirring every once in a while, for 10 minutes or until softened and translucent. Next, sautee the mushrooms in a few 1-2 tablespoons of olive oil until golden brown. Add these to the chard mixture. the While you’re cooking the vegetables, bring a large pot of salted water to boil and blanch the chard greens, then run under cool water for a minute to set the color. You can either store the greens, mushrooms and stems together in the fridge or use right away. If making the creamed chard and mushrooms, heat the vegetables in the pan, and then when warm, add anywhere between ¼ to ½ cup of heavy cream, depending on how creamy you’d like the chard to be. Grate a touch of nutmeg to the dish and simmer for 10-15 minutes until the cream has thickened. Serve on its own, or spoon some into a cast iron dish, make two indentations in the chard, and then crack two eggs into it to make the baked eggs. Season and broil for 4-5 minutes until set.
And my next kitchen trick, which isn’t mine alone, but one that I use all the time: cook once, eat twice.
This first dish uses one vegetable that I’ve gotten from my CSA box consistently, all summer long: onions.
I love onions because they’re versatile and they’re the foundation for so many dishes. Here, I’ve paired the onions with one of my favorite kitchen tools: the slow cooker. Put any ideas of recipes with Campbell’s Cream of Mushroom into the far recess of your brain – the slow cooker is your friend. If it’s not your friend already, introduce yourself. She may be wearing a dowdy wool kilt but she’ll be a good ally for you, especially with the cooler weather coming our way.
I layered the slow cooker with sliced onions, and then topped them with a rack of baby back ribs that I’d bought on impulse at Whole Foods. I had no idea how or when I’d use the ribs, but cooked them when I got home that evening so that I’d have meltingly tender ribs ready the next morning. (Cover in foil and place in the fridge if you’re not going to use them right away).
Hungry at lunch that day, I decided that baby back ribs would be a weird but totally acceptable lunch for one. Digging through my Hatchery box, I uncovered a bottle of Asian bulgogi sauce. Excellent. Turned the oven on, reheated the ribs, glazed with the sauce, and boom:
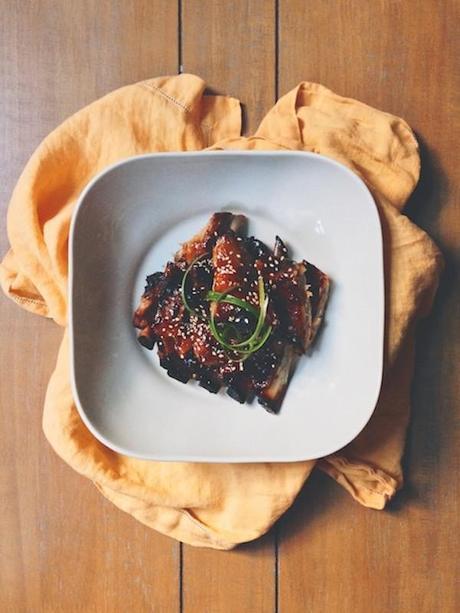
This kind of good…
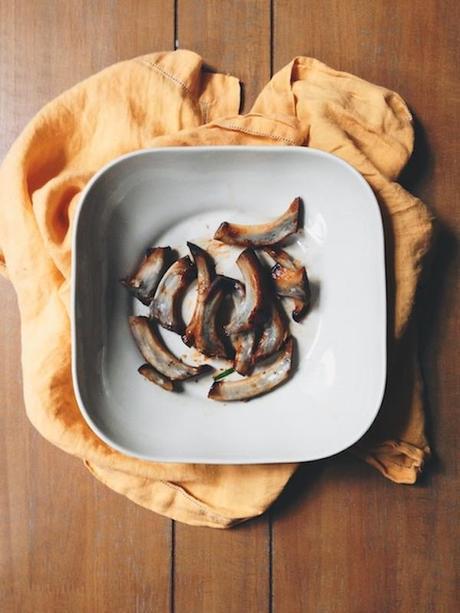
To make the Asian bulgogi ribs:
Slice an onion and lay it on the bottom of a slow cooker. Season a rack of baby back ribs with salt and pepper (1-2 pounds or more, depending on the size of your slow cooker), add the lid back to the pot, and cook on low for 6-8 hours. When the ribs are done, remove them and place them in aluminum foil. You can either glaze the ribs at that point, or cook them later. To glaze, brush a few tablespoons of Asian bulgogi barbecue sauce over the ribs (I got my Sweet Heat Gourmet sauce in my Hatchery box this month) and let bake in a 350 degree oven for 20 minutes, turning halfway through. If the ribs have been in the fridge, bake them, covered with the foil, for an extra 10 minutes in the oven before glazing.
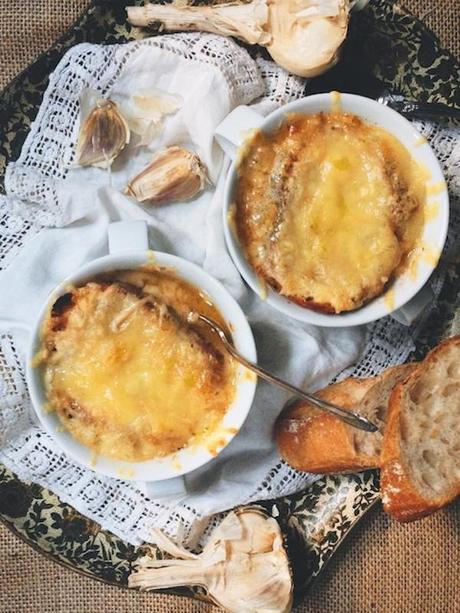
Now for the cook once, eat twice thing – those ribs, when they were cooking in the slow cooker, left all sorts of wonderful porky, oniony goodness in the slow cooker. Me, being the kind of person who can’t throw that kind of thing away, made a rich pork stock with the remains. Wildly complicated? Yes – you take 2 cups of water, add it to the porky onions left in the cooker, sprig of thyme, a splash of Sherry turn that baby on for a few more hours.
And what do you do with such a soup?
Top it with a slice of baguette, gruyere, and broil it for a few minutes. French onion soup made with homemade pork stock. Don’t tell anyone they’re eating leftovers….
Here’s my other set of cook once/eat twice meals. Break out that slow cooker again (I told you that introductions are necessary) – and layer good canned tomatoes (San Marzano or other) and some diced carrots on the bottom. Season and sear a brisket, and place on top of the vegetables.
Like the pork, let this rip for a whole day, or overnight, and uncover a tender, falling-apart piece of beef that you can use for just about anything.
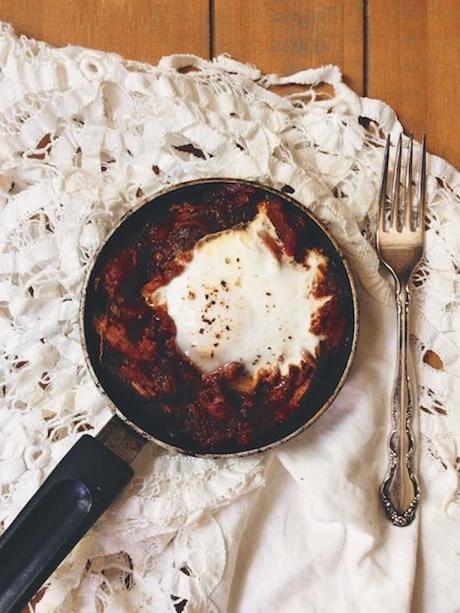
I made some more of those fabulous baked eggs (or should I say baked egg) one morning – which despite using brisket and eggs, made for a nice light breakfast.
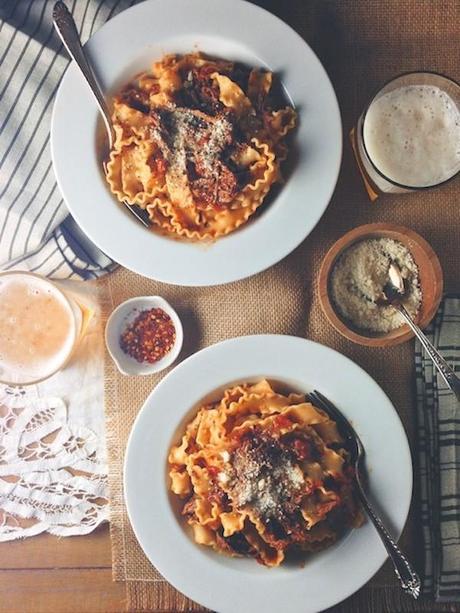
And then later that evening I used the rest of the brisket to make a pasta sauce. I love sauces like this – they just sit around in the slow cooker until you’re ready to serve.
To make the brisket pasta:
Add a 28-oz can of crushed tomatoes and a few cleaned, peeled and finely-diced carrots to a slow cooker and turn to low. Season a 2-3 lb piece of brisket with salt and pepper and sear it really well (until brown and crusty) on both sides in sautee pan set over medium-high heat- this should take a few minutes per side. Once seared, place the beef on top of the tomatoes, add a few sprigs of thyme, and let the meat cook for 6-8 hours (or as I did, overnight). When the beef is done, remove any pieces that you’d like to use for other dishes (for the baked egg, I just pulled off a piece, shredded it, and added it to a mini frying pan with a touch of the tomato sauce before baking with an egg)….If using the remainder as pasta sauce, shred the beef and add it back to the slow cooker, add a 14-can of tomato puree, and let it cook on high for another half hour. While the tomato sauce is cooking, bring a large pot of salted water to boil, boil 1 lb of pasta, drain, and then mix with the tomato sauce, adjusting the seasoning if necessary.
So that’s it for this week and another installment of easy cooking CSA-style. Hope that serves up some inspiration for those of you who are starting to adjust to the cooler Fall weather, enjoy!

