Remember when I posted my friend’s Best Ever Dinner Roll recipe? (See it here.) Well, I love a good whole grain roll, and I can’t seem to leave well enough alone, so I adapted Jenna’s awesome recipe and replaced some of the white flour with whole grain wheat flour, quinoa, and flax seed. I’ve tried a few different versions, and the one I made today is the best so far. In fact, I made these to give to my son’s teachers for teacher appreciate week, and I’m mourning the loss of my rolls. I’m not completely depressed, but these are pretty yummy, and I will DEFINITELY make them again soon. So, without further ado, here’s the recipe.
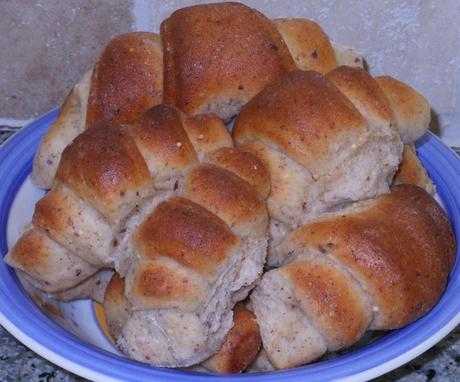
Best Whole Grain Dinner Rolls Ever! With Freshly ground Winter White Wheat Flour, Quinoa, and Flax seed.
Best Whole Grain Dinner Rolls Ever!
Adapted from a recipe by Jenna Livingston
2 cups almost hot water
2 tablespoons yeast
3/4 cup sugar
1/2 cup quinoa, uncooked
1/4 cup flax seed
1 cup whole wheat flour (I used white wheat flour)
2 1/2 cups all-purpose flour
2 cups bread flour (you can use all-purpose if you don’t have bread flour)
1 tablespoon dough enhancer (rounded)
1 stick salted butter, softened
1 teaspoon salt
1 egg, beaten
Combine warm water with 2 tablespoons yeast and a little of the sugar, and set aside letting the yeast proof. Next, using a coffee grinder or seed mill, grind your raw quinoa and flax seed. Set aside.
When yeast is bubbly, it is proofed and ready to use. Add yeast mixture to your mixing bowl along with the remaining sugar, ground quinoa and flax seed, wheat flour, and 1 1/2 cup of all-purpose flour. Mix well. Add softened butter, egg, and salt. Mix until combined. Add remaining flour and dough enhancer, and mix until the flour is incorporated. If you have a stand mixer, turn mixer to medium and let it knead the dough for about 5 minutes (until it springs back when you touch it). If you are kneading by hand, knead until the dough springs back when you touch it (10 minutes or so).
Cover and set dough aside to rise until it doubles in size. Using one half of the dough at a time, shape into rolls. Let rise again until the rolls are puffy. This takes a little longer with whole grain rolls, so be patient. It took about 25 minutes for mine to get puffy. Bake in a preheated 400 degree oven for 12-15 minutes or until cooked through and lightly browned. Brush with butter, if desired.
And here’s my photo step-by-step.
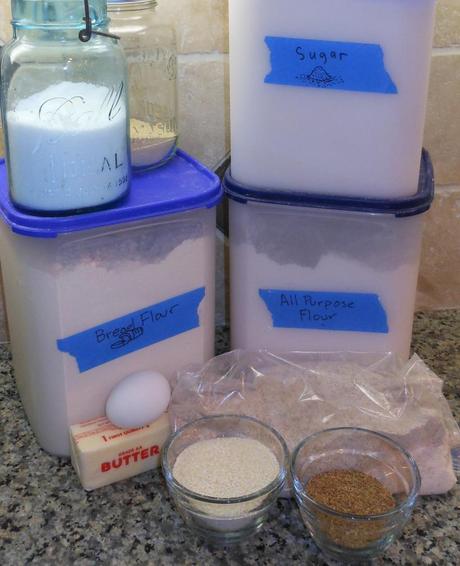
Ingredients assembled except for the dough enhancer. Not sure what dough enhancer is? Check out my post about it here. I’d already ground my flax seed and quinoa in a coffee grinder. I bought this one from Amazon, and it does a great job, especially considering I spent less than $11 on it!
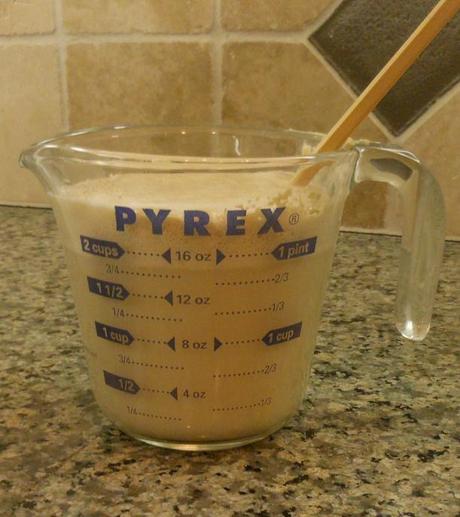
First, I prepared my yeast to “proof” by adding the yeast and a little sugar to the almost hot water. I let it sit for about 5 minutes, and it looked like this. See? It’s foamy on the top. That means the yeast is good and ready to use.
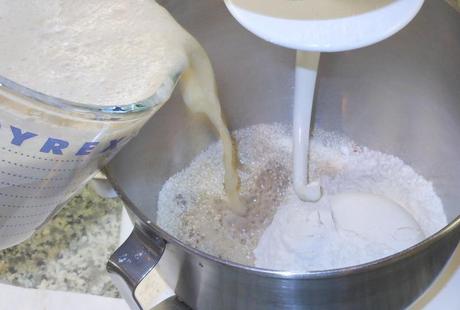
I poured my yeast mixture into a bowl containing the ground quinoa, ground flax seed, whole wheat flour, and 1 cup of flour.
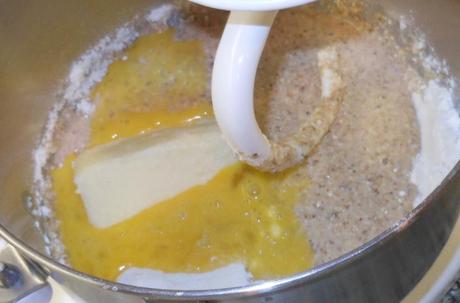
After mixing for a few minutes, I added the softened butter, egg, and salt to the bowl and mixed until everything was well combined.
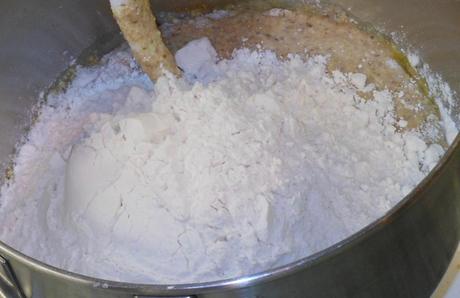
I added the remaining flour and mixed on low until all the flour was incorporated.
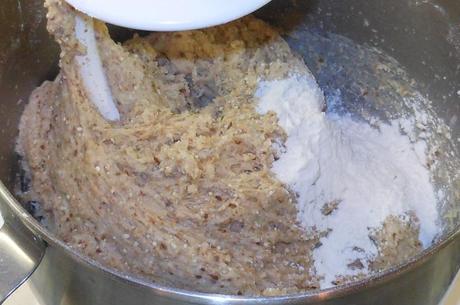
The dough was a tiny bit too wet, so I added another 1/4 cup of all-purpose flour and mixed well. Once everything was incorporated, I turned the mixer to medium and let it knead the dough for about 5 minutes.
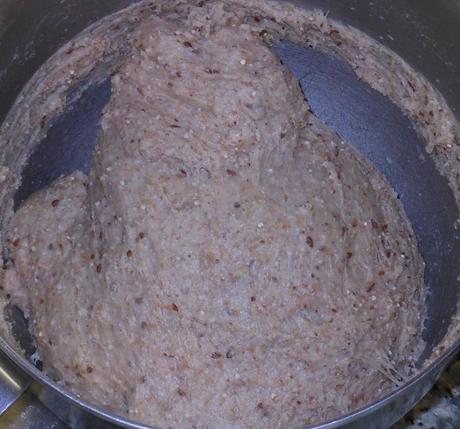
This picture is a little dark (sorry), but I wanted you to see what the dough looked like after kneading. When I pressed into the dough, it “sprang” back. So, I covered it and set it in a warm spot to rise. It took a little under one hour to double in size.
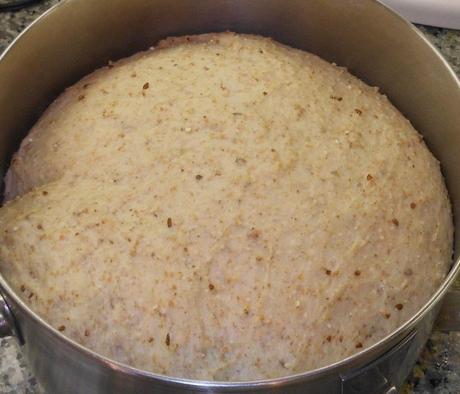
Once it had doubled, I was ready to form the dough into rolls. I use 1/2 of the dough at a time and form “crescents.” Take a look…
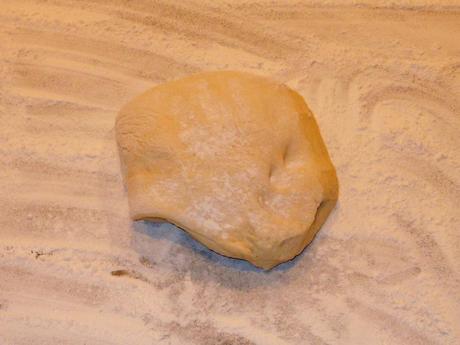
PLEASE NOTE – This is not the same dough, but I used the same process. Divide the dough in half and put one half on your floured surface. Turn it over so there’s flour on both sides.
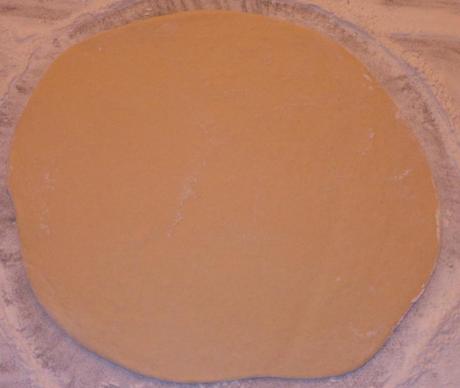
Roll out the dough into a rough circle. It doesn’t really matter if it’s an exact circle, so don’t stress about it. My circle was great today, but many days it looks more like an oblong round or like a rectangle. The rolls taste the same regardless of how they look.
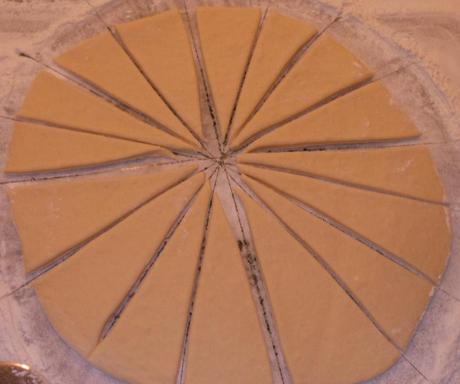
Using a pizza cutter, cut the dough into 16 pieces. Sometimes I do a few more, depending on how evenly I split the dough.
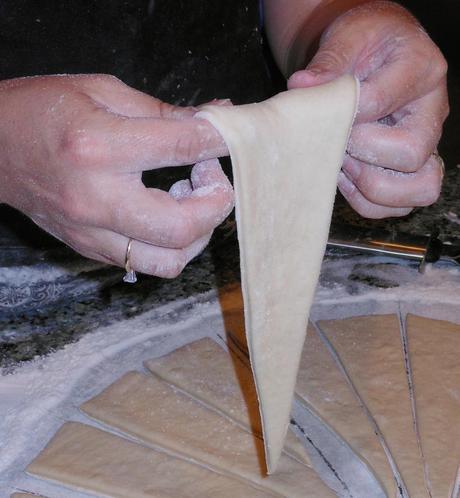
It’s super easy to make a fancy crescent shape. Jenna (I just LOVE her!) showed me this trick. Pick up one of your triangular shaped pieces of dough. Rest the wide side of the triangle on your two index fingers. Then flip the dough in a circular motion around your fingers.
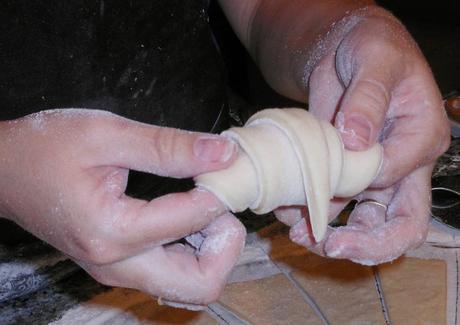
It will look something like this. Place the dough with the tip facing down onto a greased pan.
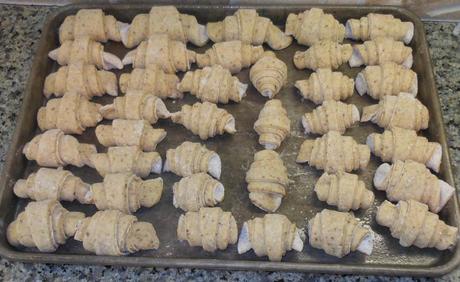
All the rolls are “rolled” and ready to rise. I let them sit for about 25 minutes until they were getting a bit puffy. Then I put them in a 450 degree preheated oven, but I turned the temperature down to 400 immediately after putting them in the oven. I wanted to make sure the rolls had a big burst of heat to make them light and tender.
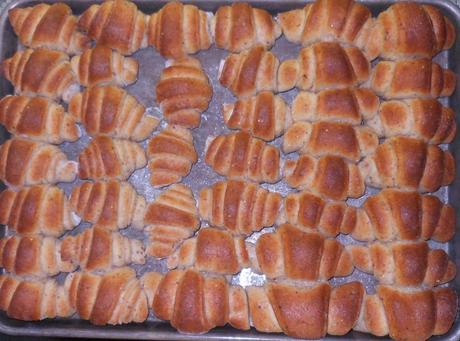
And here they are! Don’t they look delectable? I brushed the tops with some melted, salted butter immediately after removing them from the oven.
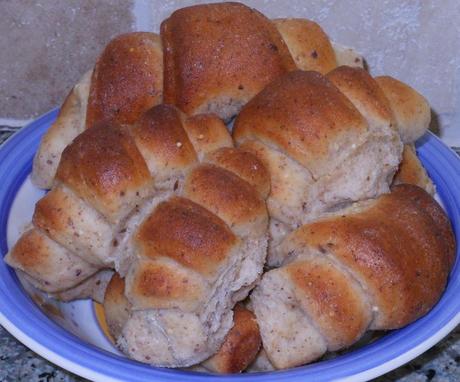
And they were ready to serve!
My son’s teachers are getting these today along with some of Jenna’s original Best Dinner Rolls Ever (recipe here) and some homemade jam. Homemade gifts are certainly the best! I put time and love into these just as my son’s teachers put their time and love into teaching him. I am so grateful for all they do!
Think you’d like these lovely dinner rolls?
Or do you have another homemade gift you love to give or receive?
* * * This post contains an affiliate link. For more information about affiliate links, please visit my about page. * * *
