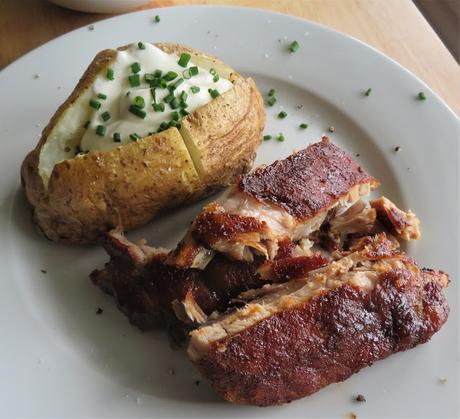
 About two months ago when I was staying at my sisters, she made the best oven barbequed ribs I have ever eaten. They were tender and delicious and really succulent. It was love at first bite for me!
I love spare ribs! They are something I only ever rarely eat. A lot of that has to do with having to go through a lot of pallaver to get them really tender, and then of course there is the fat content. They are a rare treat!
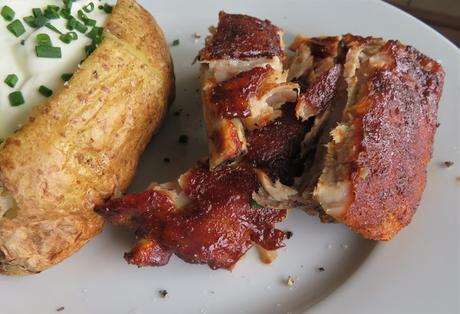 Making them in the past had always involved simmering them in a liquid for a long period of time. Then I would have to brush them with BBQ sauce and cook them some more in the oven or on the grill.
I didn't always have the time or the patience for all of that. My sister's method is so much easier and results in perfectly cooked juicy ribs!
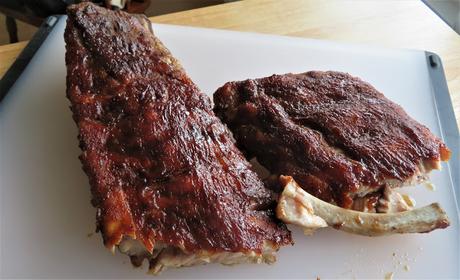 It really was simple and I asked myself afterwards, why had I never thought to do the same! It was so easy and they were so tender.
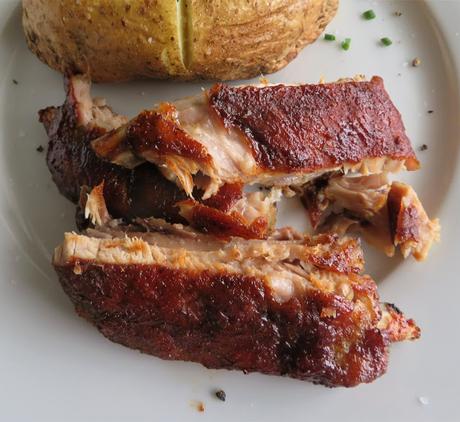
How could I not have thought of this myself? I mean, if you look at them they are literally falling apart, they are so tender and there was no boiling, simmering involved at all.
 First of all she only ever uses back ribs. She says there is too much bone in the side ribs, and I have to agree with her. You are paying for a lot of bone when you do ribs anyways, why pay for even more!
 The side ribs almost always include that huge breast bone and there is not an awful lot of meat on them. Pound for pound, dollar for dollar, you get a lot more meat for your money if you buy back ribs.
 That is probably why back ribs are so much more expensive than side ribs. It makes sense. This past week the local Foodland had back ribs on offer so I took advantage of the great price and bought some for me to cook at home.
I decided to cook them just as my sister had.
 First I started by creating a delicious, nicely flavored rub to season them with. This involved quite a few different spices, as well as some brown sugar.
Sweet and smoked paprika, dry mustard powder, ground cumin, chili powder, chipotle powder, cinnamon, nutmeg, garlic, onion, oregano, thyme, etc. to just name a few. I have given you the exact quantities and spices in the notes section of the printable recipe below.
 I only had one rack so I only used a portion of this. You will need to keep to the cook time no matter how many ribs you have. This tasty mixture got rubbed into the ribs all over.
 You will need a deepish roasting tin large enough to hold a rack that you can place the rubbed ribs onto in a single layer. You may want to line it with foil to make cleanup a bit easier.
 Place the rack in the roasting tin and then lay the spice rubbed ribs on top of the rack in a single layer, leaving room around each for the air to circulate.
Pour a bit of water in the bottom of the roasting tin. You want it to come up between 1/2 to 1-inch in depth. You DON'T want it to touch the ribs. These ribs are steamed not stewed.
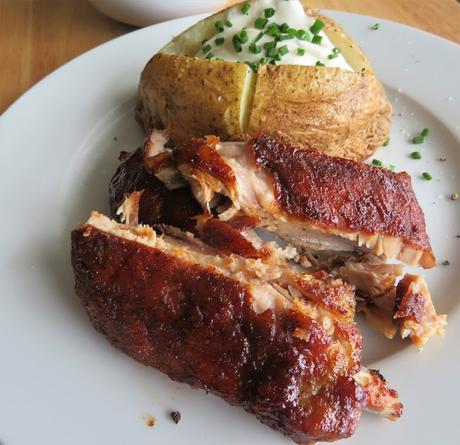 Cover your tin tightly with aluminum foil and then leave them to roast for a few hours at a low temperature. At the end of that time you will find that they are lovely and tender and moist.
You could leave it right there and continue to roast them for a further half an hour uncovered. But I chose to add even more flavor by brushing them with barbeque sauce.
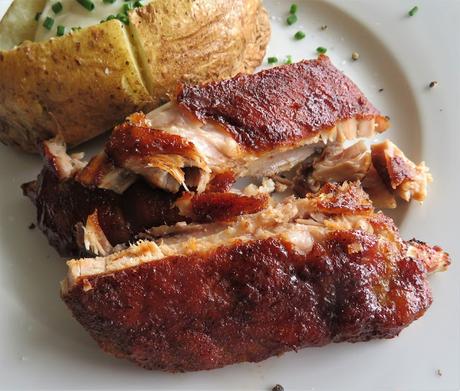 Roasting them uncovered and slathered with sauce gives them a nice sticky surface and makes them really finger-licking good! Just use your favorite brand of sauce.
 I like the Jack Daniels BBQ sauce myself, but I couldn't find any of that here. I ended up using Bulls Eye for ribs and chicken
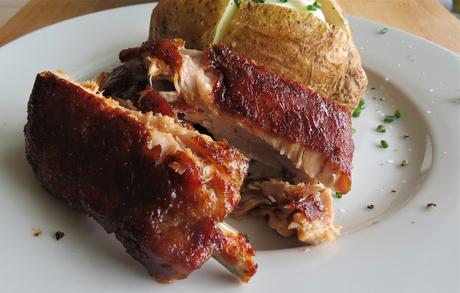 I think this is the best ribs recipe I have ever used and yes, it is more of a technique than it is a recipe! But that doesn't matter. What works, works.
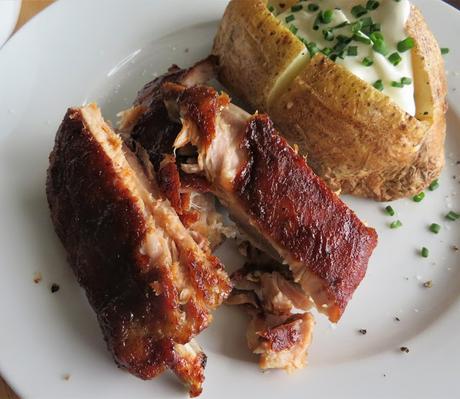
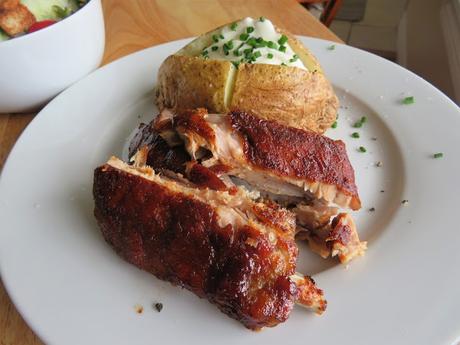
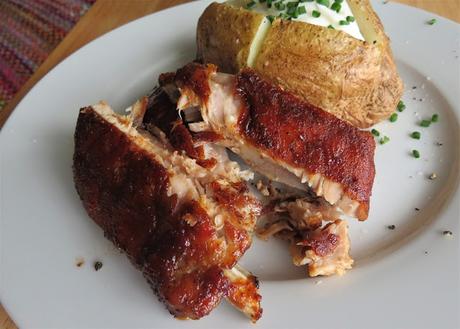
 Just look at how tender and juicy they turned out. The meat literally falling off the bone. No hint of dryness at all, and they were so simple to cook.
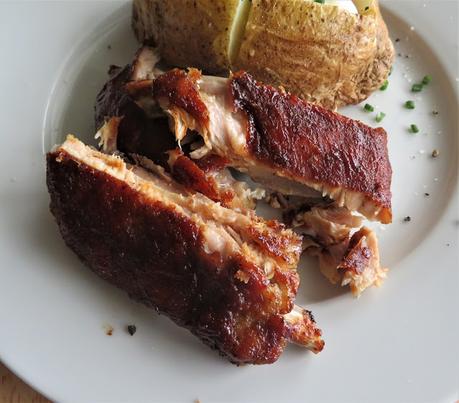 Succulent doesn't begin to describe them. You could of course serve them with additional BBQ sauce. I was quite happy with them as they were. No extra sauce needed.
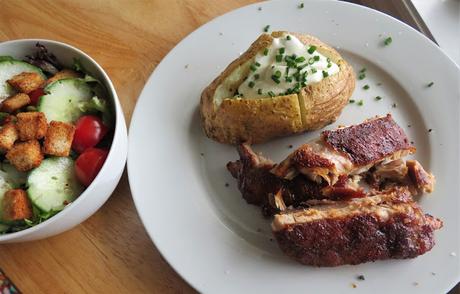
 I enjoyed them with a nice baked potato, topped with some sour cream and chives from my back garden, along with a tasty tossed salad. Yummilicious!
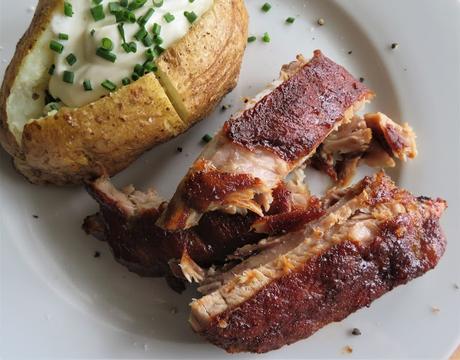 Of course there was a lot more meat on the ribs than I could enjoy in one sitting. That's one of the hazards of being only one person.
What to do, what to do.
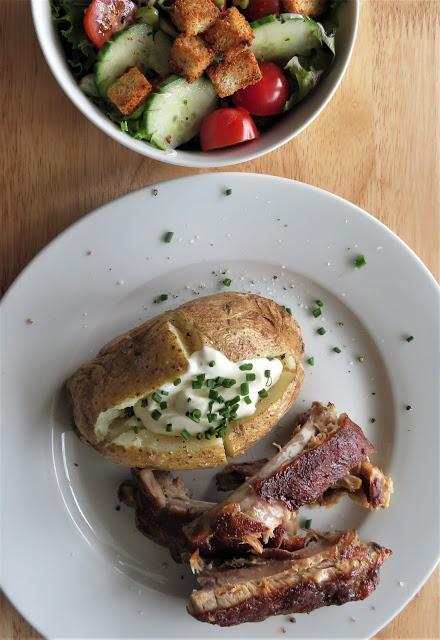
It was simple really. I used a fork and removed all of that tender succulent meat on the remaining bones and tossed it into the refrigerator.
Today I warmed it up with a bit of stock and some additional BBQ sauce and enjoyed a delicious Pulled Pork Sandwich of a sort, with some sweet potato fries. It was delicious!!
There is no reason why a single person can't still enjoy delicious and yet simple meals the same as anyone else! Bon Appetit!! Yield: 4 depending on appetitesAuthor: Marie Rayner
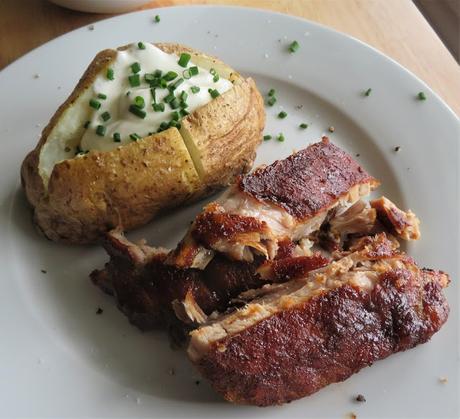
Best Oven Barbequed Ribs
Prep time: 5 MinCook time: 2 H & 30 MTotal time: 2 H & 35 MThese ribs turn out beautifully tender, succulent and filled with amazing flavors, every single time.Ingredients
- 2-3 pounds of pork back ribs
- 1/2 cup of your favorite spice rub (see note below)
- BBQ sauce for brushing (use your favorite kind)
Instructions
- Preheat the oven to 300*F/150*C. You will need a deep roasting tin large enough to hold a rack. Line with aluminum foil.
- Rub the pork ribs all over with the rub and then lay them out onto the rack in the roasting tin in a single layer. This allows the air to circulate around them.
- Add about 1/2 to - inch of hot water to the bottom of the pan. You don't want it to touch the ribs.
- Cover the pan tightly with aluminum foil.
- Roast the ribs in the preheated oven, tightly covered, for about 2 hours. Check periodically to make sure that the water hasn't totally evaporated.
- At the end of that time the ribs should be well on their way to being tender. Remove the foil and brush the ribs all over with BBQ sauce.
- Roast for a further 1/2 hour, brushing them with some more BBQ sauce once or twice. At the end of that time the ribs should be deliciously glazed and tender.
- The ribs are done when a sharp knife slides easily into the thickest part of the meat.
- Allow to rest, lightly tented for about 10 minutes. Cut into portions and serve immediately with or without additional BBQ sauce for dipping.
Notes:
This makes a great rub for pork or chicken: Measure the following into a spice grinder and grind to combine well. 1 1/2 TBS paprika, 1 TBS smoked paprika, 1 TBS chili powder, 1 1/2 TBS sea-salt 1/2 TBS ground ginger, 1/2 TBS chipotle powder, 3 TBS dark brown sugar, 1/2 TBS black pepper, 1/2 TBS ground nutmeg, 1/2 TBS ground oregano, 1/2 TBS ground thyme, 1/2 TBS ground coriander, 1 TBS dry mustard powder, 1 TBS garlic powder, 1 1/2 TBS onion powder, 1/2 tsp ground cumin, 1/2 tsp ground cinnamon
Once mixed store in an airtight container in a dark place for up to six months. This makes approximately 1 cup and can be used on all sorts of things. Its delicious!
Did you make this recipe?
Tag @marierayner5530 on instagram and hashtag it #marierayner5530Created using The Recipes Generator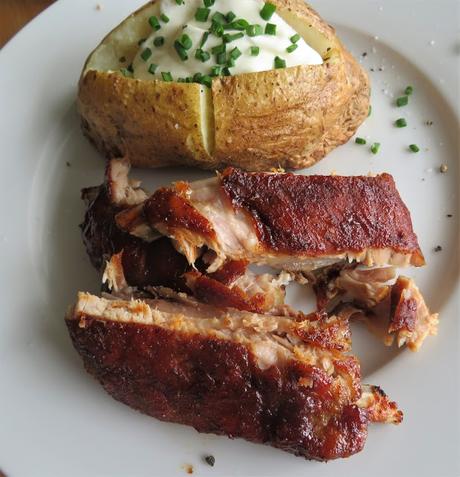
Follow my blog with Bloglovin

