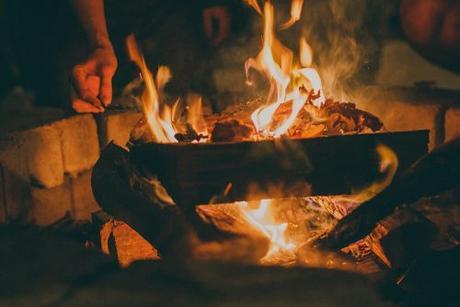
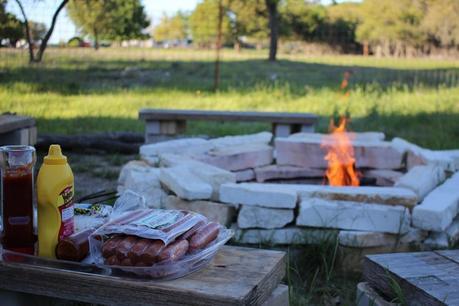
 There’s nothing quite like being gathered around a pit, be it a deep primal feeling or just a love of the; heat, warmth and soft flickering light.
So why not have a Fire Pit in your Garden? The best fire pits provide a place to meet, socialize and cook – even if just toasting marshmallows!
Follow this guide, to find out which is the best fire pit and why we think it will excel in your Garden.
Best Fire Pits Comparison
Below is a selection of Fire Pits, that we’ve reviewed and selected on both their merit, and affordability – creating a range that covers a variety of needs and tastes.
For help and guidance on picking a Fire Pit, read below.
Catalina Creations Heavy Duty Fire Pit Editors Choice Sunnydaze Firebowl Fire Pit Sunnydaze Cauldron Fire Pit Landmann Fire Pit Great Budget Choice! Amazon Basics Portable Folding Fire Pit


Selecting the Best Fire Pit

Which Fire Pit Is Right For You?
Fire Pits are fun and easy to use, essentially being a big tub for burning anything from seasoned oak to the garden fence you just knocked down!
That being said, it is important that you select the best outdoor Fire Pit suitable to your needs. The following tips will tell you exactly what you need to know when it comes to choosing the best backyard fire pit.
What Size and Material do I need?
This all depends on what you wish to use it for. If you have plenty of space and wish to host regular gatherings, then it is worth buying a large, sturdy Fire Pit – preferably in a material such as steel or cast iron.
However if you wish to use a fire pit as a one off, and then hide it away again – a smaller, compactable fire pit is the way to go.
Buying Vs Building your Own Fire Pit
Buying a fire pit, is very convenient and also offers many advantages, however building your Own provides a great opportunity to create something special and unique in your backyard.
Below is a list of Pros and Cons that we have compiled to help you decide what route you want to take.
As with all our guides, we recommenced you buy local materials and enlist help from friends and family – to make the experience even more memorable, and a great deal less back breaking!

Buying
Building
Pros
- Convenience
- Guaranteed Quality
- Flexibility
Cons
- Price
- Less Permanent
Pros
- Uniqueness
- Enjoyable Challenge
- Permanence
Cons
- Quality not Guaranteed
- Static
Fire Pit Use and Maintenance
A common criticism of bought Fire Pits is that they rust and deteriorate over time, and the simple answer to this is; Yes they will – because they’re metal!
However robust and rugged your Fire Pit is, it is always worth covering it or going one better, and constructing a storage shelter for it. Doing either of these will protect your Fire Pit from even the most damp climates, and help ensure its longevity.
On a final note...don't use firelighters!
We wish you the best with your fire pit, be it bought or home-made and wish you many great times around which. However we strongly urge you not to use firelighters. Why? Because on the whole they are environmentally bad, but also they produce excessive smoke, cost quite a lot and better results can be achieved using a few simple materials.
Tiny Guide to Creating a Blazing Fire
To create a brilliant fire, all you need is:
- Paper, dry wood-shavings, dry twigs or dry leaves
- Small dry pieces of wood or small dry branches
- Matches, lighter or flint and steel (or go full naturalist with a bow and drill)
- The larger wood or material you plan on burning
Options from 1 and 2 can be used independently – but best results arrive when they’re used in combination.
For information on flint and steel and other alternative ways on lighting fires sustainably, there are many great guides available online and in bushcraft and survival books.
Step 1
Collect all the required materials. (More than you think you will need)
Step 2
Place materials from 1 in a sheltered position, with space to access the middle of the pile. Like a pyramid, with the smallest and most flammable material at the center.
Step 3
Light the smallest and most flammable material at the center.
Step 4
Once your 1 materials have caught fire, start slowly adding materials from 2 around the edge and leaning over the top, being careful not to knock the pyramid over.
Don't blow!
Often at this point people tend to blow on their fire, a simple rule of thumb is – if you have flames, then you don’t need to blow. As this will tend to put your fire out.Step 5
By this point your fire should have got going and if so, has most likely started generating larger embers and high temperatures. If so start adding materials from 4.
Contrary to what was said before, do blow on your fire, if it goes out, or on parts that have gone out. Your breath will ignite the larger embers that have been created – which were not present before.
And there you have it, a successful, quick and easy fire made from cheap, easy to gather materials.
If you found this guide useful, be sure to check out our other garden and DIY guide and advice articles.
