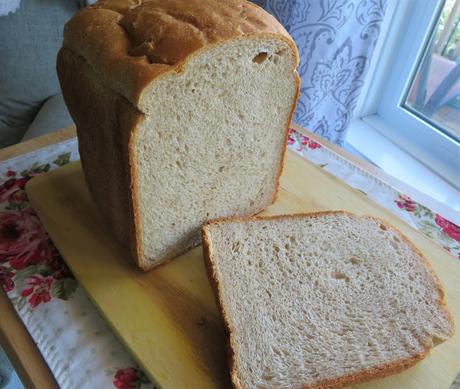
One appliance that I always made good use of when I lived in the UK was my bread machine/maker. I had one for over 20 years and used it all the time, at least once or twice a week.
I used it to make baked loaves and I used it to make doughs. They are very handy appliances to have.
I had not been going to replace it because there is just me in the house now, but I finally got tired of the bread that is available in the shops here. I don't like the size of the loaves, nor do I like how sweet they are. I decided to cave and buy myself another bread machine.
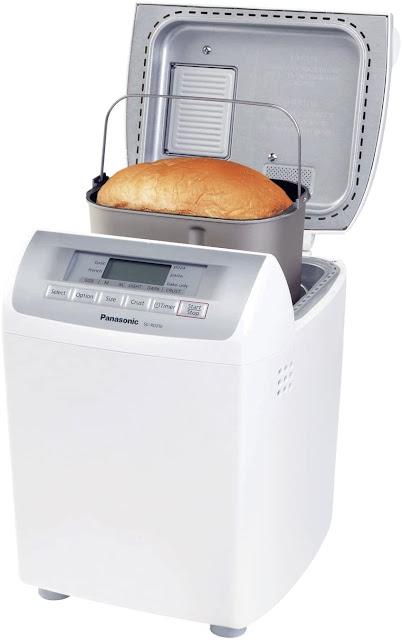
This is the model I purchased. The Panasonic Automatic Bread Maker Model# SD-RD250. This is the bread machine I have been using for over 20 years. I went through two of them in the UK. My friend Jo, who was the housekeeper at the Manor for a few of the years that I worked there, had this particular model also.
We both swear by them. They are the best machines going. They make beautiful bread and are quite a manageable size. I like the fact that they have a fruit and nut dispenser.
Bread machines come in handy for all sorts, not just making bread. Pizza doughs, cakes, pasta dough, etc.
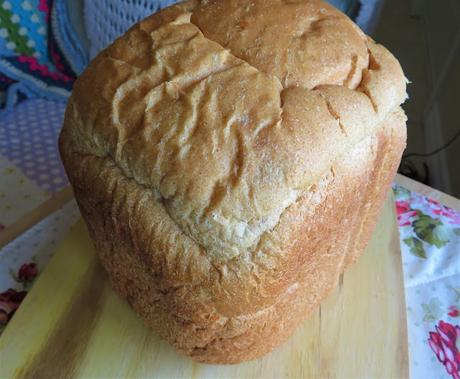
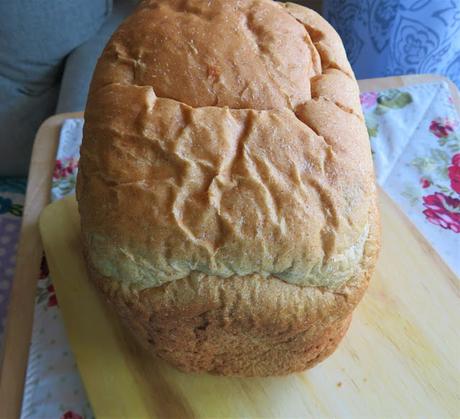
Yesterday I decided to make my old basic rustic loaf that I used to always make in the UK. It is a beautiful loaf of bread. Not 100% whole wheat but a beautiful combination of wheats, whole grain and other wise.
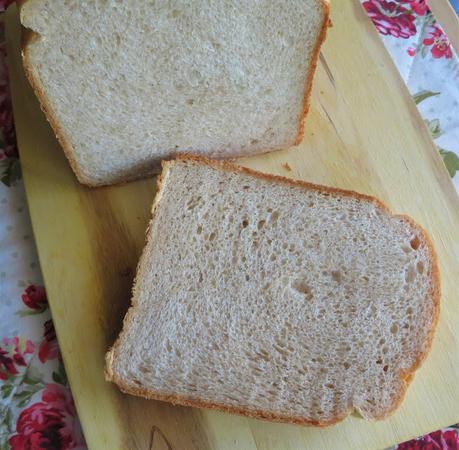
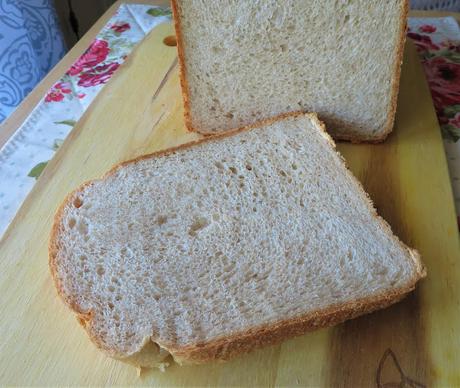
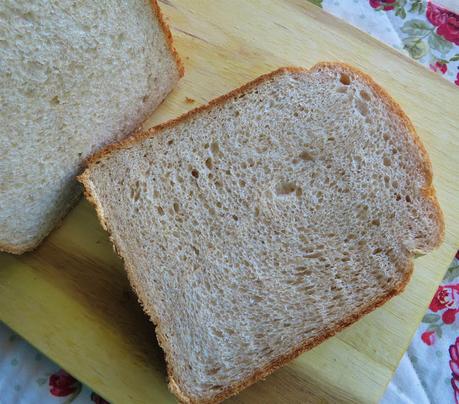
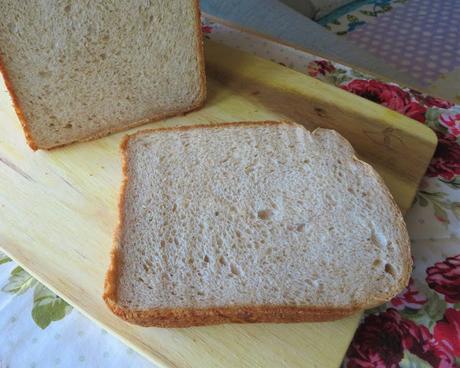
It slices like a dream and has a beautiful texture, equal to or better than any store bought loaf out there. In fact I would say that is is better than.
I would even go so far as to say that this is the best bread machine recipe. And I never make those claims unless I am telling the truth.
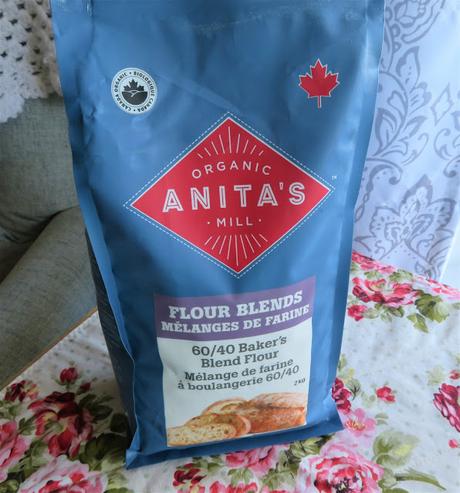
In the UK I used to use a combination of white and rye flours to make this particular loaf of bread. Here in Canada this is the flour I used. It is an organic 60/40 flour blend manufactured by Anita's Mill. I was unable to buy rye flour locally.
I went on line and this is what I found and I thought it sounded perfect. It is a blend of organic white and whole grain sprouted wheat, spelt and rye flours.
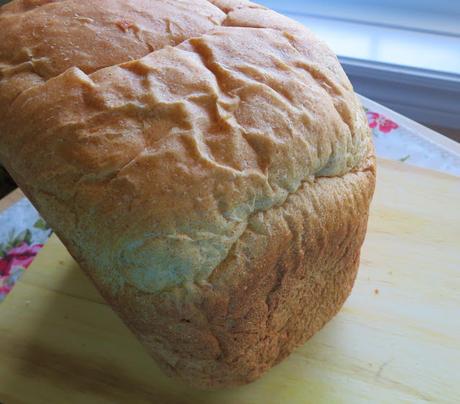
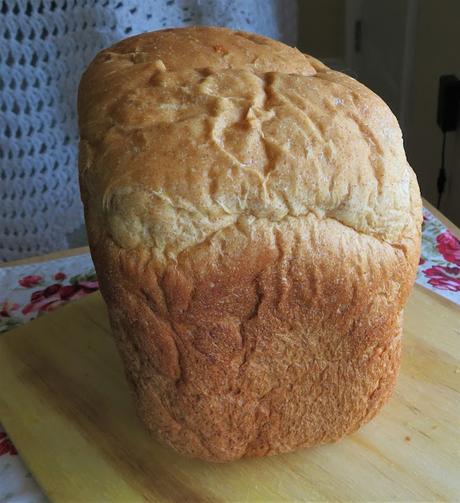
It made a beautiful loaf.
HINTS AND TIPS FOR MAKING THE BEST BREAD IN A BREAD MACHINE
Really if you follow the directions on your particular bread machine your bread should work out perfectly, but there are a few things you can do that will give you an even better loaf of bread.
1. Measure by weight and not volume. Weight is a much more precise way to measure. You can't go wrong. I have a set of digital scales that I use. I just pop the bread pan onto them and measure away. My scales measure in grams, Kg, pounds and ounces, milliliters, etc. I started baking by weight when I lived in the UK and I would now never bake any other way.
2. Bread machine loaves work best with bread flour. Bread flour can also be labeled "Best for Bread" or "High Gluten flour."
3. You can use regular flour, but if you do I recommend adding Vital Wheat Gluten to the recipe. This helps to boost the protein content of the bread.
4. Measure very carefully. If you don't add enough flour, no matter the type of flour you use, the bread will collapse and is often uncooked in the center. If you add too much flour, you will end up with a dense, hard heavy ball.
5. I add Vital Wheat Gluten to all of my recipes for bread making in a bread machine. You can purchase it online. It helps to yield a much better loaf, helping the loaf to rise higher with a nicer texture than without.
Vital wheat gluten is best stored in the refrigerator (for up to one year), but you can store it on the counter if you think you will use it up within two months (highly unlikely for the home baker.)
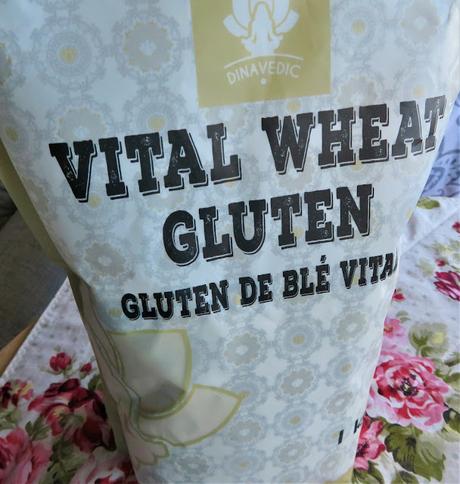
Note - Vital Wheat Gluten is not the same as Vital Wheat Gluten Flour. Vital Wheat Gluten is much more concentrated and not to be confused with the flour.
6. Yeast is a vital component in making yeasted breads! Duh. It can come in many forms. I recommend using yeast which is prepared specifically for use in the bread machine. I store my yeast in a tightly covered container in the refrigerator.
7. Salt is another important component in bread making. Do not however, let the salt touch the yeast. Salt is important in bread making, not only as a flavor enhancer, but also in controlling the level of yeast fermentation.
8. Follow the recommendations when it comes to the order of adding ingredients to your machine. There are reasons why some machines put the dry ingredients first and the wet last. Others might recommend putting in the wet first and the dry last. YOU NEED TO FOLLOW THE EXACT ORDER AS RECOMMENDED BY YOUR PARTICULAR MODEL!!
Most of the time when a recipe fails it is because the baker fails to follow the correct directions as per the machine they are using.
BASIC STEPS OF BREAD MACHINE BAKING
What you the baker need to do:
- select the recipe you wish to use
- assemble your equipment and ingredients on your workspace
- measure the raw ingredients into the bread pan according to the machine recommendations
- program the control panel according to your machine instructions and press start
- check the dough consistency after a little bit and if need be adjust accordingly.
What your machine will do:
- mix the dough
- knead
- first rise
- punch down/deflate dough
- second rise
- punch down/deflate dough
- third rise
- bake the bread
When using the dough cycle your machine will beep to let you know your dough is ready to take out, shape and proceed as per your particular recipe. I like to use the dough cycle to make pizza doughs, bread rolls, etc. The machine always does an excellent job of kneading.
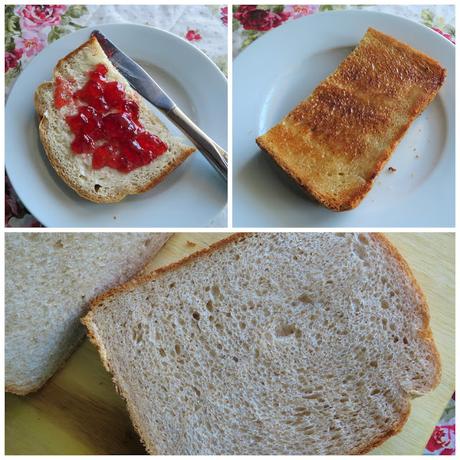
This easy bread machine recipe that I used today resulted in a beautiful loaf of bread. As you can see the texture was spot on. It was light and moist, not dry in the least and had a beautiful crust.
I enjoyed some last night, simply buttered and with some of my homemade Honey & Strawberry Jam. This morning I enjoyed a slice toasted and simply buttered.
Enjoy being the key word. Last week I made a loaf of French Bread in it according to the directions which came with the machine. It was gorgeous with a beautiful crisp crust. Cindy Dan and Dad were here and they also enjoyed it. That loaf disappeared in the blink of an eye!
Small family or large family, if you have never purchased a bread machine I have to ask the question, "What are you waiting for?" Its a purchase you will never regret. I guarantee! With the proper research, I am sure you can find one that is perfect for your own needs and budget.
I recommend this one because it is the one which works best for me, and I am not being paid to tell you that. This is simply my truth.
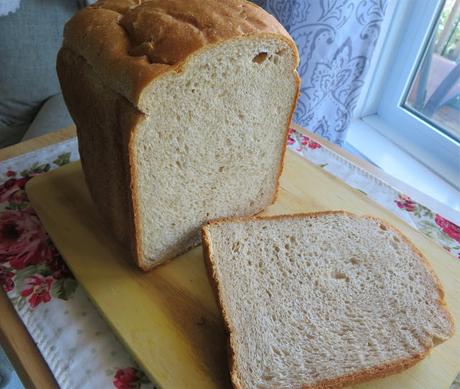
Basic Rustic Loaf (bread machine)
Yield: 1 medium loafAuthor: Marie RaynerThis is the perfect loaf of bread for every day, with a beautiful texture and crust. The time taken is variable according to your own bread machine. I have a Panasonic SD-RD250 and it takes 4 hours start to finish.Ingredients
- 1 tsp dry yeast (easy yeast, for bread makers)
- 420g (4 1/4 cups) 60/40 bakers blend organic flour
- 1 1/2 tsp salt
- 2 TBS dry milk powder
- 1 TBS Vital Wheat Gluten
- 1 TBS sugar
- 1 1/2 TBS butter
- 280ml (9 1/2 fluid ounces) water
Instructions
- Place all of the ingredients into the bread machine according to the manufacturers instructions.
- Bake on Basic bread, medium sized loaf, light crust.
Did you make this recipe?
Tag @marierayner5530 on instagram and hashtag it # marierayner5530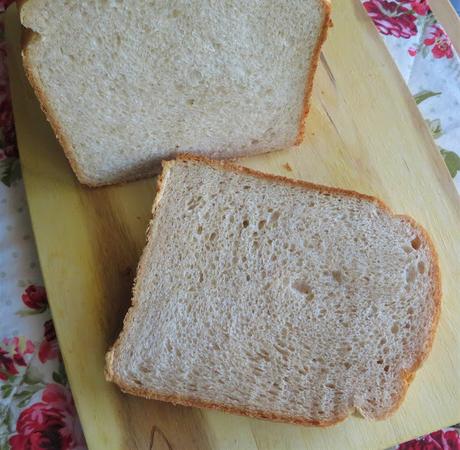
This content (written and photography) is the sole property of The English Kitchen. Any reposting or misuse is not permitted. If you are reading this elsewhere, please know that it is stolen content and you may report it to me at: mariealicejoan at aol dot com
Thanks so much for visiting! Do come again!
Follow me on Bloglovin

