By the way, in all the blog posts, if you click on a photo it should open a slideshow with full-size images, although the captions aren't displayed then (if anybody knows a way to make it show the captions in slideshow mode, please tell me).
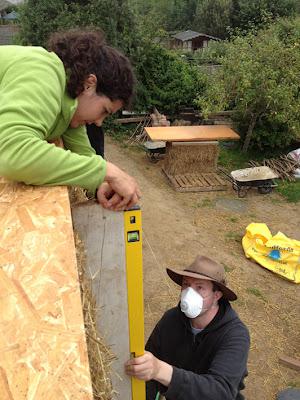
Coralie and Sam checking the bale walls are straight and vertical
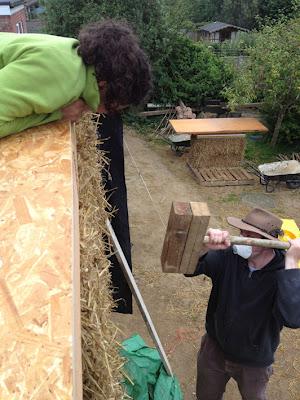
Using the Persuader to correct any bales that aren't in line
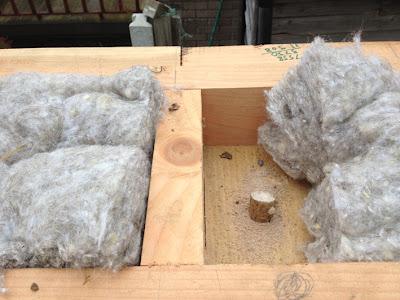
The inside of the wall plate (timber structure on top of the bales walls, that the roof is attached to) is insulated with sheepswool insulation. Long hazel pins are driven through the plate to pin it and the bale walls together
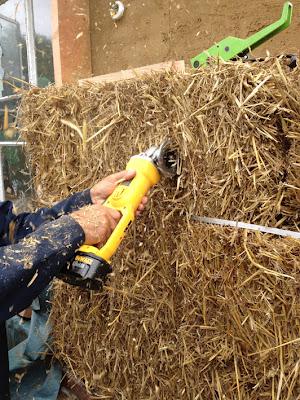
Over on the bungalow wrap, the angle grinder with wood-carving blade is used to cut a groove for the hazel poles (part of H-clip used to clamp bales to existing wall - see Bale Frenzy Part 1 for more on these)
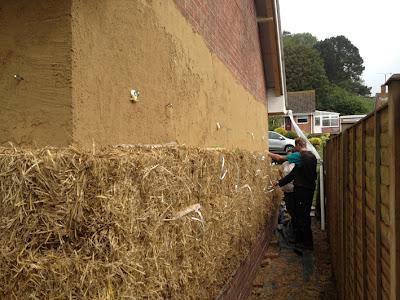
First few rows of wrap bales, against clay-plaster to level the wall.
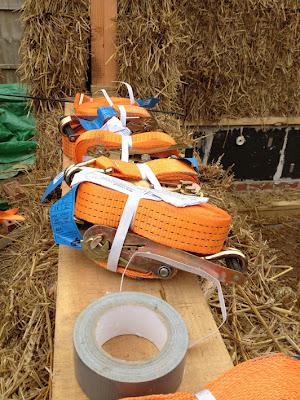
Truckers' straps, ready for compression of the new bale walls
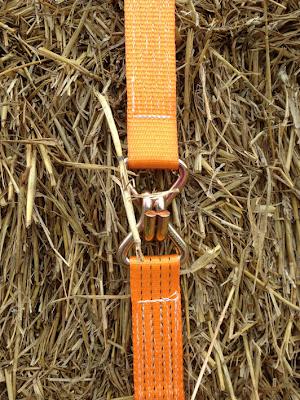
These run over the wall-plate and under the base-plate, securely hooked together
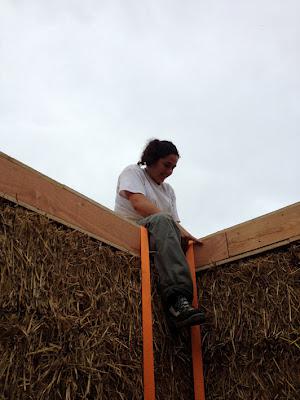
Coralie directs from above
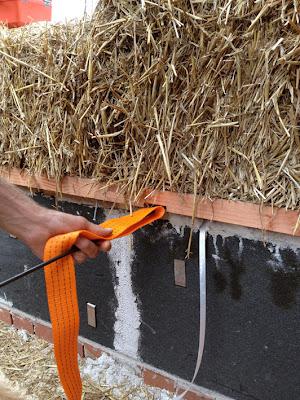
Notches were made in the base-plate before it was fitted to allow the straps to be passed through, folded around a baling needle. There's a channel between the inside and outside of the baseplate formed from flattened drinks cartons with the ends cut off, secured to the timber with gaffa-tape. The smooth inner surface of these coupled with the strength of the card allows the straps to glide through and be easily removed afterwards. Apparently before this innovation the straps frequently became trapped after compression as the LECA aggragate in the baseplate was squashed onto the straps forming a vice-like grip.
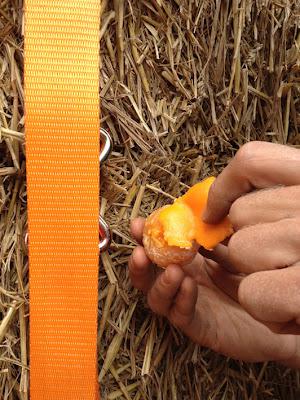
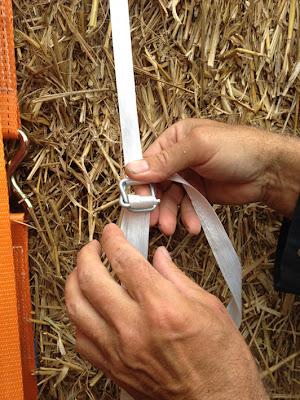
Packing strap and buckle is used to provide a permanent tie between wall-plate and base-plate and maintain the compression
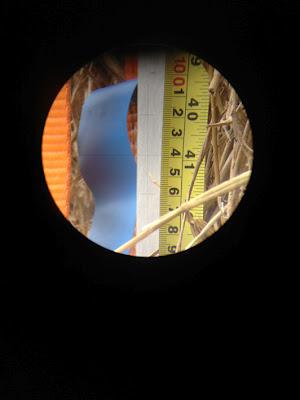
To compress the walls, the ratchet straps are tightened in sequence until the required (and even) amount of compression is achieved. This is checked by using a site-level and a tape to check how far the top of the wall-plate has dropped during compression.
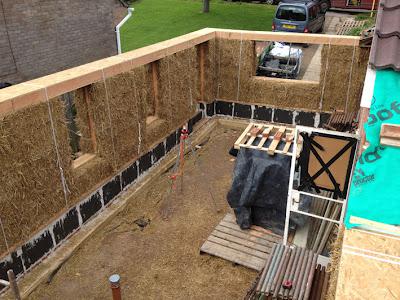
Finished bale walls! (well, apart from render, and windows, and...)
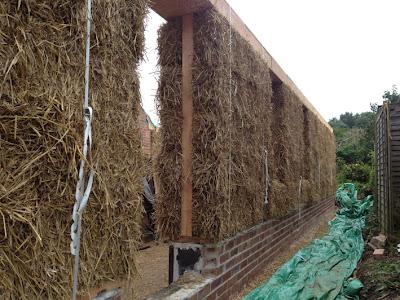
After the compression the walls are incredible strong. There's less air in there, and the whole thing becomes tight and rigid. It also starts to have a satisfying hollow "thump" sound when thumped.
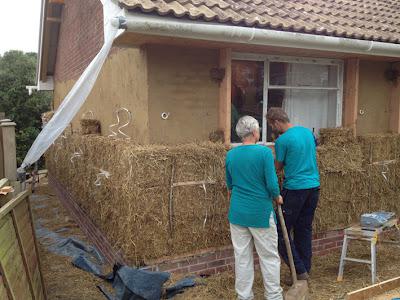
Linda and Kuba fitting bespoke small-bales under the front window
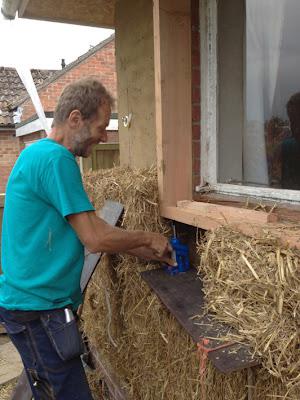
The bottle jacks and steel-plate compress the penultimate row of bales down. Bale-height bits of wood are then used as temporary props at each end to hold the plate down while the last bale is slotted in. This keeps the wrap compressed, dense and strong.
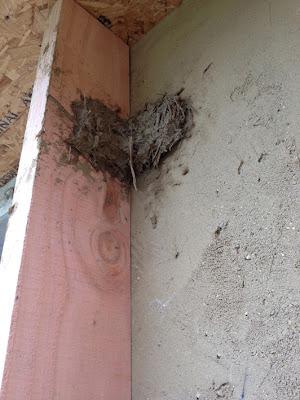
The steel brackets holding on the window boxes are covered in clay plaster to regulate moisture and reduce condensation within the bale walls.
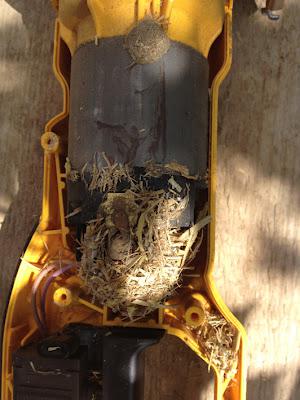
The angle grinder sucked in lots of straw while squaring bales and cutting notches.
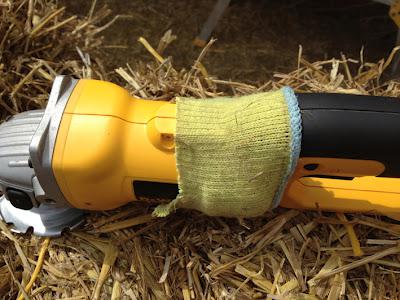
After a clean-out, now fitted with patent Straw-Ingress Prevention Device (the wrist of an old pair of work gloves) over the air-intake
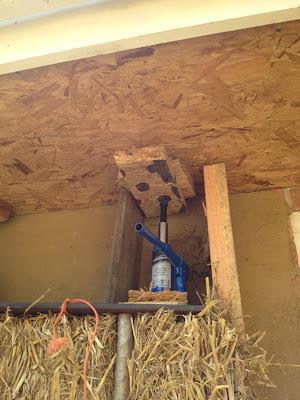
Compression to fit last bales under the eaves
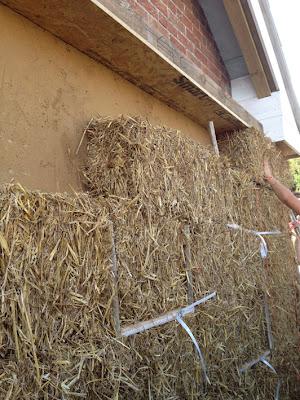
On the gable wall, two timber wall-plates allow for compression of the bales here
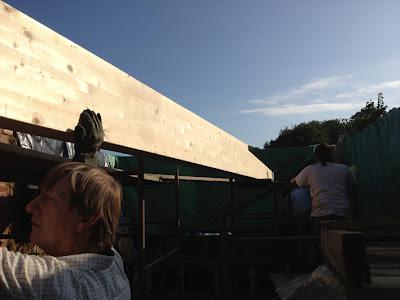
First of the insanely large, over-specified glulam beams for the hips of the extension roof is bodily hefted around and into place. No machines available for this one!
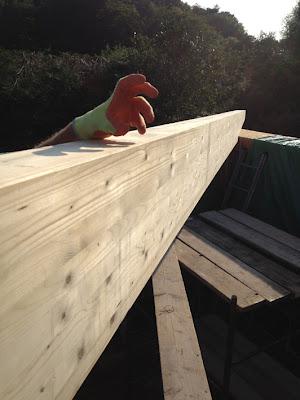
Perhaps Kuba is trapped beneath?
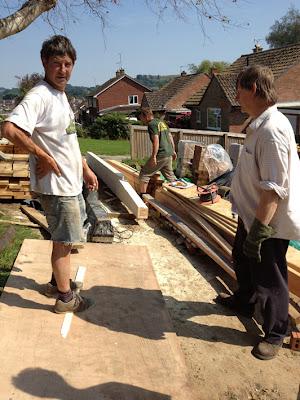
And another one... It took a while to work out where to cut these and what angles etc. I was very impressed by Mike and Tim's calculations as both beams slotted in perfectly first time.
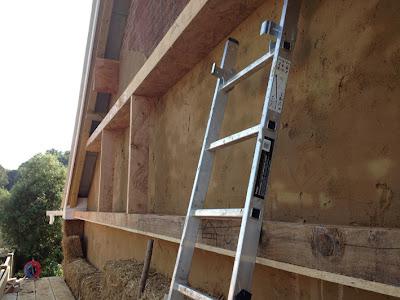
Up the gable
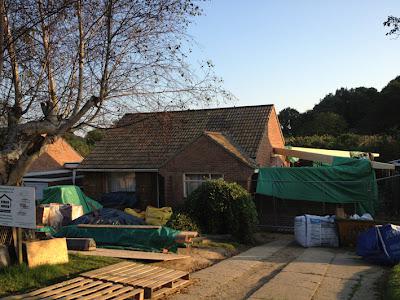
Hip beams in place
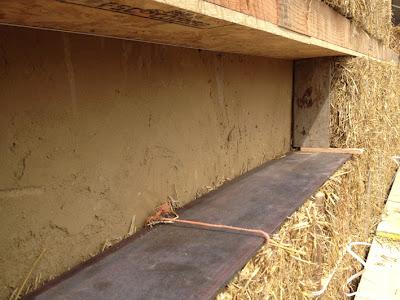
Slim timbers holding the steel-plate and compression on the gable, after bottle-jacks removed, before bale slotted in and plate removed.
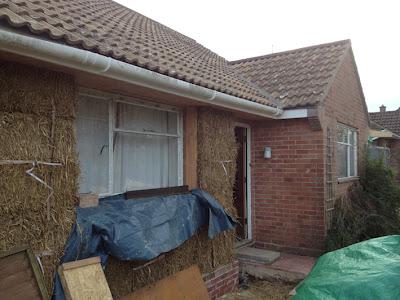
Hairy bungalow
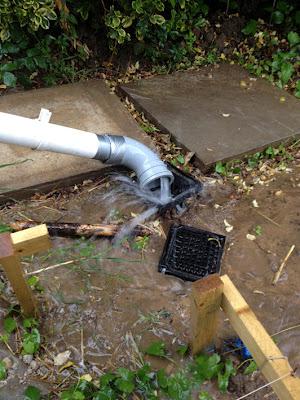
And the rain returns... At this point I re-organised the tool room and cleaned the rest of the bungalow which was in a bit of a state by the time volunteer weeks were over.
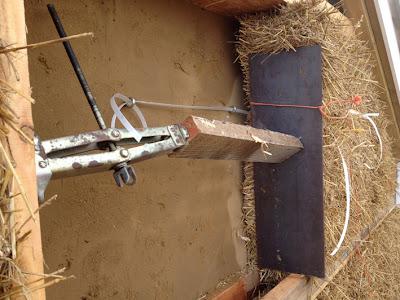
At the gable, the bales need to be compressed sideways as well as down, to ensure that they are fitted tightly against the underside of the slope of the roof (using a scissor-jack because bottle-jacks won't work sideways). I was doing this bit on my own, involving much head-butting of bales, precarious balancing of timbers and the like. The worst moment was shortly before this photo was taken: holding the scissor-jack and wood in one hand and attempting to wind the jack with the other. They pinged out sending the timber flying inches past my head, I ducked just in time to avoid the falling steel plate, stumbled backwards and narrowly eascaped tripping backwards off the temporary scaffold. I resumed operations with increased caution...
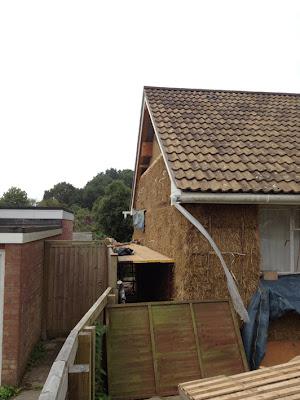
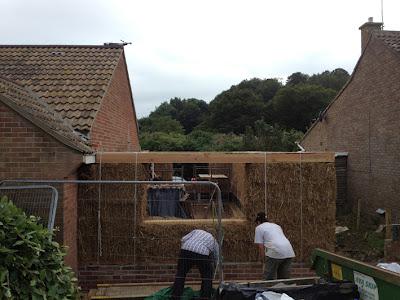
Primary bale-work complete!
