You must have seen the introductions which come in the websites like G+ , twitter , facebook , etc. when you go as a new there or press help button , but have you wondered that you can also add those type of introductions to your blog ! By adding them you can help your readers to understand your blog easily and increase Subscribing Opt In rate of your blog !
So what are you waiting for ? Grab this widget now !
What Is Intro Js ?
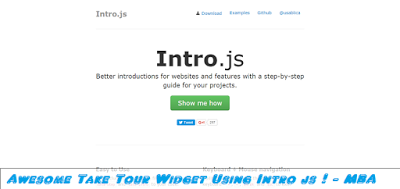
Intro js is a fast js made to provide introductions on websites , many websites use it to help their readers better understand the UI of the website.
You may see the live demo by the going to below link and clicking "Show me how" in the intro Js website.
Is It Easy To Use ?
Yep ! it is very easy too use it as you just need to remember two tags and then you can create infinite introductions for your blog in minutes !
And it will not affect your blog Page Speed Insights and loading time also and the most important it is fully free to use !
I don't know the full working of this js but know that this js on triggering fades up the entire body and focuses on the element in which you've added the attributes and then show tooltip onto them which help your readers to better understand your blog !
Adding The Widget In Blogger -
So these are the simple steps through which you can add this awesome widget in your blog -
1) Adding The Main JS And CSS -
- Go To Blogger Dashboard
- Then Go To Template
- Click Edit HTML
- Find </head> in the template and add this code above it -
<!--Take Tour By MBA Starts--><script src='http://myfilezone.96.lt/uploads/introjsmin.js' type='text/javascript'></script><link href='http://myfilezone.96.lt/uploads/introjsmin.css' rel='stylesheet'/><!--Take Tour By MBA Ends-->
- Save your template and the first part is done !
2) Adding The Introductions -
You can add the introductions easily by using just two tags which are data-step & data-intro .
data-step : It shows the no. of step , keep unique in each element.
data-intro : It shows the main introduction line.
For Example if i want to add the introduction for my header then i'll just add these two codes -
Now by adding the two attributes i have described a introduction for the header , you can add it to infinite articles but having unique data-step number.
Replace Your "Unique Step No." With the step number and "Your Introductions Text" with your text which you want to show in the tooltip.
You can add these attributes by going to your template section and adding the attributes by finding the sections or widget.
3) Triggering The Introductions -
After adding the classes the introductions will not come until you trigger them by using this link -
You can add this link either in sidebar as a widget r in your navbar to trigger the introductions.
What now ? Congratulations ! you've successfully added the take tour widget in your blog !
Need Any Help ?
So this was the article about adding the take tour widget in your blog , hope you liked it and share your experience through comments.
By the way are you having any problem in adding this widget ? If yes then do let me know them through comments so that i may help you in installing this widget.
Happy Blogging And Good Luck :D
