Another German brick stitch embroidery: a needle roll | #LRCrafts - DIY Passion: if you can think it, you can make it
Sometimes, a project captures your heart so completely that you can’t wait to start another. That was the case for me after finishing my embroidered Medieval purse, all made with German brick stitch in the span of three years. Completing it after so many years felt like a major victory, and I was eager to embark on a new German brick stitch adventure.
With our family Summer vacation on the horizon, I was looking for a craft project to be my company during my child’s afternoon naps. I decided another brick stitch project was perfect. The portability of such embroideries make them perfect for travel: just a couple of colors of floss, no need for scissors if you pre-cut your strands. They’re incredibly handy on a plane or any other journey. Once you grasp the rhythm of the pattern, you can work on your piece while talking to other people, casually watching a video, thinking about anything else.
Inspired by Racaire’s beautiful work, I set my sights on creating a needle roll. It was a chance to experiment with a new shape and function, adding another piece to my Medieval sewing kit and indulging my passion for German brick stitch.
Embroidery and sewingLucet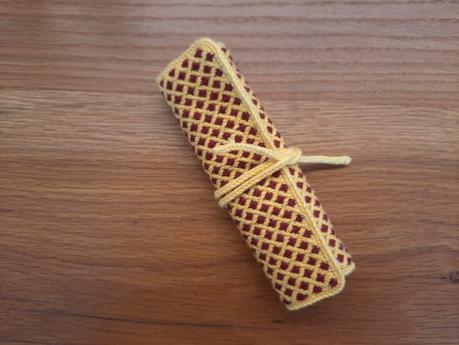
Click for the finished project detailed photos
While a needle roll isn’t typically considered a historically accurate item to embroider with German brick stitch—usually reserved for religious items like reliquaries or sacred vestments—a fabric needle roll is still historically plausible. I decided to take some “poetic license” and embark on a more secular project. After all, needle rolls and brick stitch-embroidered items coexisted in the same timeframe.
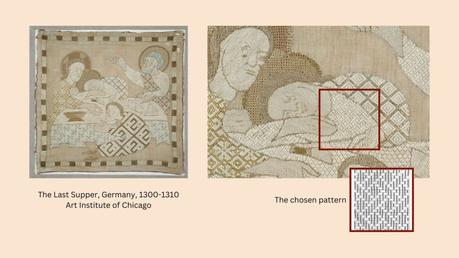
It’s possible that only religious-themed embroideries survived because they were treasured rather than used. One theory suggests that this style of embroidery was easier to learn and required less expensive materials compared to other contemporary styles, such as Opus Anglicanum.
For the pattern, I decided to continue exploring the altarpiece that inspired my purse, but chose a different section of the 14th-century Last Supper scene. I selected the pattern from the tunic worn by the sleeping disciple. I wanted something I could make with just two colors, red and yellow, to match the embroidered purse.
I started by sketching the chosen pattern on squared paper. Understanding the pattern is crucial; it can save a lot of time retracing your stitches. With my first project, I had to redo a big section, and I didn’t want a repeat of that experience.
Using high-resolution images of the original and the documentation on a paper about the antependium, the drawing was straightforward. I also embroidered a couple of samples to ensure I grasped the design correctly and to check the chosen colors and the number of strands to use. Like my previous project, I used four strands of floss, which provided the right balance of coverage and detail.
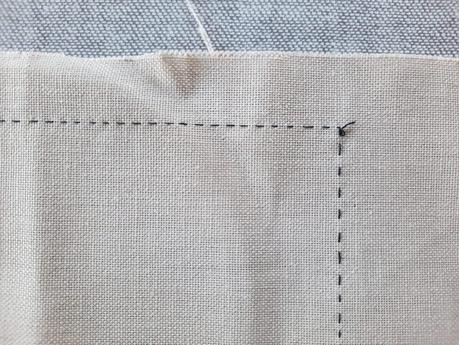
I had enough of the same fabric used for the purse. To create a finished needle roll large enough to accommodate my historical needles, I needed to embroider a 12×14 cm square. I marked the outlines of my embroidery with black thread and running stitch, being more precise this time by closely following the weave of the fabric, to achieve a neat embroidered edge. I found that precision is crucial for a neat finished project during the lining process.
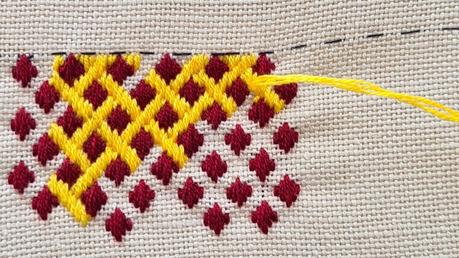
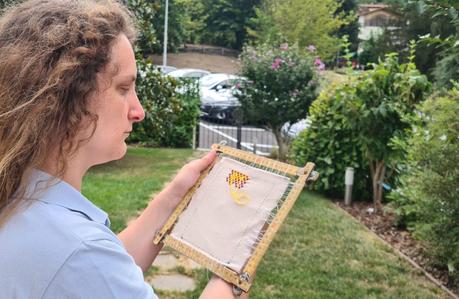
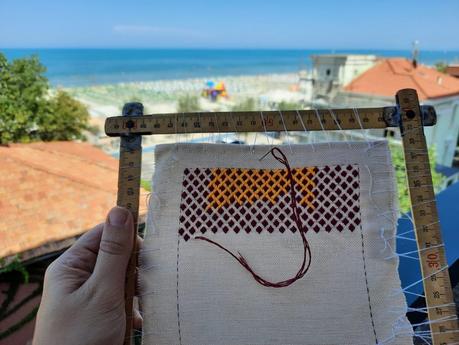
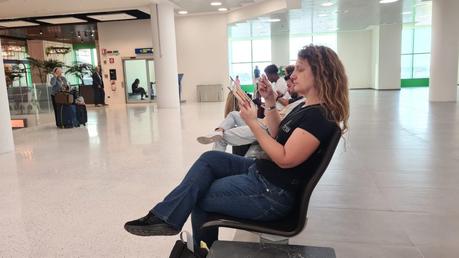
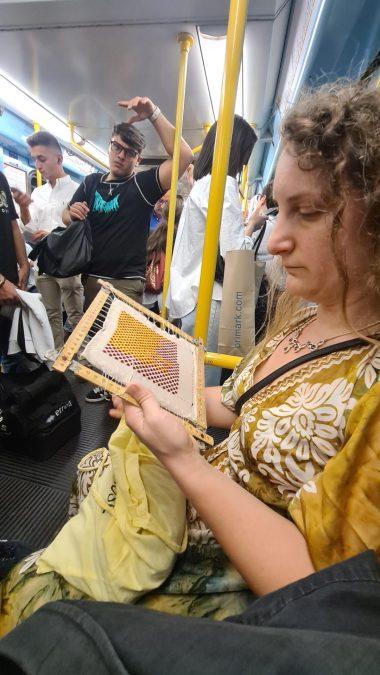
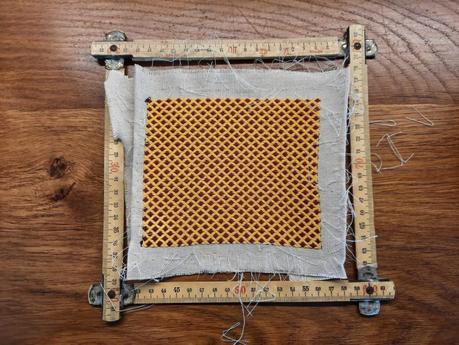
I then began the proper embroidery process. While on vacation at our countryside family home, I realized I had forgotten my embroidery hoop. My husband came to the rescue by building one for me from a discarded tool, that turned out to be a useful embroidery companion – a fun story in itself. I took the project with me to the seaside, where it kept me company during my child’s naps.
Finishing the embroidery took about eight months, primarily because I worked on it during travels or lunch breaks at the office. The rhythmic nature of counted stitches was a constant source of relaxation amidst the hustle and bustle of daily life.
One significant lesson I carried over from my purse project was the importance of accuracy. I paid extra attention to ensure each stitch was perfectly placed, which reduced the number of mistakes and the need for corrections. This made the process smoother and more enjoyable.
Another difference from my previous project was how I worked with the colors. Instead of finishing one color first and then embroidering with the second, I alternated between yellow and red as I embroidered. Completing a section with both colors before moving on to the next one had the advantage of catching mistakes earlier in the process. My work was not free from errors, especially in the beginning. Discovering a mistake early makes it easier to fix. On the other hand, realizing you missed a stitch or two after completing all of one color is not pleasant.
Once the embroidery was complete, I was very pleased with the result. The edges where my stitches ended were neat and straight, and the overall coverage and appearance of the piece were exactly how I wanted them to be.
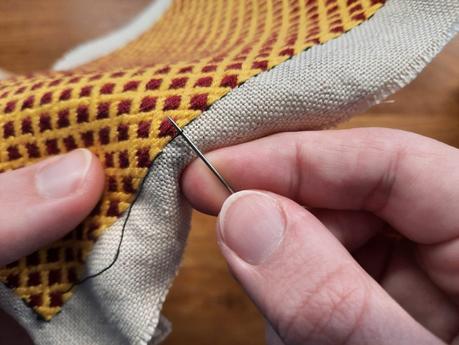
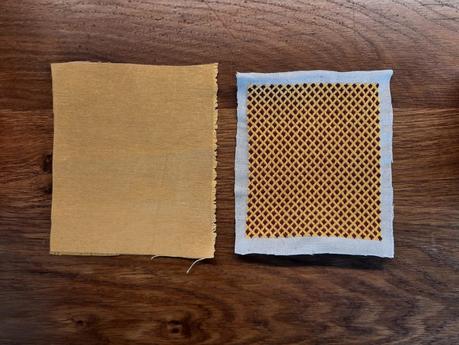
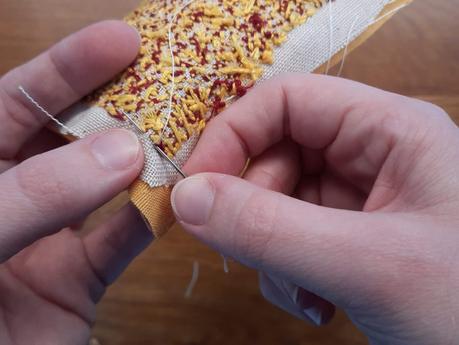
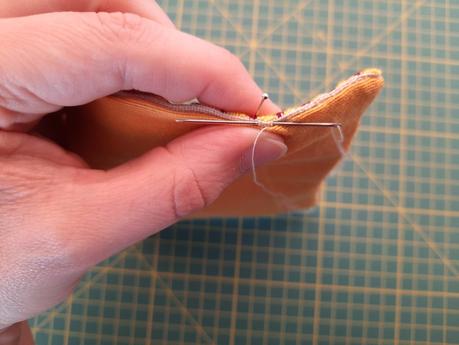
Next, I lined the needle roll with yellow cotton fabric. I hand-stitched the lining because it gave me more control over the position of my stitches, allowing me to be precise and stitch exactly where the embroidery ended.
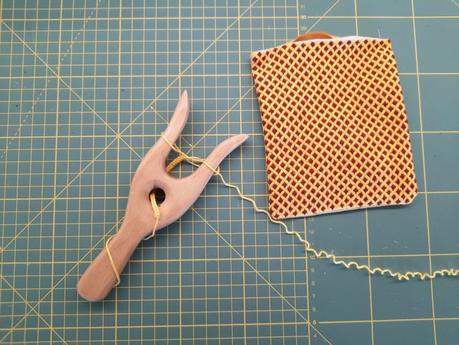
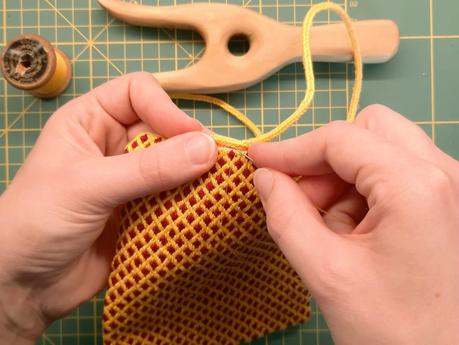
For the closing lace, I made a cord with my lucet, a technique I had grown fond of. The lucetted cord not only served as a practical closure, but also bordered the entire needle roll, providing a clean finish where the embroidered front and lining met. I carefully hand-sewed the cord around the border, leaving two equal ends on one short side for closing.
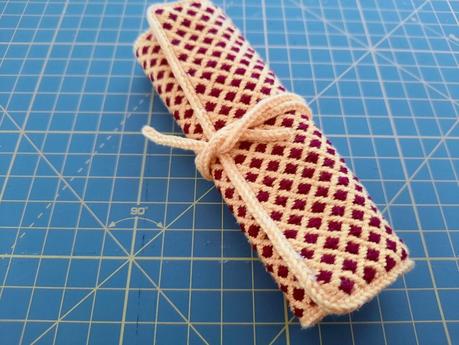
Finishing the needle roll brought a profound sense of accomplishment and a touch of nostalgia. The process was long but immensely rewarding. After completing it, I found myself eager to start a new brick stitch embroidery project!
What do you think of my needle roll? I always enjoy hearing from fellow crafters and history enthusiasts. Please share your thoughts in the comments section!
by Rici86.

