I cannot tell you how many times someone has asked me what makes some things I bake taste better than theirs when we used the same recipe. Over the years, I’ve learned a few very small things which a very big difference in improving the overall taste.
Today, I’m going to share how to take a basic lemon bar recipe and make some of the best lemon bars you’ve ever tasted. I made lime bars, because that’s what I had in my kitchen, but the same principles apply to any citrus bars. You can use the recipe below for any citrus bar (lime, orange, grapefruit).
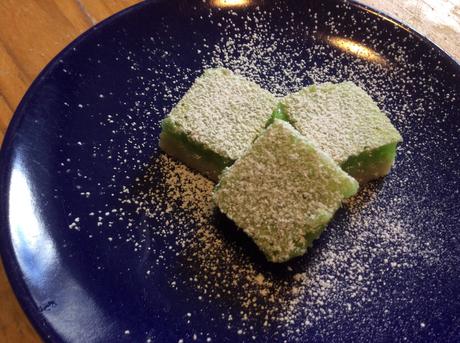
First, start with a good recipe. I really like this one. It makes a very yummy lemon bar, and it contains very simple ingredients. My only complaint is that it is not lemony enough for me. I want my lemon bars to scream “LEMON” when I take a bite.
Second, use high quality, fresh ingredients. If the recipe calls for real butter, use real butter. If it calls for lemon juice, use freshly squeezed lemon juice rather than bottled. This is particularly important in recipes with just a few ingredients.
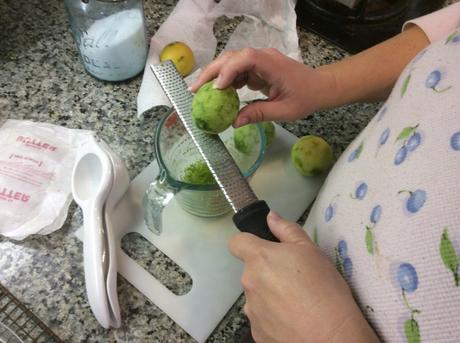
Third, zest your lemons and add it to your lemon juice. The zest adds that super lemony tartness lemon bars need to make them great. Wash your citrus fruit in your favorite fruit/vegetable wash, or soak it in some water with white vinegar before you zest it. Then rinse and dry it. Next, use a micro plane grater like this one for easy zesting. You can use azester, but I really like my micro plane grater. I use it for many things in my kitchen (grating Parmesan, grating ginger, etc.), so it’s not a single use tool. You can find these at many retailers. Amazon sells one here.
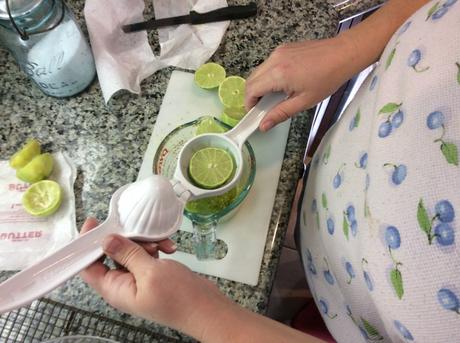
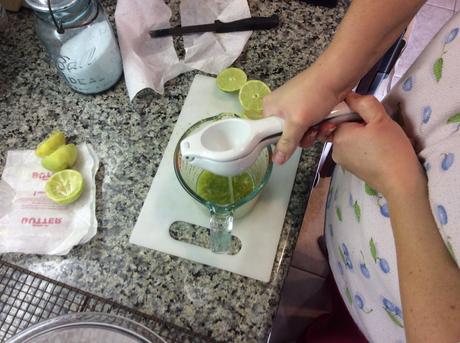
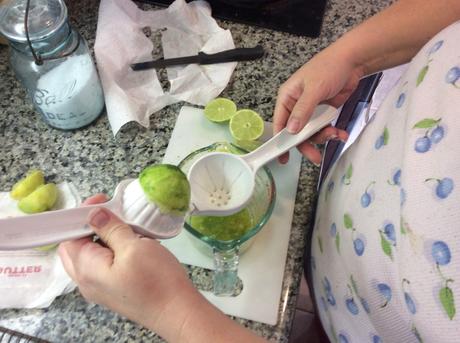
Fourth, since you’re using freshly squeezed lemon, lime, or other citrus juices, make sure that you have enough juice. Some lemons have more juice, and some have less. The average lemon has about 3 Tablespoons of juice. Measure your juice after you squeeze it. If you don’t have enough juice, squeeze another lemon or supplement with bottled juice to ensure you have at least 6 tablespoons of juice (for this recipe). I know I said freshly squeezed juice is betterm and it is, but it is better to use some bottled juice and have enough than to have too little juice from fresh lemons.
I use my favorite pampered check lemon juicer, but you can find these at Walmart, Target, and many other retailers. Even Amazon has one you can view here.
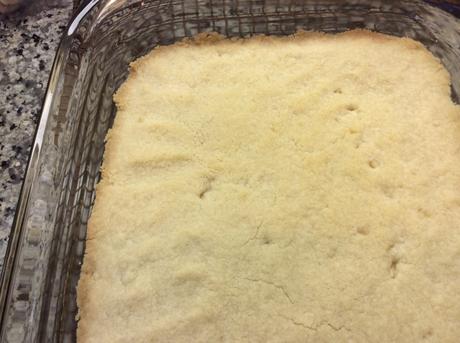
Fifth, make sure that you pre-bake your crust long enough. It should be getting brown on the edges. This will give a nice flavor to your crust.
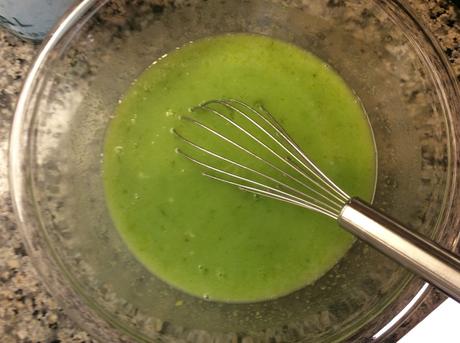
Sixth, do not use a hand mixer to mix the custard for your lemon bars. Using a hand mixer will make your custard a bit frothy which changes the texture into something a little less decadent. Use a whisk to combine the juice, eggs, sugar, and flour.
Seventh, let your lemon bars sit for at least 12 hours before you cut and serve them. Sure, it’s difficult to wait, because your lemon bars will smell so delicious, but, if you let them sit, the flavors of the crust and custard will combine so nicely. Of course, in my house, we don’t wait. We always eat some as soon as they’re cool enough for us to eat them without burning ourselves. However, when I eat one the following day, I wish I’d waited, because they’re so much better.
Finally, dust them lightly with powdered sugar, but do not go overboard! The sweetness of the powdered sugar is a nice counterpoint to the tartness of the citrus, and too much sugar will mask too much of the lemony goodness of the bars.
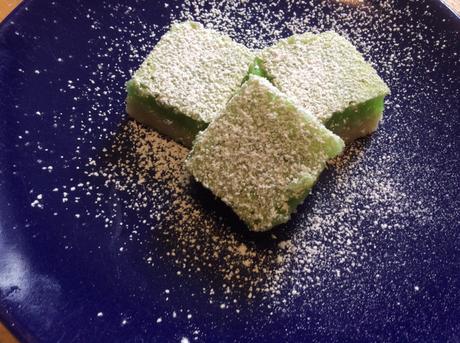
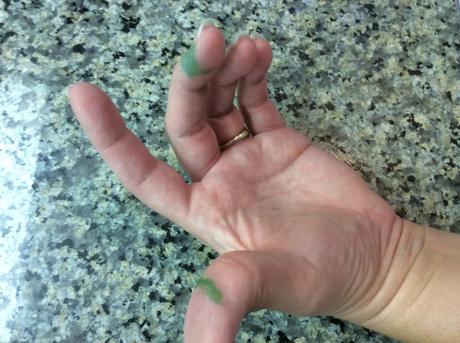
(You may notice that my lime bars are really green. My son wanted me to add a little food coloring so that no one would mistake them for lemon bars, so I added with three drops of green food coloring and one drop of blue. Be careful with your food coloring or you may end up with this on your skin.)
And there you have it! My tips for the most delicious lemon (lime, orange, or grapefruit) bars you’ll ever eat.
Do you have any baking or cooking tips which take a good recipe and make it great? I’d love for you to share!
*** Please note that there are affiliate links in this post. ***
