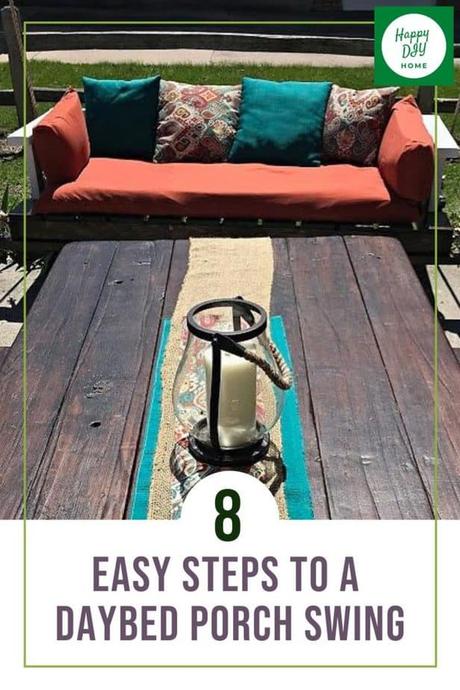
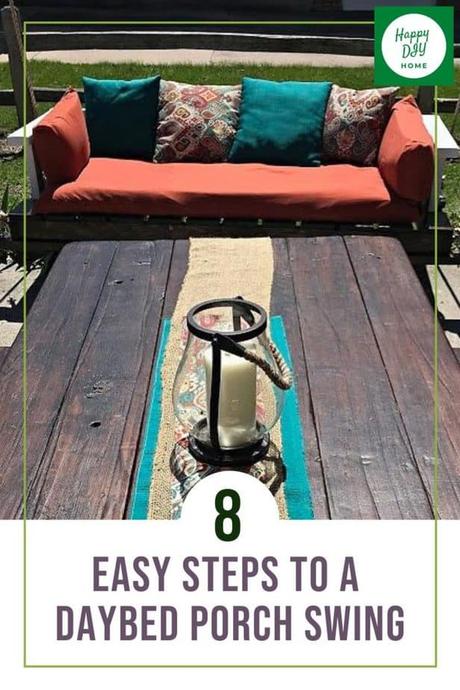
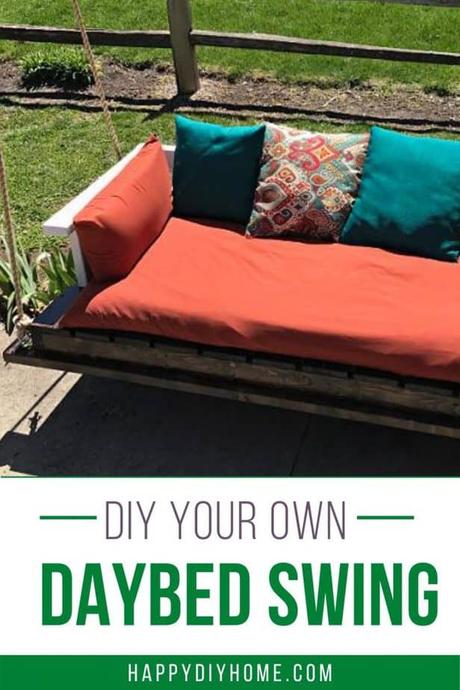
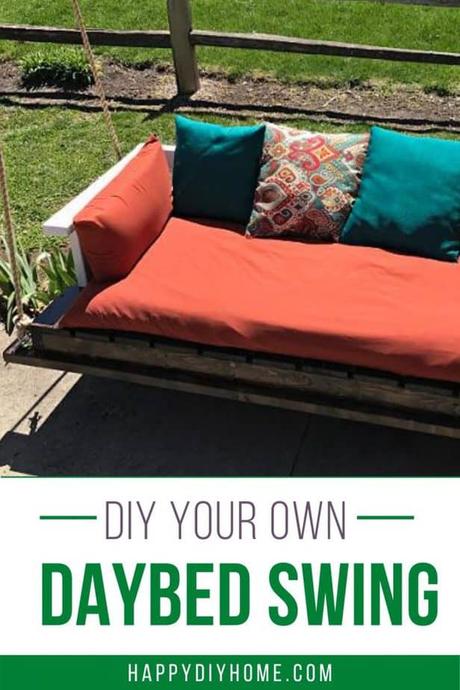
A porch swing bed can turn any backyard into a relaxing oasis. Sturdier than a hammock, and larger than a regular porch swing, a daybed creates a welcoming refuge to melt away the day's stress. No worries if you've never built a swing before. This plan will show you step by step how to construct your own lulling getaway in your own backyard.
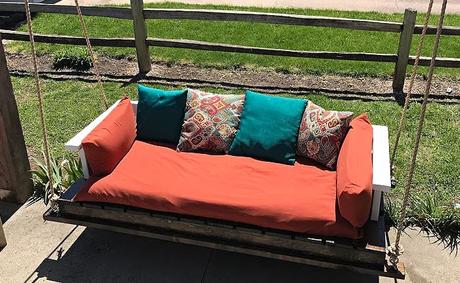
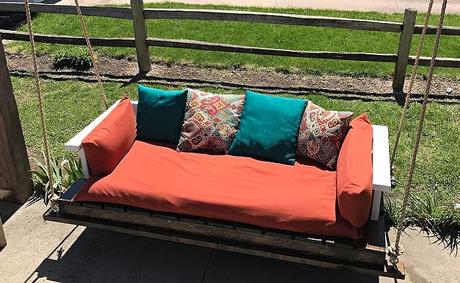
The Daybed Swing turns any backyard into a relaxing oasis.
Shop Class 101
Shop class is in session...homeschool style. When Covid-19 closed my school this past spring, one virtual challenge I posed to my junior high students was to learn a new skill or complete a DIY project. Being a firm believer in leading by example, I took to my she-shed. While you might be envisioning a she-shed of serene relaxation, complete with a candlelit reading nook, calming music, and tropical drink in hand, this is not your typical she-shed, Sheryl. My
she-shed displays power tools, saws, and a coating of sawdust (drink is optional).
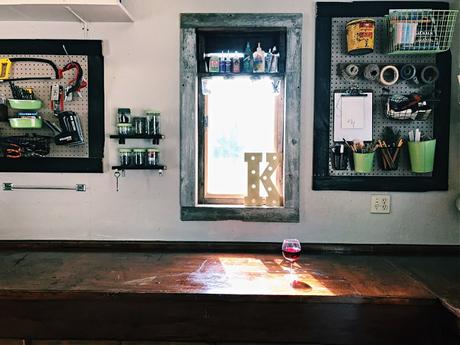
Move over Man Cave and make room for the She Shed.
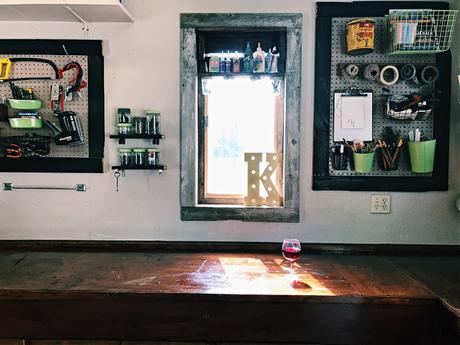
Behold...my sanctuary. Keep in mind, this was when it was clean. Since then, it's been a bit abused with the projects going on. Not everything is still organized with mason jars and peg boards, but it's my happy place.
- I love to read and relax outside in the sun.
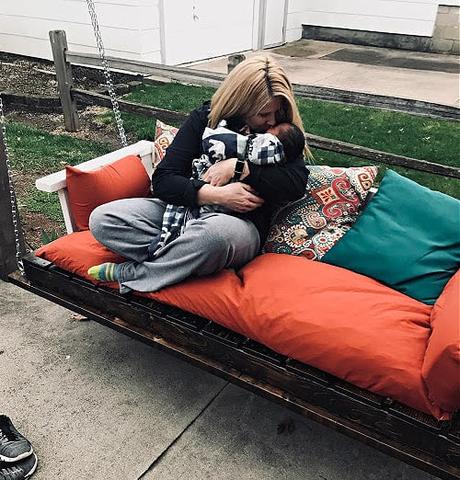
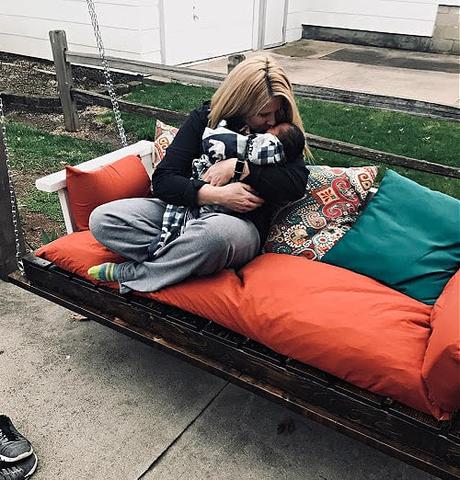
- I wanted one big enough to snuggle with my new grandson Jett.
The Assignment
I've always loved the daybed swings and since I already had a beautiful, small swing on my front porch, I decided to try making my own daybed swing for my back patio for two simple reasons.
The Criteria
When it came to the design and actual construction, I only knew one thing: it had to be easy! I had never built a daybed swing before, so I knew going into this that I wanted a simple, basic design that I could crank out within a few days and also show my students that I, too, was learning from home. Easter was six days away, and my goal was to be swinging with Jett by that weekend. I didn't care about angling nor hiding screws; I just wanted quick and easy! The Easter Bunny had to deliver on time.
- sandpaper
- 2" outdoor screws
- 3" outdoor screws
- (6) heavy duty eye screws
- (2) carabiners
- (2) metal rings
- rope or chain
- stain and/or paint
- polyurethane
The swing also had to be large enough to fit Jett and me stretching out comfortably, so our measurements became the starting point for the length requirement. With Jett weighing in at a whopping 6 lbs and 19 inches, he would take up most of the space (wink, wink). With me coming in at 5'5" and a few extra inches added to both sides for head and legroom, 70 became the target point. The final product ended up at 73 inches. I knew that if I had added a few more inches, it would have been the size of a twin bed and it would have saved me time and effort custom making a cushion. However, I was worried about the space, so I went the hard route. If you choose to follow my design and dimensions, keep that in mind. You will have to customize your own cushions.
The Materials
*With Covid-19 wreaking havoc, I only wanted to use what supplies I had in my stash and avoid venturing out. Otherwise, I would strongly suggest pressure treated lumber for any outdoor building purposes.
Step 1: Build the base frame.
Step 2: Attach the arm posts and rests.
Step 3: Install the seat slats.
Step 4: Attach the backrest rails.
Step 5: Attach bottom support beams.
Step 6: Sand, sand, sand.
Step 7: Stain, paint, and poly.
Step 8: Hang and enjoy.
1. Build the Base Frame
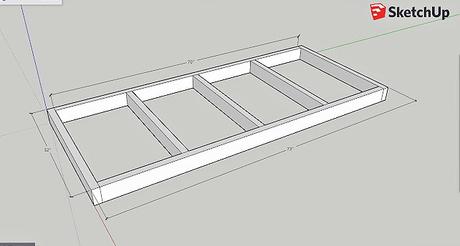
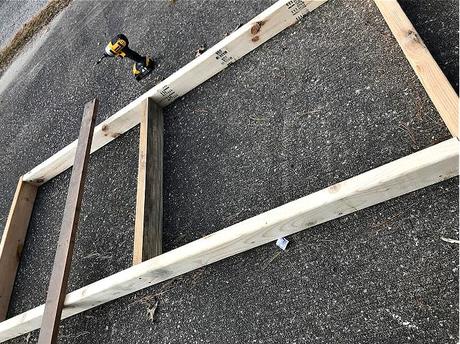
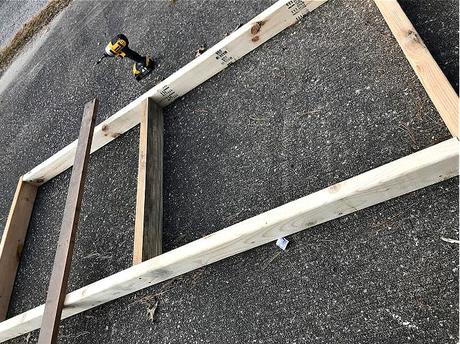
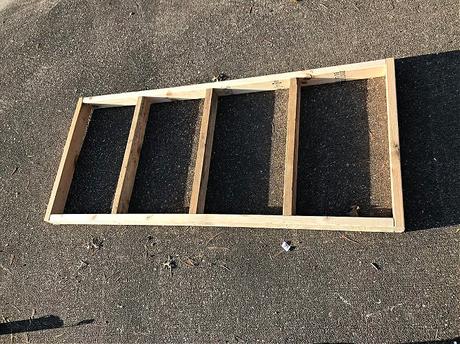
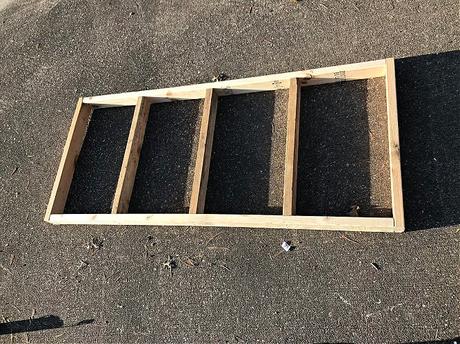
Start by building a base frame for the daybed using 2x4s. You can find the measurements I used in the diagrams following each step. Construct a frame like mine illustrated in the photo. I used 3" screws on the joint corners because I knew my swing was going to be sturdy and heavy. After the outside frame is built, add the three inner support braces. Start with the middle brace by centering it, then center the two outer ones and screw to the frame.
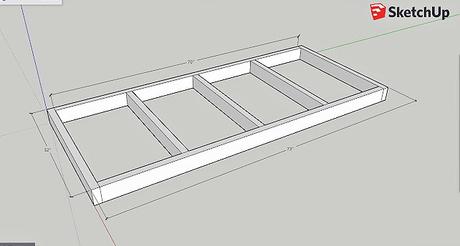
Use the measurements in the diagram to plan out construction on the frame.
Shop class day one: Begin with the outside frame and then add the middle inside support.
Start by constructing a basic frame using 2x4s. Add inner support braces, and this will eventually become the seat base to your swinging daybed.
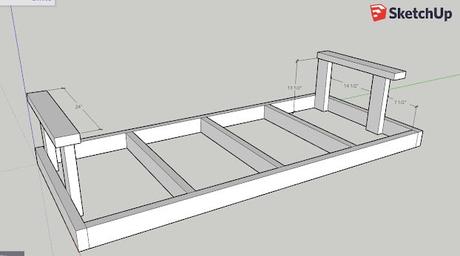
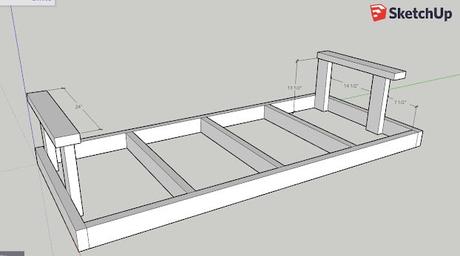
Be sure the arm rest posts are flush against the back corner of the frame and attach from the inside.
2. Attach the Arm Posts and Rests
Next, attach 2x4s as the four corner posts for the daybed's armrests, making sure the back two are flush with the back inside corner of the frame. Screw from the inside with 3" screws. Follow the diagram. Then, lay the top 2x4s across the posts and screw from the top. These will become your arm rests. As I stated before, my goal was easy, so I didn't worry about hiding screw tops. If you want a more polished look, screw from the bottom inside at an angle and/or hide them using different woodworking tips and techniques.
Speeding along, looking good, and feeling pretty proud of myself...
3. Install the Seat Slats
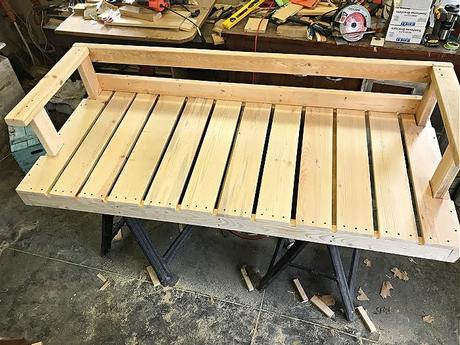
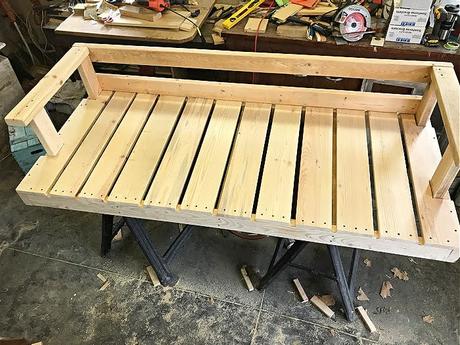
*Disclaimer. Use the diagram measurements! Now, this is where I went wrong. I enlisted the help of my Covid-masked brother to help with the measurements (who works at a family-owned and operated sawmill, so I thought he would be a great help-since I don't teach math!). He graciously helped in measuring and spacing the slats for me, as well as helped screw them down using 2" screws onto the daybed frame. He even took the end slat pieces and jigsawed square notches to fit around the arm posts, which he suggested that we did first. The good news is it looked great!
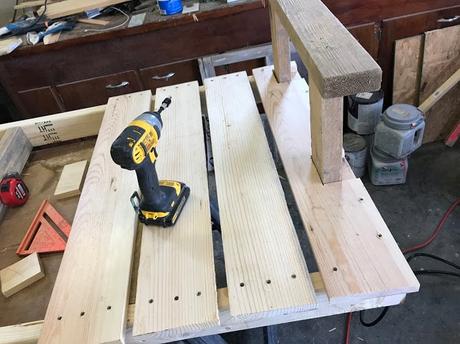
...until my first mistake. You can see toward the left end where the slats don't align. Thank goodness I don't teach math!
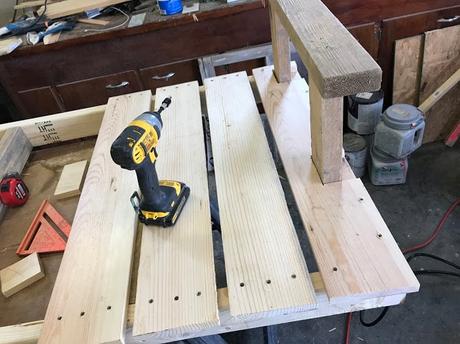
I did not want a solid piece of plywood over the top because my daybed swing would not be protected under a porch roof from the weather, and I was afraid potential weather and rainwater would rot out the plywood if it were one piece. I also did not want any cushions, my grandson, nor myself to fall through widely spaced out, skinny slats. Therefore, we opted for thicker slats made of 1x6s, and I loved it.
The bad news is that when we got close to the end, we both realized his measurements were a tad bit off, and he went home. Hmmm...I smell a rat. I was down to my last two slats of 1x6s but had an empty gap of about 11 inches, which would have been too small for two slats but too big for just one. Where is a good mathematician when you need one?
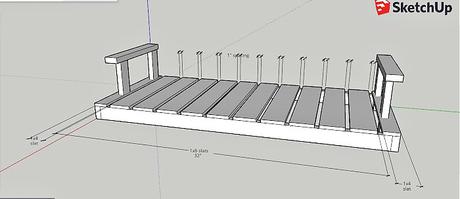
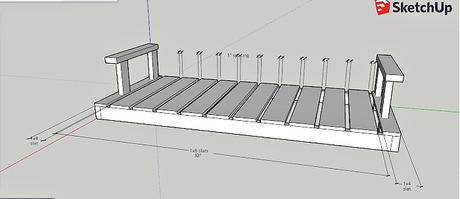
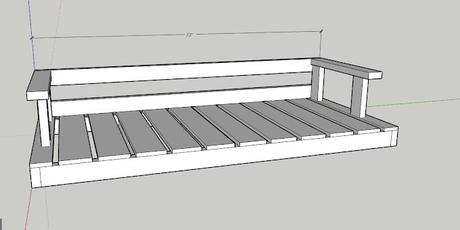
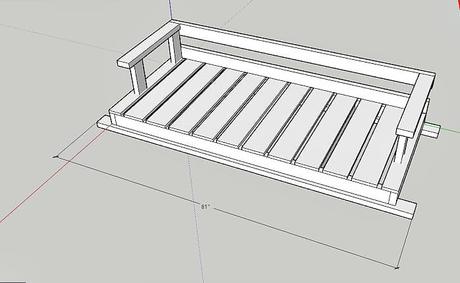
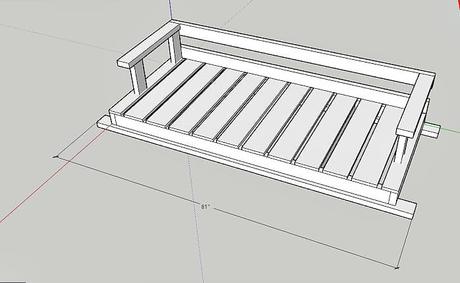
Use this diagram as the correct method for spacing and attaching the seat slats. Notice the 1x4s are now on the ends, which gives a more uniformed look. Use 1" spacing between.
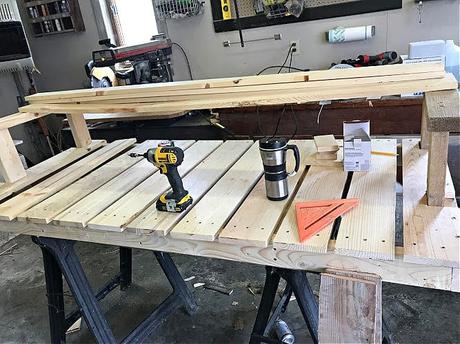
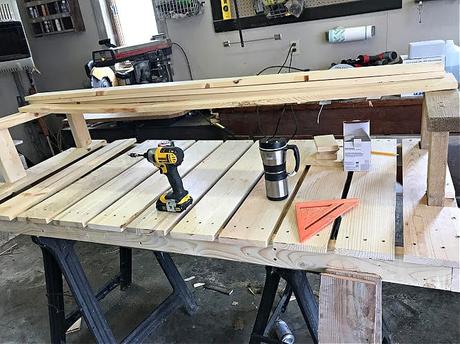
I decided to leave the slats as they were and make lemonade. Pass the lemons, we are grading this on a curve, right? I had a couple of 1x4s on stash, so I cut one down to fit the length of the original slats, spaced them apart to match the others, and-voila!-lemonade. If you look closely at my picture, you will notice the two skinny slabs toward the end. However, we want your daybed swing to be perfect and avoid such mistakes, so you should follow the illustrated diagram below for the correct measurements. The diagram below is the correct way to assemble the seat slats. It shows that if you put your 1x4s on the ends with your arm rests, you will get a more uniform look to your seat base.
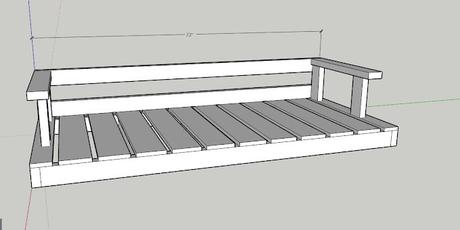
Add the 2×4 backrest rails to the back of the arm posts. Space one flush with the bottom and one flush with the top arm posts.
Here is a look at the backrest and armrests from the side.
4. Attach the Backrest Rails
Attach two 2x4s to the back of your swing frame. Attach the bottom 2×4 flush against the back arm posts and screw straight into the posts with 3" screws. If you have any overhang off the back sides, jigsaw it flush to match the side of the frame. Then, attach the top 2×4 against the back top arm post/rest. You should be able to screw straight into the upright post or the top arm rest, making sure the rail is flush. This top one is a bit tricky to hold steady and screw in on your own, but I managed to do it by propping the right hand side up level, while holding and screwing the left hand side in first.
The bottom 2×4 support beams need to be flat to give the swing a "floating" daybed appearance, as well as a place to put the eye screws for hanging.
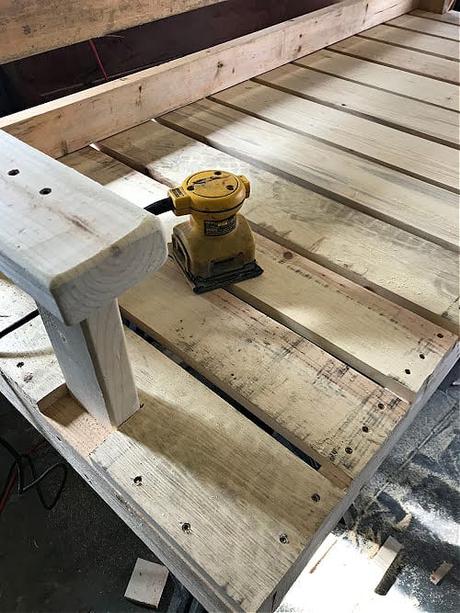
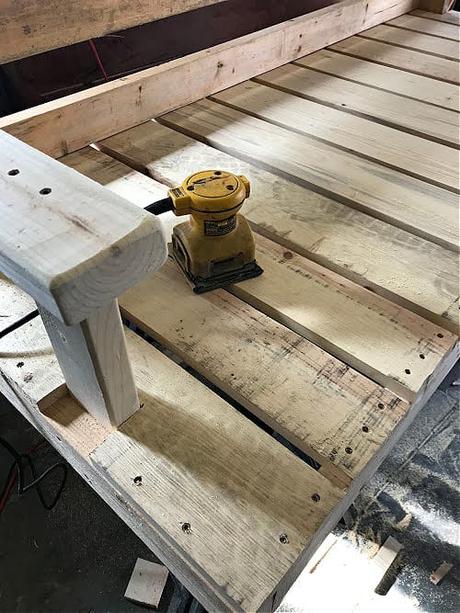
Don't forget to sand the edges of your armrests for a more rounded and comfortable feel.
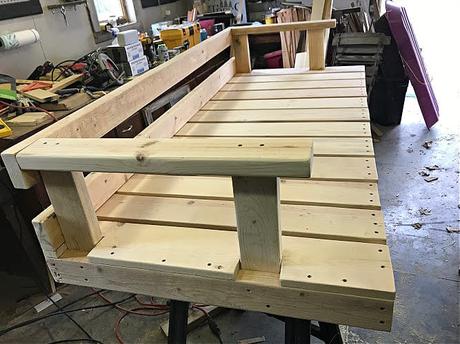
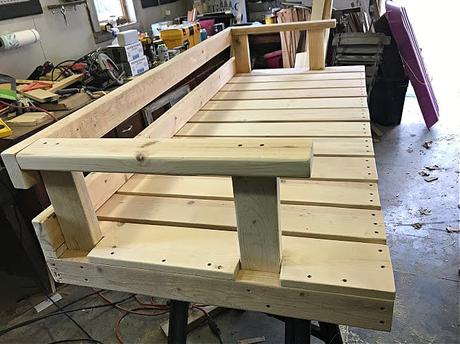
After sanding-what a difference a little elbow grease makes! Also, what a mess!
5. Add Bottom Support Beams
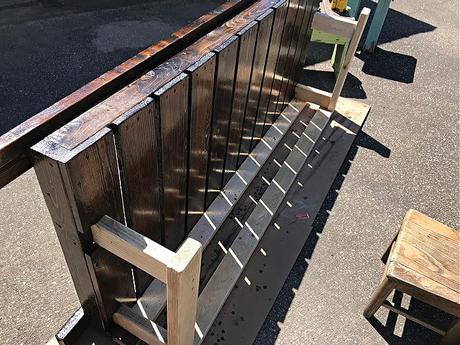
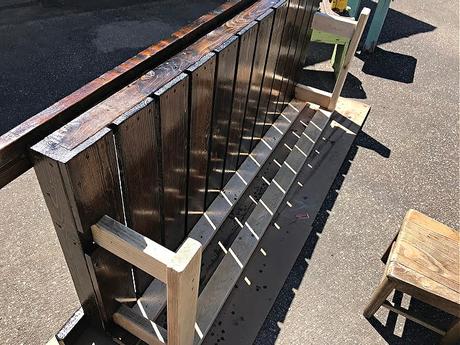
The last step for constructing the daybed is to add the bottom support beams. This is the look I liked the best, and I felt it would give it the best support for hanging. This swing is heavy. Tip the daybed on its back end and screw a 2×4 (flat end up) to the front bottom of the swing's frame. I left a slight lip on my support beams because I liked the "floating" look it gave the swing-more like an actual bed. Next, tip the swing forward and screw the last 2×4 to the back of the swing. I used a small child's chair to help balance the leaning frame enough to screw the back 2×4 in place, again leaving a lip on the back for the "floating" look. I actually did this at the end, so my photos will not show my bottom support beams until the finished product. But for the sake of construction, it would be easier to add them here.
Tipping the frame makes it easier to stain underneath the swing. Stain first, then paint.
6. Sand, Sand, Sand
Finishing the daybed swing requires sanding. I started by using a sander with an 80 grit paper and moving to a 120 grit. Be sure to wipe the entire area down with a cloth between sanding and especially before you paint or stain your swing. Sanding is more of a personal preference, so if you are unsure of what grit to use or have never sanded before, there are a few techniques for you to try.
Shop class day two: Stain, paint, and poly. Final test = hanging it.
7. Stain and Paint
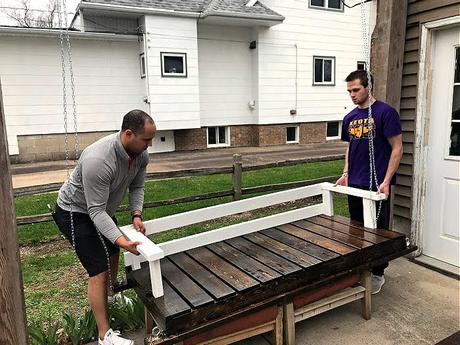
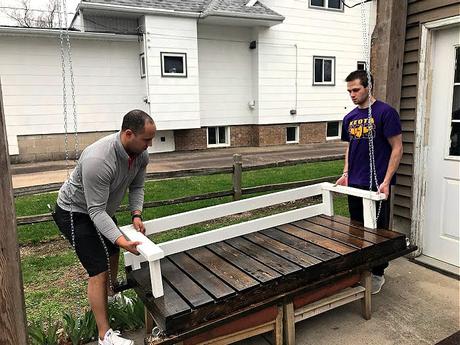
When in doubt, enlist the help of your son and son-in-law to hang it.
The last step to do before hanging your daybed swing is to stain and/or paint it. Because I went with a very simple design and wanted more of a farmhouse look, I opted for both. You can do whatever you prefer. If you want my look, start with staining the bottom. I used a dark walnut stain (see above materials for brand). Stain splatters because it's thin, so be careful. This is why you want to start with the stain, or it will splatter all over your white paint. Let it dry and give it at least two coats. Also, if you have never stained before, you might want to wear gloves and use a rag to soak up any pooling stain on your wood. Sitting stain doesn't soak into the wood to dry; it just sits. Sop it up with your rag by rubbing the rag back and forth until it is soaked into the wood and the cloth.
After allowing your stain to dry to the touch, you are ready for paint. I chose a white outdoor paint because my swing is open to the elements and under a pergola. Again, you might want more than one coat. I used two. Let it dry in between coats and be careful not to spill into your stain. Stain splatters, but paint drips. It is also hard to get the paint drips off of the stained surface, but I think it is easier to control than stain.
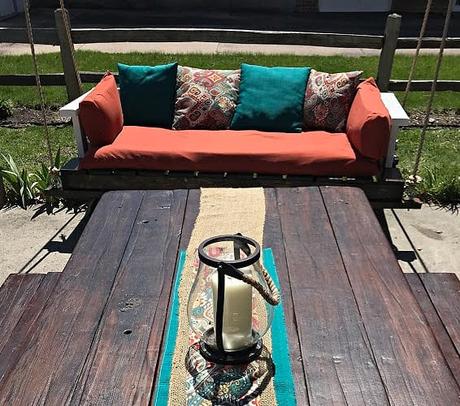
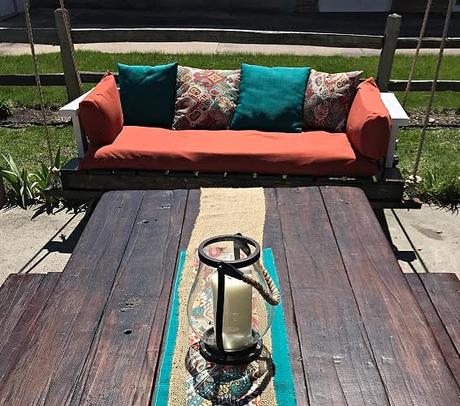
Ta-da! Cushions are repurposed and sewed from my daughter's old dorm bedding and mattress pad.
Our new favorite spot! Next homework assignment- adding an attached side table for drinks.
Last step is a clear polyurethane over the stain. I would recommend an outdoor poly to handle the weather better. You can poly over paint, but it will discolor the white paint a bit with a slightly yellow tint. Allow to totally dry at least overnight before hanging. It might take a couple days. Poly is tacky to the touch and can sometimes leave fingerprints on your beautiful stain job if you touch it too soon. Polyurethane not only protects your wood from weather and age, but it gives it a more glossy, finished look to your project/s.
I just need a cold drink and a good book!
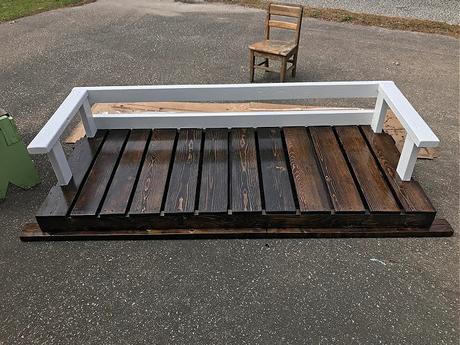
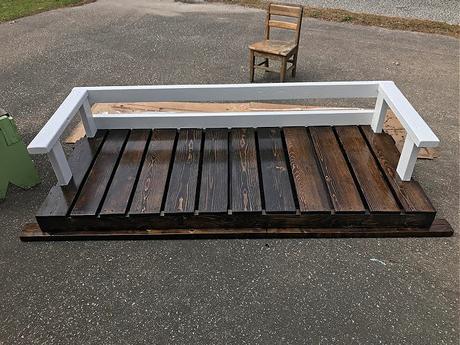
8. Hang and Enjoy
Hanging the daybed is the last step on the road to enjoying your new swing, but for this I needed to research and study in order to achieve the overall look I wanted. The most common methods for hanging swings use chains or rope. I wanted the look of rope, but I also knew it was going to take awhile to arrive (courtesy of Covid), so I opted for starting with a chain until Amazon could deliver. The Easter Bunny was on a schedule and time was ticking.
Before hanging, you need to screw in large eye hooks straight into the daybed's support beams. Measure about an 1-1.5 in from the outside and screw into the beam on all four corner support beams. This is where you hook your chain or your rope that you have chosen. From the ceiling of your structure/building from which your swing will hang, screw in two of the same size eye hooks. Take your chain or rope and hook it up to one eye hook on the daybed, thread it through the eye hook in the ceiling, and back down to the swing's back eye hook. Attach it to the back of the swing. If you are using rope, you will need enough length at the ends to tie a knot onto both eye hook ends.

I used this rope: SGT Knots Pro Manila Rope.
Here is a video to demonstrate proper knot tying. You can check out how my daybed swing looked with the chain and the rope versions.
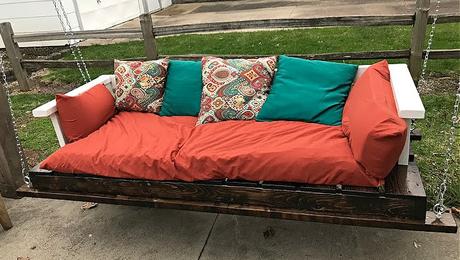
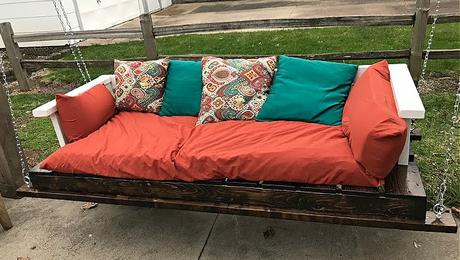
Final step = Swing and enjoy! I am happy to say my daybed swing was completed in three days (taking that extra day to wait on the hanging crew), and the Easter Bunny made it on time. Now, I just need an outdoor movie screen and a crackling fireplace, and this quarantining wouldn't be half bad. But for now, class dismissed.
