Well, all those bad hair days can be long forgotten! We’re bringing you seven easy hair tutorials to rock up and glam those beautiful locks of hair. Because, these hairstyles are perfect for any occasion, and by that we mean any type of social gatherings that will have you looking your best – from weddings, special events to special dinner dates or just an ordinary day.
- Modern Messy Bun
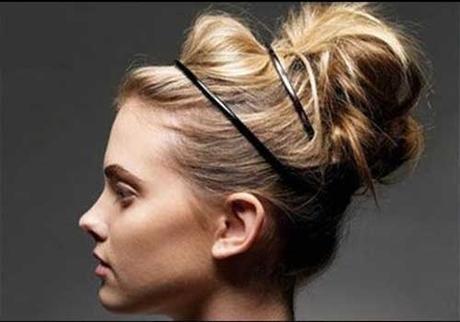
Be the simple-but-stylish chic with this up do.First, you need to pull your hair into a pony and keep any flyaways with your favorite headband to lock them neatly in place. Next step is to take the whole length of the pony into a bun and then securely wrap them with a band or bobby pins, if you have any. Try to lift your bun with the tail comb to even it out as this will add volume to the hairstyle.
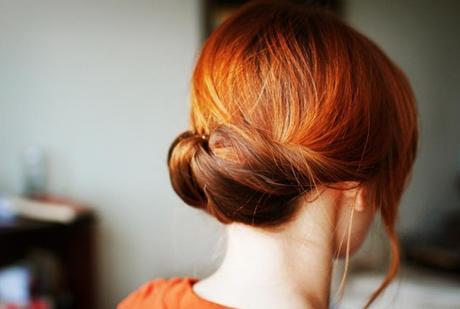
First, you smooth your hair back and leave the tips of your ears present. Second, loosely twist around the sides of your hair and put it into a neat pony to keep it together. Third step is to fold them over the pony to form a simple low chignon at the back and stick some hair pins to hold it. And you’re done.3. Faux Bob
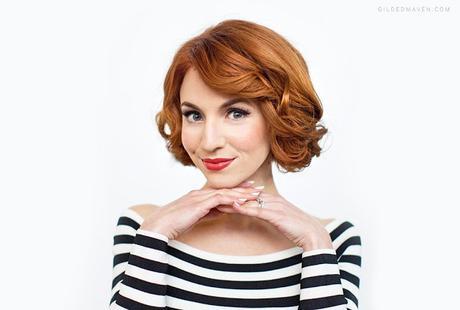
Here’s a vintage faux bob for an elegant appeal.
35 NEW HAIR IDEAS FOR WOMEN’S - MEGHA SHOP
Start by curling your hair to give it layers. Then, divide your hair into loose sections, put it into pigtails if you prefer. Take the end of a section and loosely twist it away from your face and pin them securely under your hair, right below the middle of your head. Just repeat the process for all the other sections until all of them are secured.
4. Messy Fishtail Braid
Take a different spin on the classic fishtail braid.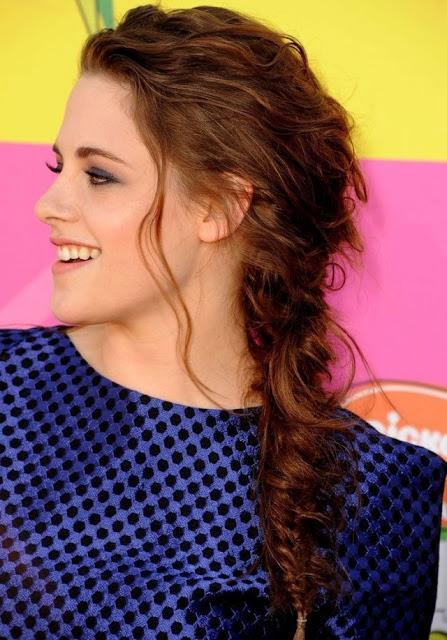
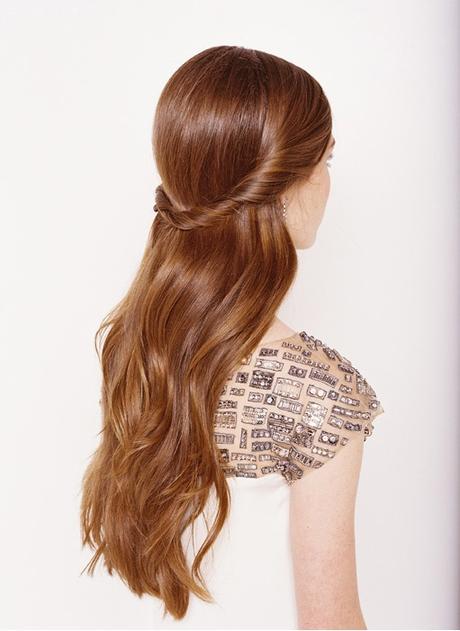
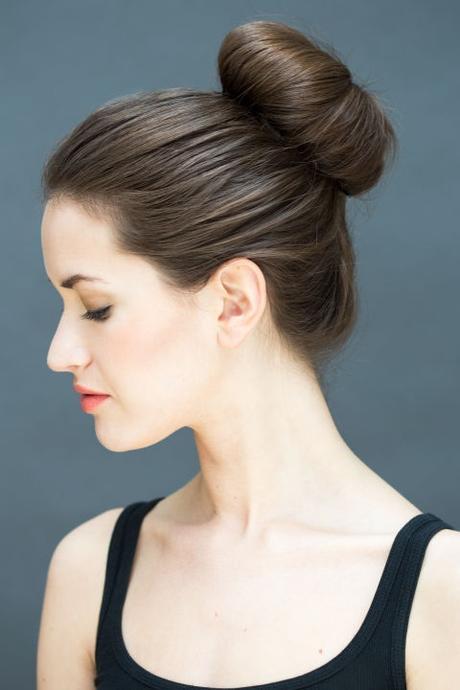
First step is to tease the hair at the crown to give it some volume so it won’t appear as flat and then smoothen out the top for a neat look. Twist the side way across the back of your head and pin them in place, then twist the other side until you can tuck it in and pin them under the first one.6. Fanned-Out BunAdd a bit of graceful flair into your look and be a modern-day ballerina.
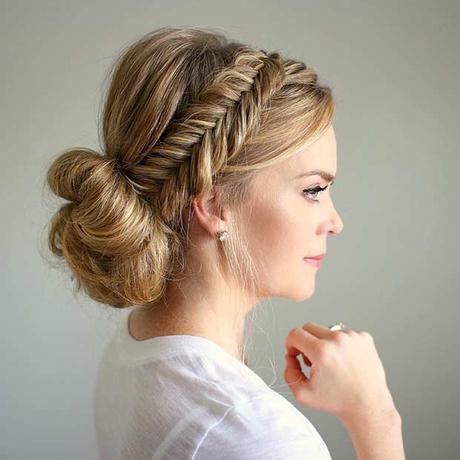
Take a small section of hair from the front of your hairline and form a Dutch braid. As the braid reaches the top of your ears, begin a more regular braiding approach and tie it up with an elastic band at the end. All the excess hair should be then pulled into a low ponytail right at the nape of your neck so that you can easily wrap some strands back into the elastic band and achieve that elegant bun. Tuck away some loose strands and flyaways, add a bit of hairspray to keep it nice and neat.Author Bio:
Robin Vinz Salvador is the Digital Marketing Manager of Bound for Style. Contact him at [email protected]

