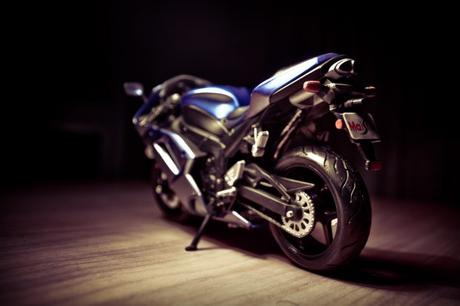
Refurbishing the wheels of a motorbike is a professional task and they follow several steps to get the task done. But before starting with the journey, all the inputs necessary are acquired. They ensure there is adequate space for sanding and painting the wheels. One wheel is completed within our hours, so working on each wheel a day is the wise step they follow.
The motorbike wheels receive a furnished finish when they are moved around. Thus, removing the wheels from the motorbike is facilitates better handling. When the wheel is masked, it is necessary to separate the alloy from the tire.
II. Cleaning the WheelsThe following stage is cleaning the wheels thoroughly. The mechanics take time to clean and wash so that there are no traces of dirt or small pebbles later. Using a wooden chopstick, the specialists remove the dirt from the motorbike tyre. While the road dirt and dust are easily removed, the built-up brake dust over time creates some troubles. But the mechanics remove the using special cleaning liquid. A spick and span clean motorbike wheel ensures a finer finish after the paint.
III. Masking the Motorbike Wheels
The third stage in Motorbike Wheel Refurbishment is to make sure the wheel is absolutely clean, dry and dust-free for the masking tape to stick firmly to the wheel. The stage aims at placing the masking around the tyre with tape so that the only visible part is the alloy. It ensures the tyre does not get impacted with paints or primers and the wheels attain a super clean finish. Most mechanics use the playing cards as masking tapes to slot them each into the gap in between the alloy and wheel. Deflating the tyre a little allows the mechanics to reach every part of the wheel with ease.
Sanding is the unignorable stage and is done with different grits' quality of sandpaper. But coarse sandpaper works out best when the wheel is all corroded and is having flaked paint. The coarse sandpaper is good for starting as sanding the bare metal while the wheel is prepared well receives the filler. The professionals use coarser sandpapers when the number is really low.
The professionals might choose to paint straight or they might fill them with a specialized car body filler. Larger defects are treated with fillers to achieve a smooth result. Following the specific instructions on filler usage, the fillers are applied and left to dry for 48 hours. Once the filler dries up, the mechanics again sand down the filler for the wheels to attain a smooth fine surface. Only fine sandpaper is used so that the filler is not removed. If any residue is found, then they use a dry cloth for wiping the surface.
The last stage is priming. At this stage, the wheels are washed and dried again before they are primed for paint. When the motorbike wheels are clean and free from residue and dirt, then achieving a greater finish is easier. The specialists shake the primer well. First, they spray the primer in a smooth and even motion and then they apply the primer using fine-grit sandpaper to keep the wheel surface smooth.
Kerb damages are not common to the motorcycle wheel, but they are not safe from scratches and color fades. Such issues are to be solved with the help of professionals who set to task with protection and follow the six steps to motorbike refurbishment very closely.
