Fossicking for flotsam and jetsam on a beach holiday is so good for the soul. The search for that perfect piece is a great way to treasure hunt for young and old while getting a good dose of sea air. I seem to come home with pockets of shells, and arm loads of wood and well hubby is not always impressed by my beach hoarding tendencies.
So today I wanted to find some DIY projects that will remind you of your holiday and that are actually practical (well mostly) and that you could also integrate into your wedding. Don’t need a mirror? Use the idea below to frame a glass or blackboard sign. It’s all about adapting each idea to make it work for you. Now get to the beach beautiful people!
O N E
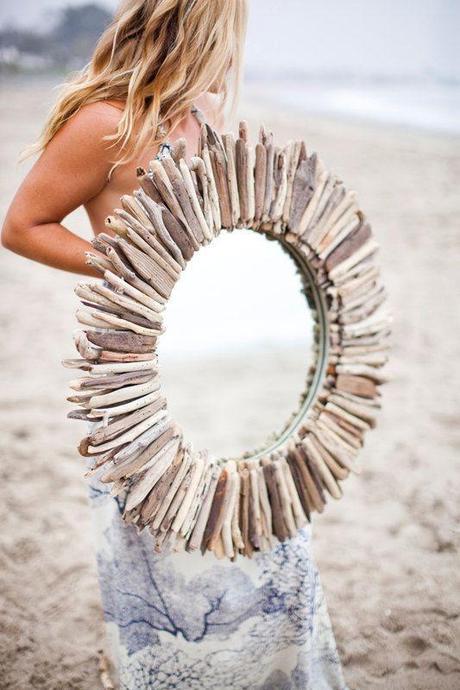
While I would love to buy this driftwood mirror from Madera Del Mar, Im just not sure customs would be that happy about it coming into the country. Instead, why not have a crack at making your own! Look for a round (or square) mirror at garage sales, recycling centers, or a cheapy at The Warehouse then glue your driftwood or shells with a glue gun.

T W O
While there is no tutorial for the above hanging shell succulents, the projects is surprisingly straight forward (says the gal who hasn’t made some yet) You will need to drill a small hole in the shell very slowly to avoid it breaking and fill your little shell with potting mix and some succulent cuttings. Then simply string em up. Easy, no?
T H R E E
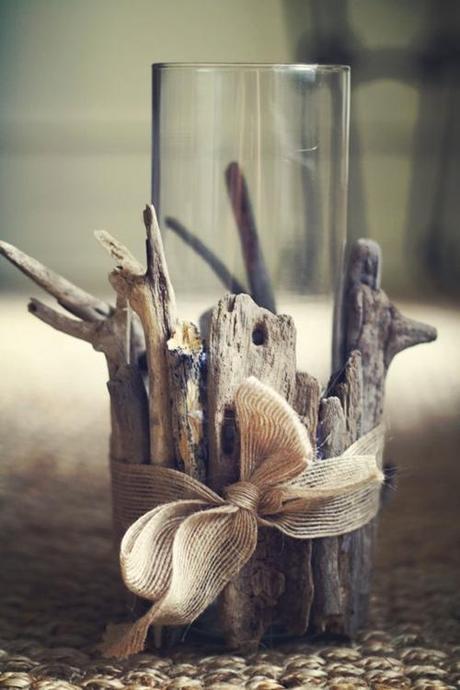
Again, no tutorial for the above (sorry) but this one is easy peasy! Just glue your pieces of driftwood to a glass vase and if you like add a bow to suit your style. Yep, it really is that easy!
F O U R
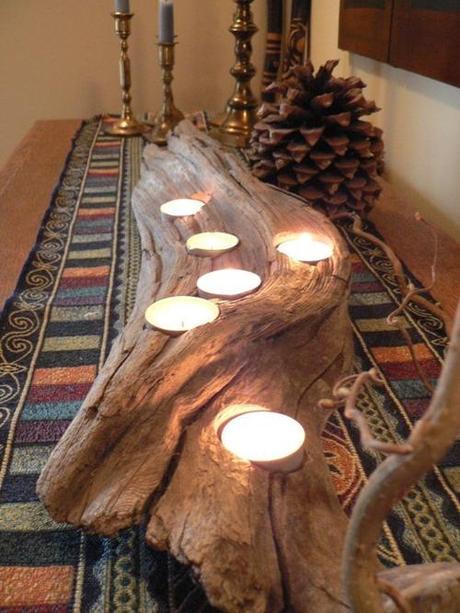
A clever creation from Etsy store Flotsam & Jetsam this one wont be allowed into NZ, but you could always try to make one yourself. The key is getting the right tool to cut the circles (not to be sexist but ask around the blokes in your family/extended family as someone is sure to have the right tool) Tip: If you are wanting to make them for wedding centerpieces make sure you get the long lasting tealights!
F I V E
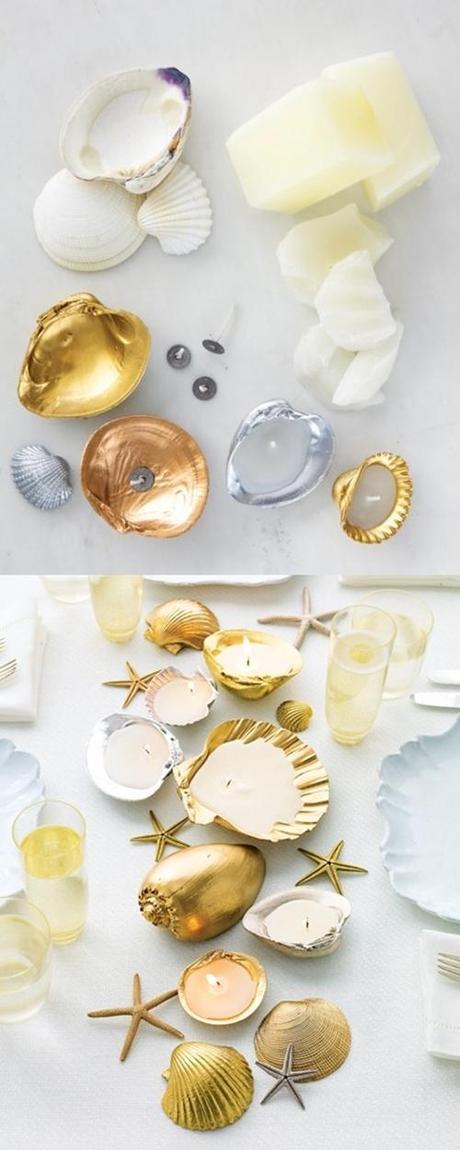
You cant count on Martha Stewart for some glam beach projects and these DIY metallic candleholders are insanely easy to make. Thank’s Martha!
S I X
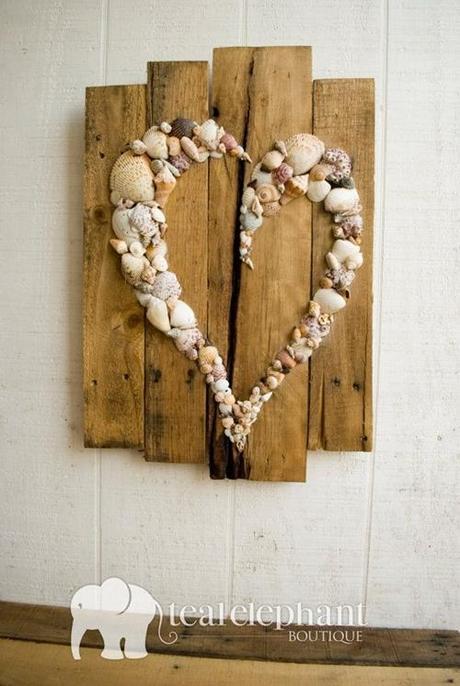
While you can no longer purchase this project from Teal Elephant Boutique it is getting my creative juices flowing indeed. Nail or bracket your pieces of wood together then start glueing whichever shape (or letters) that tickle your fancy. Would love this in a bathroom or toilet after the big day!
S E V E N
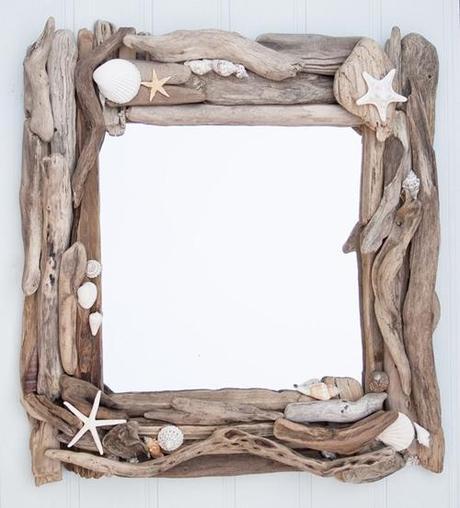
This gorgeous driftwood and sea shell mirror from Driftwood Dreaming provides some serious inspiration for wedding signage, menu board, seating chart or simply for your home. Same concept as the mirror above. Find your frame then get glueing. Be sure to use a strong quality glue or glue gun to keep your bits and bobs in place.
E I G H T
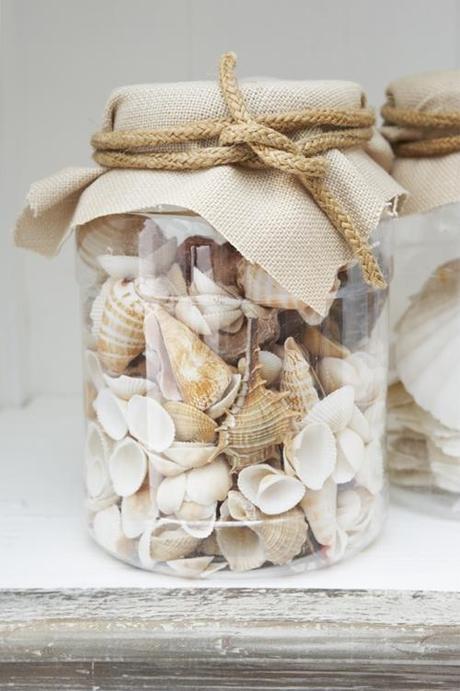
This image found over at La Cositas de Beach (which is pretty damn amazing by the way!) is a simple idea to capture your holiday using a glass jar, shells, some hessian or fabric of your choice and a ribbon or twine. They would also make sweet props at a beach wedding or mini versions would be great favours when collected from your local beach.
N I N E
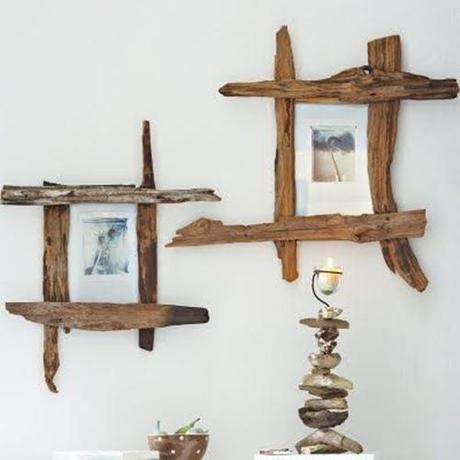
This easy idea found over at Completely Coastal is super duper easy with some good quality glue! Simple arrange your drifwood how you please then glue on to a frame (get them super cheap on sale at The Warehouse!) EASY!
T E N
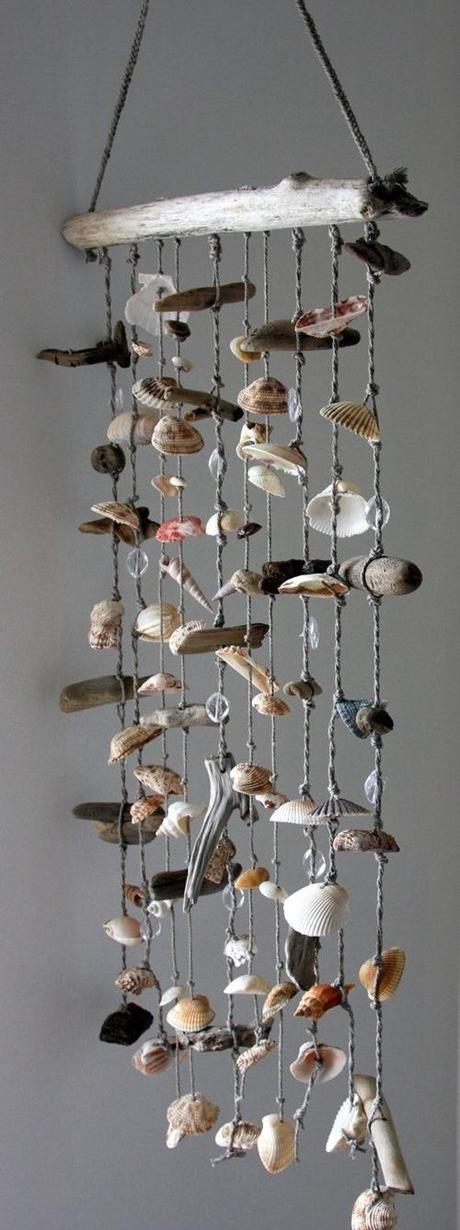
Last but no least this very clever idea from Sky Line Design is great value at $131 but if you live in NZ you will need to get crafty and make your own. Perfect for displaying all the bits and bobs collected by the family over the holiday OR really go to town and make a large version for your ceremony or reception backdrop. To make, add small hooks to your driftwood, then wrap the twine around until you can no longer see the hook (go much longer than you think with the string as you can always cut off) the add your shells and wood (don’t forget to drill the holes slowly!)

