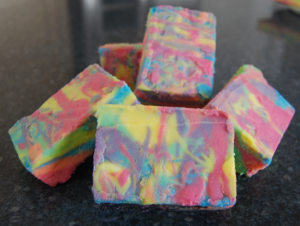
 Watching all of the cool Youtube videos on making column swirl soap, we had to give it a try. We thought that the column concept would make a great tie dye soap. This soap recipe was our attempt at doing a column swirl soap. Since we did not have wooden columns at our disposal, we thought we would improvise and try disposable cups.
To make this recipe, the majority of the ingredients and supplies can be found at Natures Garden. You will however have to have water, lye, and your disposable cups- these items can not be purchased there.
For this soap, the scent that was selected was cannabis flower. Now, since this scent has a vanillin content of .2%, we also included vanilla white color stabilizer in the recipe. This decision was made after checking the cold process soap results for discoloration in this fragrance. We saw that naturally without this additive the bar would discolor to a very light beige. Considering we did not want our tie dye soap colors affected by this, it was a smart choice. Also, since the mold that we are using is the 18 bar rectangle grid tray, we also decided to add sodium lactate to our recipe. Not only will this allow the soap to be removed more easily from the mold, but it will also provide our finished bars with additional moisturizing aspects.
As for the colors in this soap, you can add as many or as few as you want. Any of Natures Garden FUN Soap colorants will work!
So, lets get started in making tie dye soap.
Here is the recipe:582 grams of water
215 grams of lye
413 grams of Shea Butter
306 grams of Coconut Oil 76
153 grams of Safflower Oil
107 grams of Rice Bran Oil
245 grams of Olive Oil pomace
184 grams of Meadowfoam Seed Oil
122 grams of Fractionated Coconut Oil
96 grams of Cannabis Flower Fragrance Oil
48 grams of Vanilla White Color Stabilizer
63 grams of Sodium Lactate
Now, if you would like to use the same colors shown in the steps, below are the weights.
Tie Dye Soap Colors:
6 grams of FUN Soap Colorant Neon Red
6 grams of FUN Soap Colorant Neon Yellow
6 grams of FUN Soap Colorant Neon Orange
6 grams of FUN Soap Colorant Neon Green
8 grams of FUN Soap Colorant Neon Blue
12 grams of FUN Soap Colorant Ultramarine Violet
If this is your first time making cold process soap, please Click Here For Basic CP Soap Making Class. Also, before attempting to make any cold process soap, please become familiar with Soap Making Safety Class.
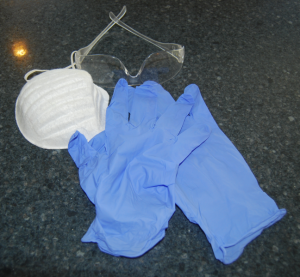
Step 1: Put on your safety gear: This would include your safety gloves, apron, safety mask, and safety glasses.
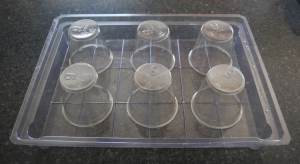
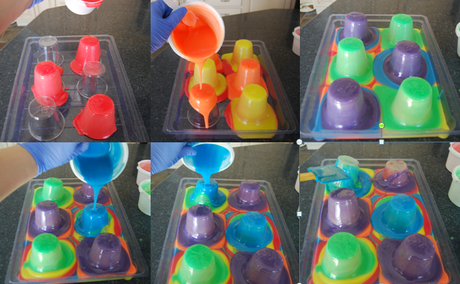
Step 2: In your mold, space your 6 disposable cups equally apart from one another.
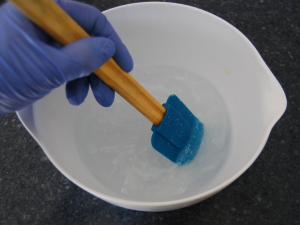
Step 3: In a small bowl, weigh out your lye. In a separate bowl, weigh out your water. In a well ventilated area, slowly pour the lye into the water. Use a spatula to stir slowly. Avoid breathing in any of the lye water fumes. Keep stirring the lye water until there are no lye granules are left in the water. Allow this to cool to 90-100 degrees F.
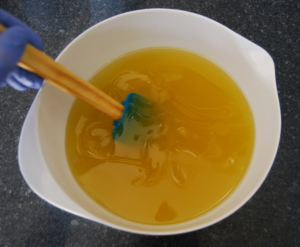
Step 4: According to the recipe listed above: in a pot weigh out the Shea Butter and coconut oil 76. Melt these two ingredients down on low heat until each one is in a liquid state. Stir. Then, add the safflower oil, rice bran oil, olive oil, meadowfoam seed oil, and fractionated coconut oil. Stir again. Remove from heat. Then, transfer all of this into a large mixing bowl.
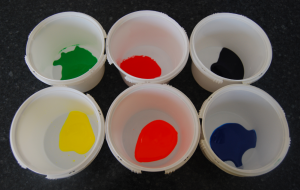
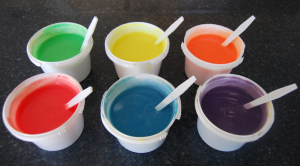
Step 5: Next, get your 6 mixing bowls. Assign each bowl a color. Then, weigh out the appropriate color amount for each bowl.
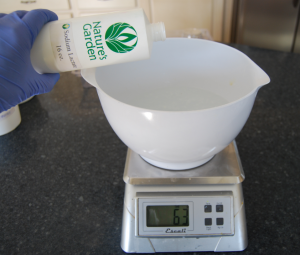
Step 6: Using your thermometer, check the temperature of the lye water. When it has cooled to 90 degrees Fahrenheit, add your Sodium Lactate. Stir carefully. Now, once the temperatures of the lye water and the soaping oils and butters are within 5-10 degrees of one another, it is time to move on to the next step.
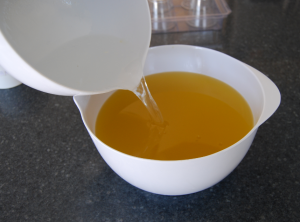
Step 7: Now, slowly pour the lye water/sodium lactate into your oils and butters bowl. Use a spatula to get all of this out and into the other bowl.
Step 8: Using your stick blender, carefully mix everything together. You will notice your batter will begin to look creamy and thicken slightly. Now, stop blending.
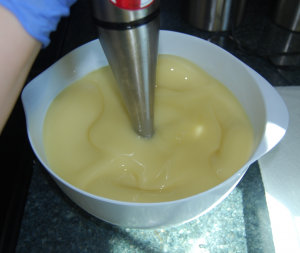
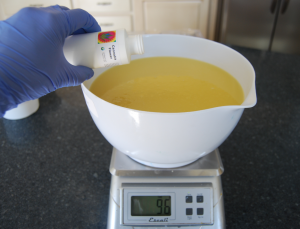
Step 9: Next, add the fragrance oil.
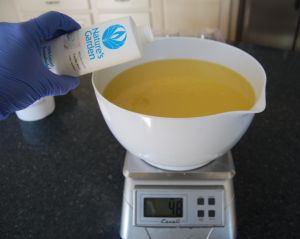
Step 10: Then, add the Vanilla White Color Stabilizer. Once added, stick blend to incorporate.
Step 11: Now, place 405 grams of the soap batter into each bowl. Stir each bowl with a spoon. This will help slow down trace.
Step 12: Starting with any one of your colors, begin to pour about half of the batter over 3 cups. Repeat with a second and third color. Then, using a new color, pour about half of the batter over the 3 cups that do not have soap over them yet. Repeat this with your two remaining colors. Then, with the remaining batter, keep covering different cups. While you are doing this step, if any cups move, use your spatula to put them back into place. When all of the pourable batter is out of your bowls, use your spatula to scrape the soap from the cups. Then remove them.
Step 13: Now, using your spatula, scrape the colored bowls. Then, splatter this soap over the mold.
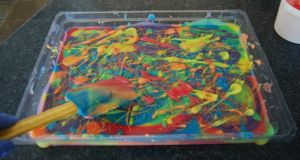
Step 14: When all the soap is in the mold, insulate it and allow it to harden for 24 hours.
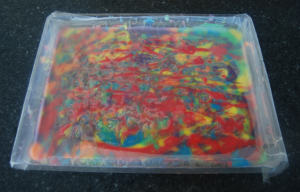
Step 15: After 24 hours, remove your soap from the mold. Carefully, using a knife or a mitre cutter, slice the soap bars. Once all of the soap is sliced, allow it to fully cure.
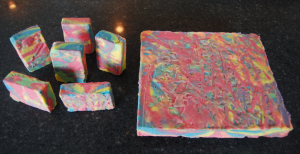
After the cure time has elapsed, enjoy your Tie Dye Soap!
Natures Garden is not responsible for the performance of any of the recipes provided on our website. Testing is your responsibility. If you plan to resell any recipes we provide, it is your responsibility to adhere to all FDA regulations. If there are ingredients listed in a recipe that Natures Garden does not sell, we cannot offer any advice on where to purchase those ingredients.

