Someone was bragging to me once about the sourdough starter he and his wife had gotten from his maternal grandmother that was almost 100 years old, and they’d been using it for bread for years.
That’s cool.
But guess what … whether your starter is 5 days old, 5 months, 5 years or 500 … it’s all sourdough starter. We make a lot of sourdough stuff: Sourdough bread. Sourdough pancakes. French Toast. Crackers. We make sourdough English muffins and sourdough cinnamon rolls (for special occasions). There’s always some dough rising. Or sourdough fermenting. Somewhere in our kitchen.
And I’m going to let you in on a little secret.
Our starter was 6 years old, until I forgot to feed it for 3 weeks (left it on the counter when we went out of town and forgot to tell the house sitter about it). So now, our start is about 6 months old. And I started a new one a few days ago so I could show you how easy it is.
Here’s the kicker … MAKING A SOURDOUGH STARTER IS EASY! (And maintaining it is even easier.)
And to tell you the truth … if it was difficult, I probably wouldn’t do it. Life can be challenging enough. I don’t really want my pancakes to be hard.

But on this real food journey, I’m learning more about more about why fermenting the flour … making it “sour” … actually makes it more digestible and easy on our bellies to process and absorb all the goodness in the wheat (or spelt or rye or fill in the blank with whatever grain floats your boat).
And up to this point, I’ve found sourdough easier to manage than sprouting grains. (Sprouting can take a few days … souring takes a few hours … and I can wrap my head around planning a few hours ahead, but still struggle with planning meals more than a few days ahead. I’m working on it, bt that’s where I am today.)
Here’s what you need for a sourdough starter:

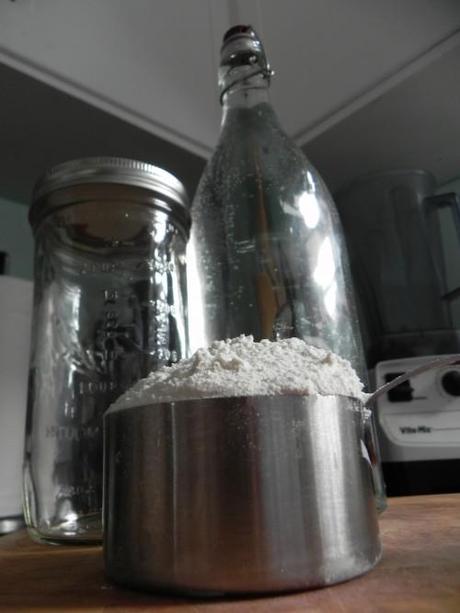
- All purpose flour.
- Filtered water.
- Glass jar with a lid. (At least one and a half pints, but preferably a quart.)
That’s it.
Oh … and you need about five days.
It takes about five days to get things grooving and growing and ready for your first stack of sourdough pancakes. But if you start this today, you’ll be loving life (and impressing your loved ones) on Sunday with a fresh batch of yum.
I’ve read somewhere that you need to use whole wheat flour to start the process. I haven’t had that experience. Organic all purpose flour works just fine.
So …
You ready for this?
DAY ONE:
In a glass bowl, combine 1/2 cup of flour with a little less than 1/2 cup of filtered water until all of the dry flour is absorbed and you’re left with a thick sticky dough. Pour the contents into your glass jar (scrape the bowl and get all the last remnants). Cover the container and put it in a place in your kitchen where the temperature is consistent and maybe even a little warm.
DAY TWO:
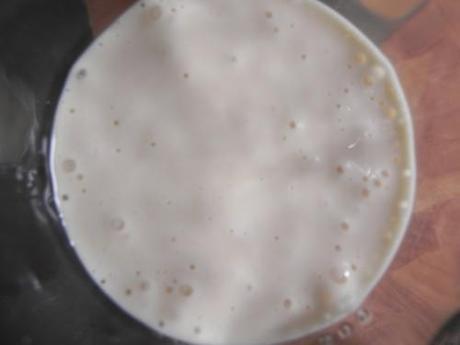
You will likely see a few bubbles starting to form. And maybe it smells a little “sour?” The things are good. It means that wild yeast from the air has taken residence in your mixture and good things are starting to happen.
Add 1/4 cup of flour with a little less than 1/4 cup of water to your container and whisk it up. Again, you want the new flour to be incorporated fully into the mix.

DAY THREE:
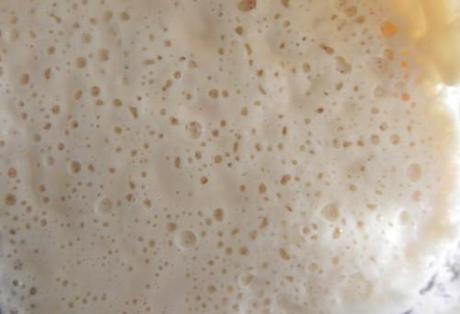
This is when things go from good to better. Your starter will be nice and bubbly. It will be thick. It will smell good and sour-y. And it will have “grown” (maybe even as much as doubled in size). Very exciting stuff is happening.
We’re on REPEAT: add 1/4 cup of flour and a tiny bit less than 1/4 cup of filtered water to your container. Again, whisk it up. It won’t be easy to whisk (you can also use a fork). But get all that flour and water super incorporated. Cover again. And set aside until …
DAY FOUR:
REPEAT day three’s activity. 1/4 cup of flour. 1/4 cup of filtered water. Whisk. Cover. Wait 24 hours.
DAY FIVE:
You’ve got bubbliciously fermented sourdough starter begging to be made into something.

So now it’s up to you … use it!
But after you use it, replenish it with equal parts flour and water (I prefer the consistency of starter that has just a tiny bit less water than flour, but this is a personal choice.)
And keep it alive, because if you are good it your starter, it will be good to you in return.
TO MAINTAIN YOUR STARTER:
Every other day (or every three days), add a 1/4 flour and 1/4 filtered water. Whisk. Cover. And set in the sourdough starter home in your kitchen.
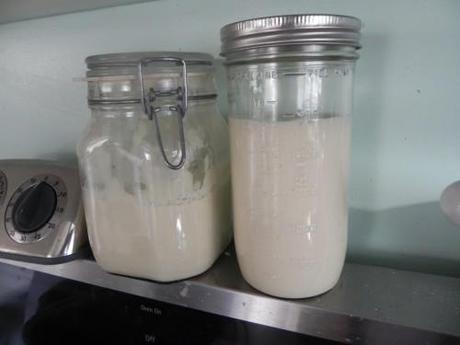
Here’s ours … the old and the new … souring together.

Just waiting for me to start a new batch of sunny sourdough crackers (with cheese and truffle salt this time … because they’re for grown-ups

By the way, Remember how I told you a few paragraphs ago how I let our starter die and had to start a new one? Well, these starters are really very hardy. And if I had just put the starter in the fridge while we were gone, I would have come home to starter ready to be fed again and after just a day or two be ready for bread.
I should tell you that after two or three days, a clear liquid may form on the top of your start. That’s okay. In fact, it’s just the natural alcohol separating from the wild yeast. Clear liquid is fine. Just stir it back into the starter and keep on doing a great job.
IF, however, that clear liquid is not clear, but cloudy or pinkish … throw it out … your starter has spoiled and you must start again.
Let us know how your sourdough adventures go … and have fun starting experiments in your kitchen!
