Earlier today, I uploaded a brand-new video to YouTube, which happens to be my first for about a month. I’ll probably go in to that one a little deeper in a separate blog post next week but it bears some relevance to this post where I’m going to be looking at mitres and tackling the seemingly-simple question of how to fit a length stop for repeat or batch cutting of identical lengths.

For this example, I’m using the saw and fence setup we have at work, which is used to cut and mitre lengths of aluminum in the construction of bespoke flight cases. I’m not allowed to show you too much of what we make but I think you can imagine what a basic flight case looks like (or, failing that, you could Google it).
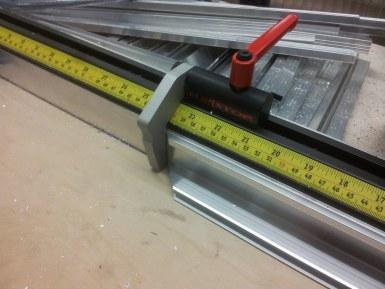
If you look at that first photo closely, you might notice that the point or tip at the end of the mitre slips in behind the end of the stop. Well, that’s what happens sometimes. You can be as careful as you like but it can still happen. Another problem can arise where swarf (or sawdust, with wood) builds up and prevents the end of any material from butting up neatly.
Until this week, I’ve been placing a clamp over the Flip Stop to hold it in place, where the wedge-shape of a mitre can otherwise separate it from the fence. This helps to resolve the issue but it looks clunky and I’ve now come up with a better idea.

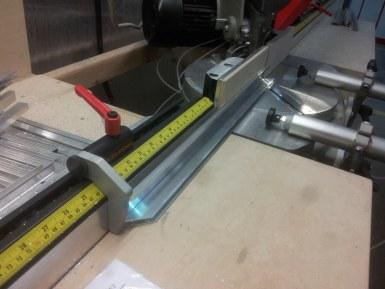
I cut a piece of 6mm birch ply (MDF would do) to the same dimensions as the fence and stuck it in place with a length of double-sided tape. This brings the material forward from the fence by 6mm, therefore ensuring that the point of any mitre has a positive stop to rest against.
[Yes, Luke - this is why there's now a piece of ply on the fence - don't let Tim remove it!!]
It works fine on this saw because it features pneumatic clamps (you can just see them) that hold the aluminum tight against the saw’s main fence. So, the support offered by the fence extensions is irrelevant. This may or may not also benefit a wood-cutting mitre saw. I imagine it depends on what you’re cutting (planed or sawn) and what shape it’s in (straight or bowed).
It would be interesting to know how manufactures like Datum Tools advise their customers to overcome such issues. Perhaps I should send them an e-mail!

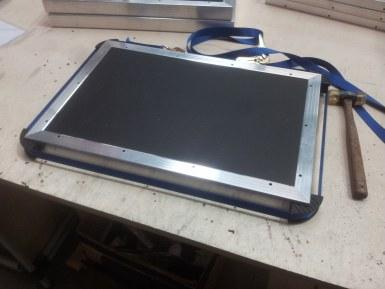
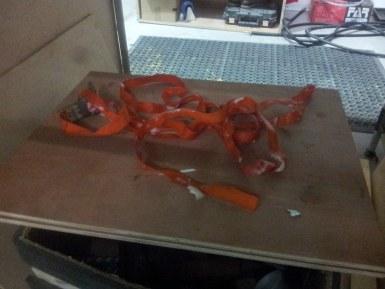
Again on the subject of mitres (and another brief feature of the video); my preferred method of clamping four 90° corners together involves the use of a ratchet strap and four plastic corner blocks. You can buy these straps from Axminster for peanuts. As long as you don’t store it in a drawer next to a 5lt bottle of PVA with a split in its handle…

The glue’s still drying on that one! But I aim to have more ‘tool fixing tips’ very soon, along with some proper woodwork, as I fight to defy the coming cold weather in these final weeks of my current workshop.
If you have any tips of your own for cutting mitres, please feel free to share them.
In case you’re interested, our FlipStop tracks are each mounted to a length of 70mm x 50mm aluminum box section with self-tapping screws. 45mm would’ve been perfect but we filled the 7mm gap beneath the stop with another sheet of 6mm birch ply, which case easily be replaced should it become damaged.
Thanks for reading.
