The traditional method of creating a website has involved hiring a designer and ask him to create the graphics, then hiring a developer who would hand-write all the code needed to convert those graphics into a real and interactive website.
This method is expensive, cumbersome, and time-consuming.
Also, it marginalizes the designer’s role. Research shows that 70% of the amount spent by the client is pocketed by the developer and only 30% goes to the designer.
A group of designers running a web design agency couldn’t accept that and decided to do something about it. Thus Webydo was born.

Webydo is a software intended to be used by professional designers to create professional websites for their clients, without writing a single piece of code. The system generates code automatically in the background while the designer is designing the website in the front. This lets designers create a website directly for their clients without requiring any coders.
Below I describe some of the important features of the Webydo’s dashboard and how you can use it to create websites.
After registering and signing in you will be on your way to creating code-free, pixel-perfect websites for your clients.
As you can see there are several options to choose from: Shape, Image, Text, Videos, Flash, etc.
First of all I selected the Shape option and then wrote some text in it as shown below.
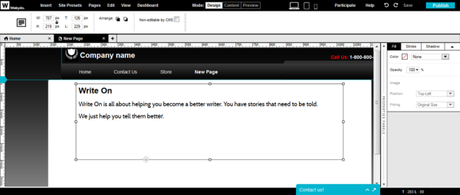
The rectangle around the text is for adjustments. I can increase or decrease the length of the box by dragging the edges.
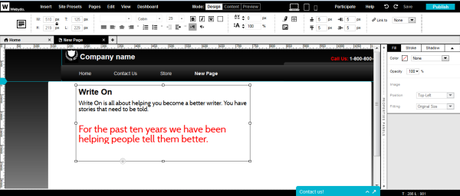
I can alter the text by clicking on the text with left mouse button and then deleting and adding material. I can also increase or decrease the font size, change the color and font of the text, change the spacing between the letters, etc. This is possible because as soon as I click on the text new controls emerge.
The image below demonstrates this. I have also re-sized the rectangle to show you how it looks.
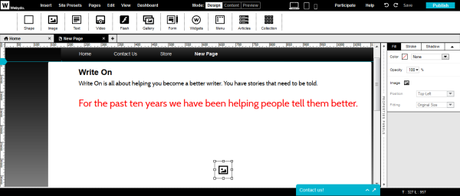
Then I clicked on the Insert tab and then clicked on Image. A small image icon as shown below appeared on the screen.
I clicked on the image icon and then selected an image out of my hard drive. I uploaded it and the screen looked as follows.
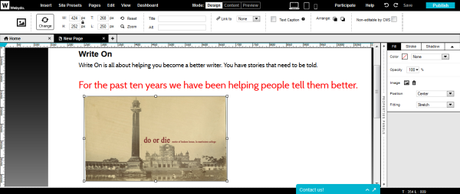
Now again I can play with the edges to change the size of the rectangle. For example when I stretched it horizontally by clicking and dragging the right middle square I got the final result as follows.
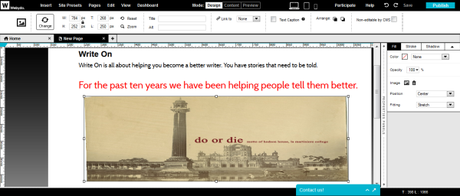
Now it is not necessary that the text layer and the picture layer remain away from each other. One can come upon the other if you want.
I dragged on the text box and pulled it down towards the image and the screen looked like as shown below.
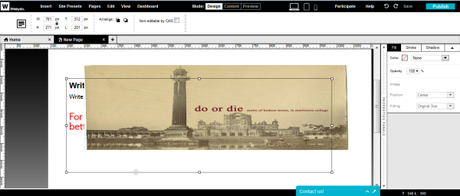
As you can see the text layer is below the picture layer. But I can reverse that.
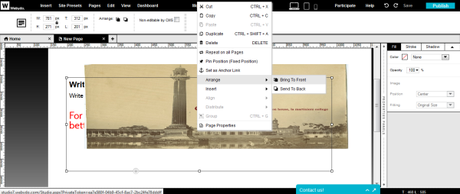
I right clicked on the image and then took the arrow to the “Arrange” option. Then two options emerged – Bring to Front and Send To Back.
I clicked on the Bring To Front option and the text appeared upon the image as shown below.
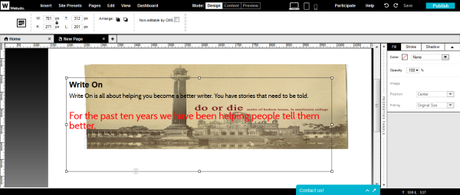
I can use the ‘Send To Back’ option to send the text behind the image again.
All options like increasing or decreasing the size of the text box and the image box can still be done.
I hope you have found this small introduction to the features of Webydo useful, and have gotten an idea how you can design a website with Webydo. Let me know in the comments below what you think about it after you sign up for a Free account with Webydo to get started.
This article is proudly presented by Webydo’s professional community of designers.
