Jun 3, 2013
This is a continuation from an earlier tutorial on things we can do with the MYNIC system, including:
1. Appoint a New Billing Contact
2. Appoint a New Technical Contact
3. Appoint a New Invoicing Party
4. Appoint / Modify Administrative Contact Record
5. Modify Registrant Record
6. Modify Registrant Name
7. Modify Name Servers
The steps for editing are below:
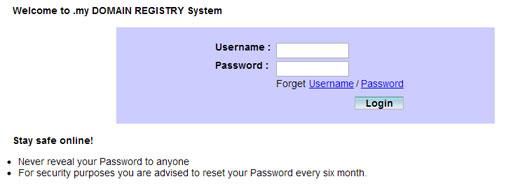
1. Log-in to MYNIC. Refer to the earlier guide if necessary.
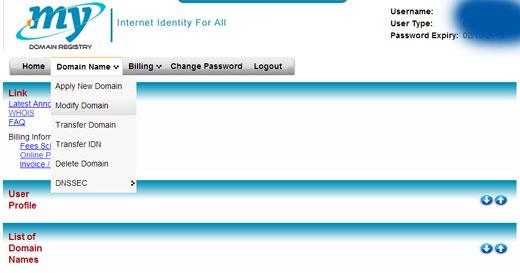
2. Modify domain.
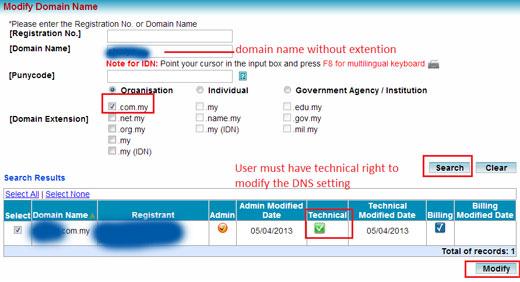
3. Search and select the particular domain for modification.
4. If you can’t find the section to edit DNS, don’t panic. To activate DNS editing, go to Appoint a New Technical Contact, then assign yourself as the contact person. Once finished, go back to steps 2 and 3, to redo modify domain.
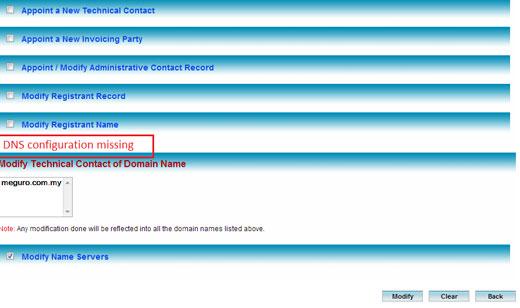
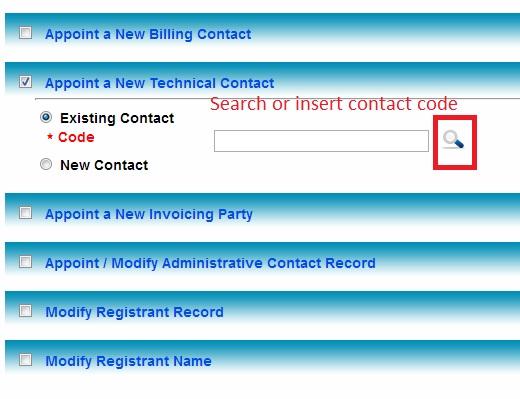
With technical access, the DNS modification section is visible to the user.
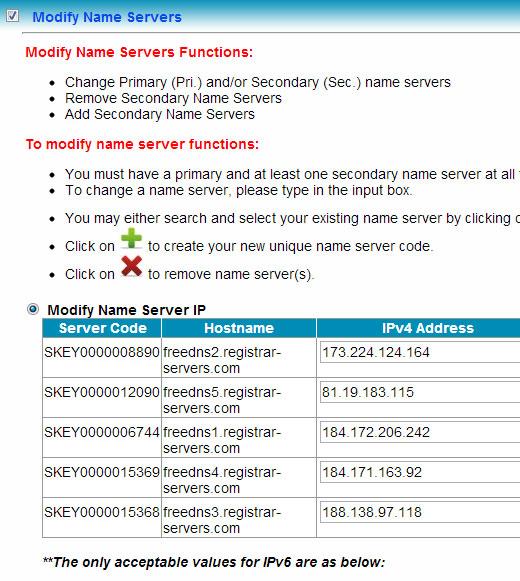
5. Create new DNS, or search for existing Primary Name Server code. Minimum 2 entries, maximum 5 entries.
6. The steps to modify other information is similar to that of appointing a new technical contact. For multiple changes, you can keep repeating steps 2 and 3.
