March 2014
Behind the varieties of vitamins, shelves of whole grains, organic condiments and the very purposeful lack of corn syrup, there was a dirty little, salty, orange secret: a Cheez-It vice!

“I didn’t want to tell you this,” he said, “but I eat a few handulls of Cheez-Its a day.” I tried to receive this confession without returning a look of judgment, but that, my friends, is when I decided to experiment with a counter offer: a whole-grain, homemade version of that snack so many apparently still love.

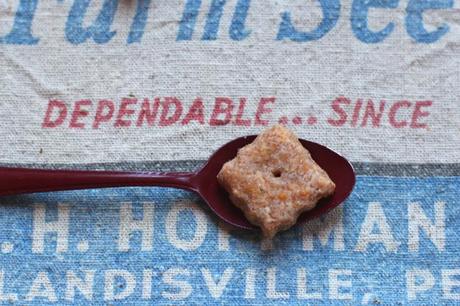
Staring into the eye of the Cheez-It ingredient monster is pretty daunting. The list is fairly long and questionable. Making crackers in your own kitchen is surprisingly simple and wholesome, and though the first bite tastes a little unfamiliar, the flavor finishes like a Cheez-It. I’d still like to experiment with making these classics (rolled thinner, different grain, etc), but in the meantime, these little squares passed the test, so give this rendition a go! The salty snacker in your life will be glad you did!

Homemade Cheez-Its
makes about 7-8 dozen crackers
Ingredients
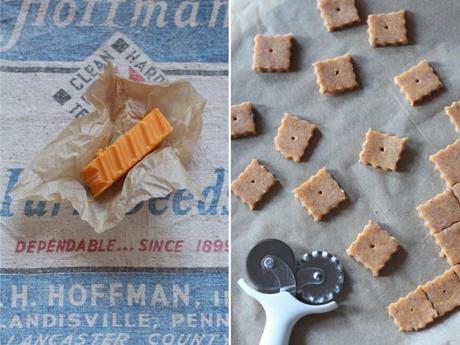
6 ounces (1 1/2 cups coarsely grated) good-quality sharp cheddar, orange-colored if you want the authentic Cheez-It color
4 Tablespoons (2 ounces) cold, organic unsalted butter, cut into small cubes
3/4 cup spelt flour
1/4 teaspoon kosher salt (optional: additional salt for sprinkling on top)
Directions
Combine all ingredients in a food processor, running the machine until the dough forms a ball, about two minutes.
Shape the dough into two separate disks, wrap in plastic wrap, + chill for at least 30 minutes in the refrigerator.
While the dough is chilling, preheat oven to 350°F.
When dough is cool, place between two pieces of wax paper, parchment paper, or silicone mats, + using a rolling pin, roll the dough out to a rectangle about 1/8-inch thick.
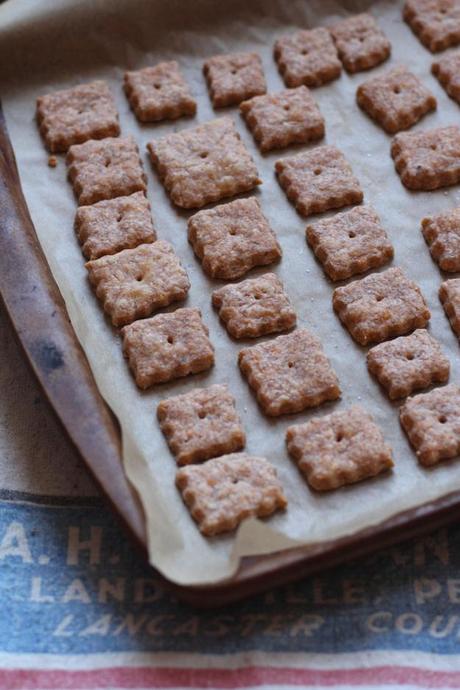
Using a pastry wheel (to get the fancy edges seen above) or a pizza wheel, cut the dough into a grid of 1-inch squares. use a toothpick or skewer to punch a hole into the center of each square. (note: as a salty snack lover, i sprinkled a bit of additional salt on top at this point.)
Return the cut dough (still on the parchment/waxed paper/silicone mat) to the refrigerator for 10 minutes – this allows the dough to firm back up, which makes it super easy to transfer the individual crackers to a baking sheet prior to baking.
Transfer individual crackers to a parchment or silicone mat-lined cookie sheet, leaving about 1/2-inch between crackers. bake at 350°F for 11-14 minutes, until crackers are puffed up + just starting to turn golden at the edges.
If you pull them out too soon + the crackers don’t have the desired crispiness you want, simply return them to the oven for 1-2 more minutes. remove from the oven and set the cookie sheet on a wire rack to cool.

Happy Snacking!
-Quelcy

