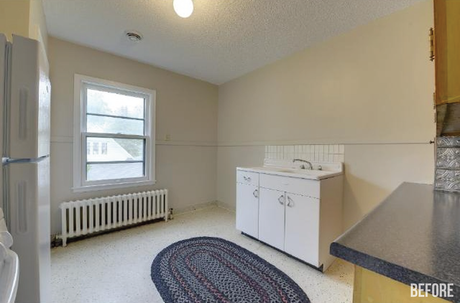
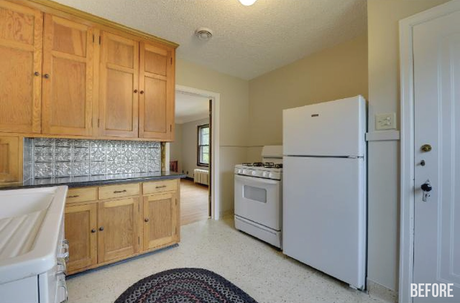
As you guys are probably well aware by now, our home is a duplex. We own the whole thing, live on the main floor, and rent out the upstairs apartment. Here are the BEFORE shots of the kitchen from the seller's listing last summer (courtesy of Zillow). That vintage metal wash basin was awesome, but it was standing alone with so much wasted space around it in this big room. Storage space in the rest of the apartment was also lacking, so we knew it was important to capitalize on the potential here, especially if we wanted to attract a good tenant.
Oh, and remember the plastic faux hammered tin backsplash that kept falling down in the first floor kitchen? Same beauties were taped to the wall up here too!
And now for the AFTER!
Needless to say our upstairs renovation budget was quite a bit smaller than that of the first floor's. (Remember we had just purchased our first home and were renovating the entire first floor as well.) The goal here wasn't to completely redesign the space, but simply to enhance and modernize what was already here, all the while preserving as much charm as possible.
Some of the major kitchen line items included:
- Additional plumbing and electrical outlets (There was only one outlet in the entire room!)
- Dishwasher
- Washer/dryer combination
- Stone worktops
- Backsplash, shelving, lighting, moveable cart
When we renovated our kitchen on the main floor, we tore out the original cabinets because they didn't quite work with the layout of the new design, and I'm sure tons of preservationists rolled over in their graves (I'm so sorry!). Luckily, they didn't go to waste because the upstairs apartment was in desperate need of additional storage, and the first floor cabinets matched the ones upstairs. Total score on so many levels!
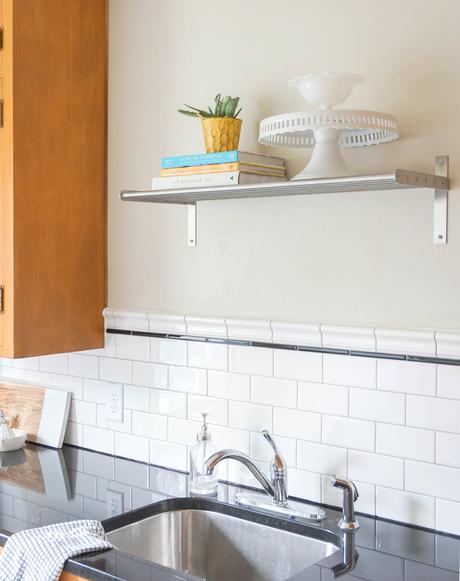
We removed the freestanding wash basin, and replaced it with the completely restored 1st floor cabinets. We positioned them in a way that created a large, continuous L-shape worksurface, tons more storage, and provided a home for the new dishwasher and washer/dryer combo. We reused the kitchen faucet from the first floor, added a backsplash for under $100, and installed open shelving for $50. The paint color, stove and refrigerator were all brand new when we purchased the home so we were able to keep these elements.
Wondering what became of the old wash basin? It's hanging out in the garage with the old radiator from the downstairs kitchen-it will NOT end up in the landfill. We plan to fix 'er up and sell her.
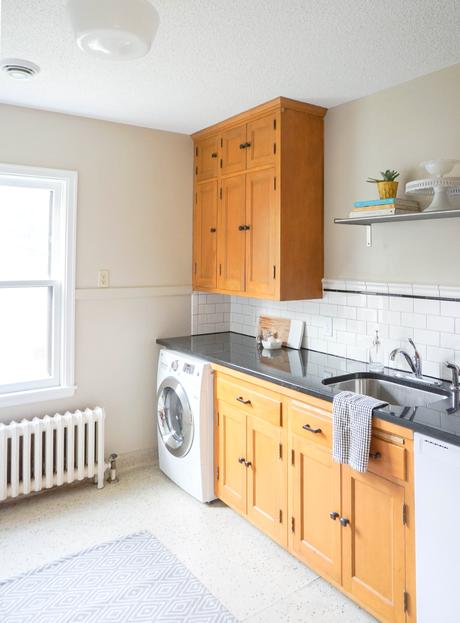
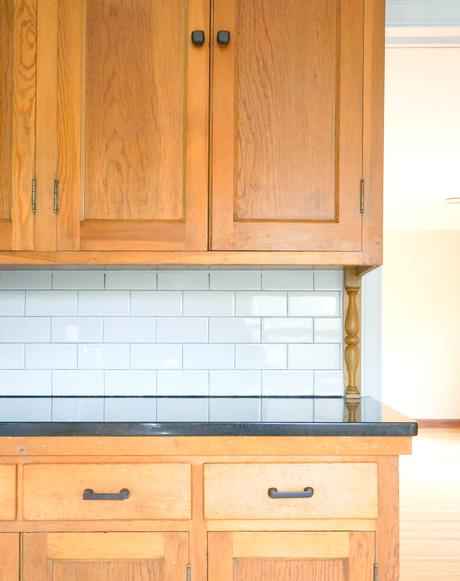
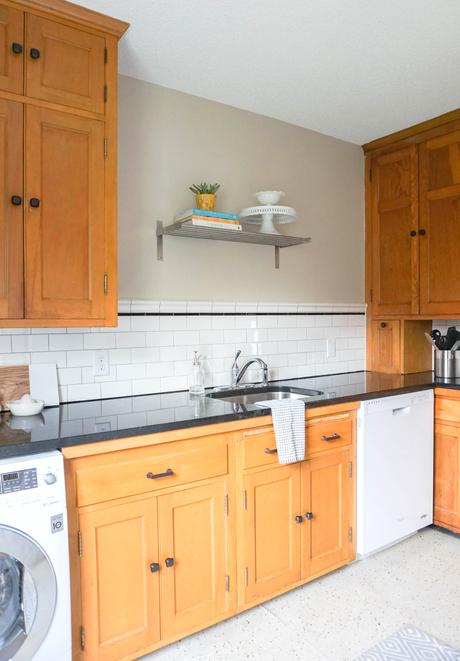
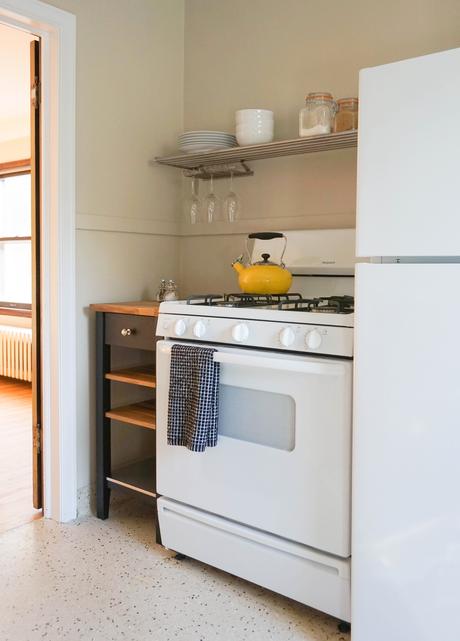
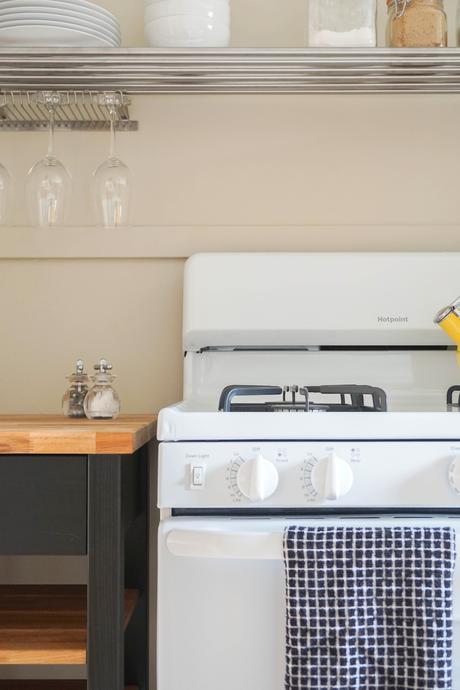
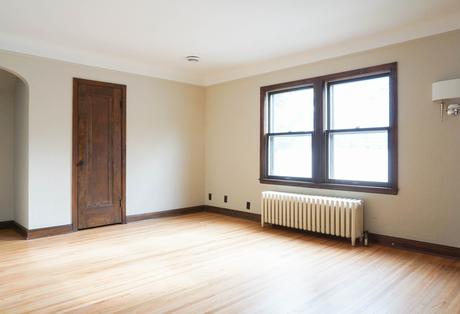
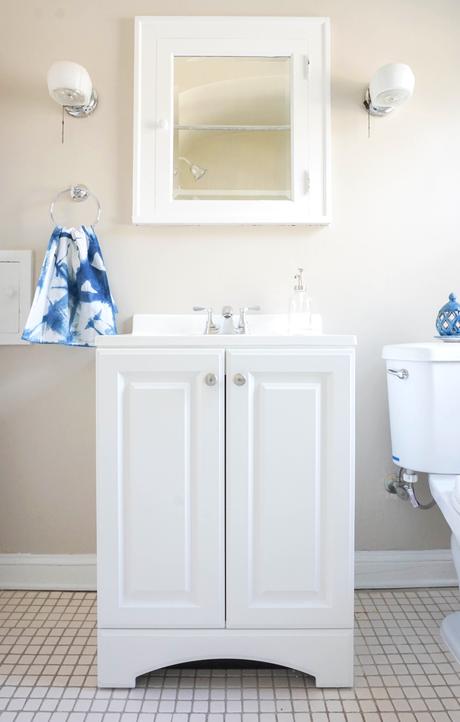
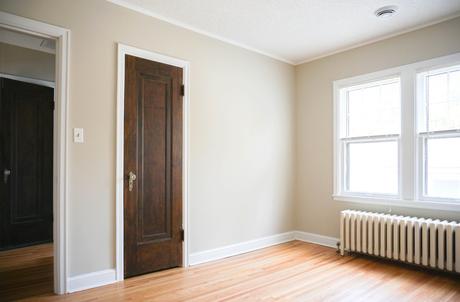
I'd say 80% of the apartment's renovation took place in the kitchen, but we also re-enameled the porcelain bathtub, added additional outlets and lighting in the bathroom, updated light fixtures throughout, insulated the eaves, painted window sills, and cleaned up the radiators. Lots of little things that don't have a big aesthetic impact, but must be done!
We put the apartment up for rent at the end of October and had our first tenant move in on December 1st! I hope to share our process for marketing, showing and ultimately closing the deal soon, so stay tuned!

