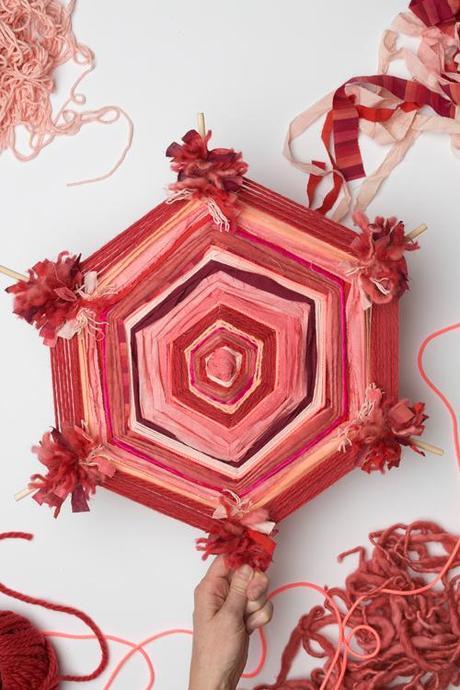
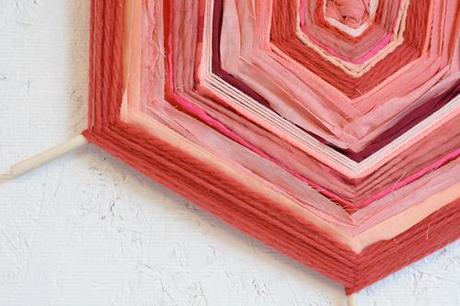
 Glamping times to us is not only fun and fames but also a time of meditation (see our other projects here). So, Ashley came up with our own version of a God's eye, or Ojo de Dios to evoke a beautiful tradition and craft.
Traditionally, a God's eye is a ritual tool to celebrate an event or blessing, like the blessing on a home. They were believed to be used by the ancient Pueblo Peoples and were continued to be used during the Spanish Colonial times, from the 1500s-1800s. The four points represent the elements--earth, wind, fire, air--and the center is the all-seeing eye of God. The God's eye was traditionally created in solitude as a form of prayer. In some forms of the tradition, when a child is born, the central eye is woven by the father, then one eye is added for every year of the child's life until the age of five.
I find the tradition beautiful and meaningful and we respectfully created one to honor this tradition.
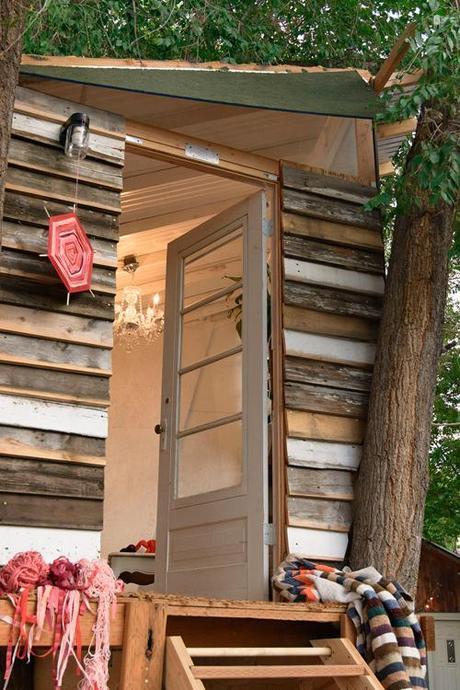
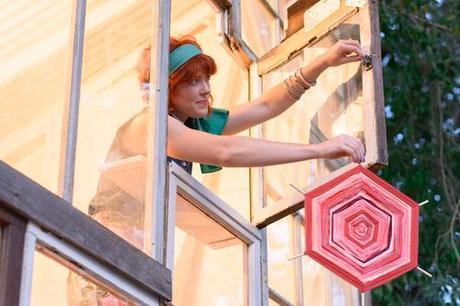 Crafting by Ashley Isenhour
Photography by Trisha Zemp and Sheena Bates
This project is sponsored by Harmony
To learn how to make one of your own, read the full instructions below.
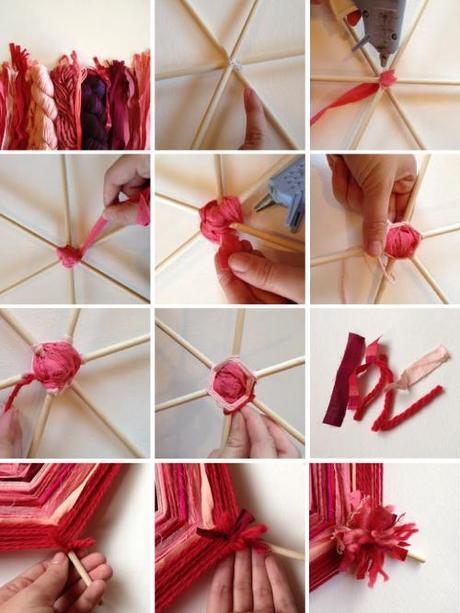 Materials: three 14" dowels, ruler, pen, hot glue gun, scissors, various yarns and fabric strips about 1/3" wide (scraps work well)
Step One: Measure and mark the half way point of each dowel. Glue dowels together at center points with hot glue. Try to make sections as even as possible. Re-enforce joint by wrapping string around it. Weave string in between dowels and secure with dot of hot glue.
Step Two: Choose a side of your dowel support to be the back side. Use hot glue to secure one end of a fabric strip to the back side of the joint. Wrap fabric strip between each dowel to cover the joint. Begin to weave strip over and under each dowel until desired amount of joint is covered. Secure end to back of support with hot glue.
Step Three: Choose the next yarn or fabric you'd like to use. Glue end to back of support right where you left off with the last fabric strip. Bring yarn across the front side of the next dowel, wrap around the back of the dowel, and across the front side of the dowel after that. Continue with each dowel. Yarns will intersect across the front of each dowel and wrap around the back. Continue until desired amount of support has been covered. Secure end with hot glue on back side of support.
Step Four: Repeat with each yarn of fabric strip that you'd like to use. You can with wrap fabric strips flat for more coverage or twist them so that they wrap in a similar way to yarn. Stop wrapping about 2-2.5 inches from dowel ends.
Step Five: Cut 3 inch pieces of yarn and fabric. Tie knots around the dowels with ends on the front side. Continue to tie knots in between layers of yarn until you're about 2.5 inches into your yarn wrapping. Repeat on each dowel. Trim ends to desired length and fluff yarn.

