 It was this time 6 years ago that I started The House that Lars Built for a residential design class for graduate school. I used my new blog as a place to put my homework assignments and my ode to Trader Joes* and other frivolous yet totally important stuff. It continued that way for a couple of years until our wedding was released online and people started to ask how we made the decor from it, like the big paper flowers. Soon I was getting asked to contribute DIYs to different websites and all of a sudden, without realizing it, Lars became a DIY site. Though it's only been a couple of years that I found the DIY focus on Lars, it's been SIX years since I started it for class and that deserves a celebration, non?
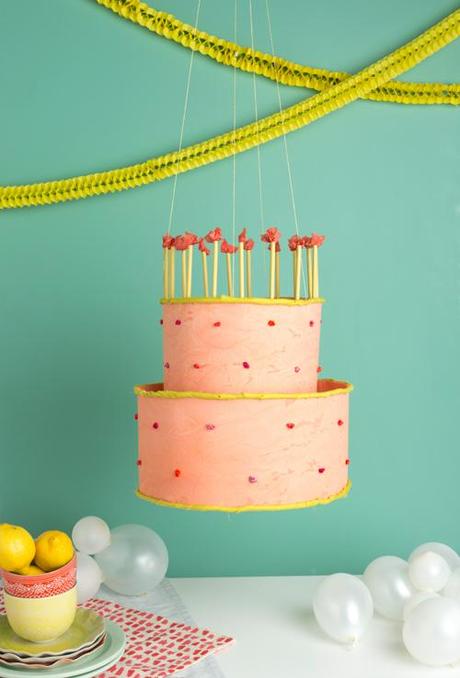
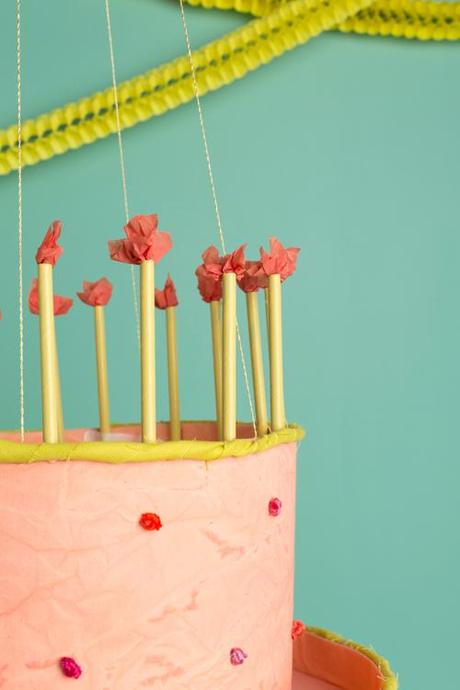
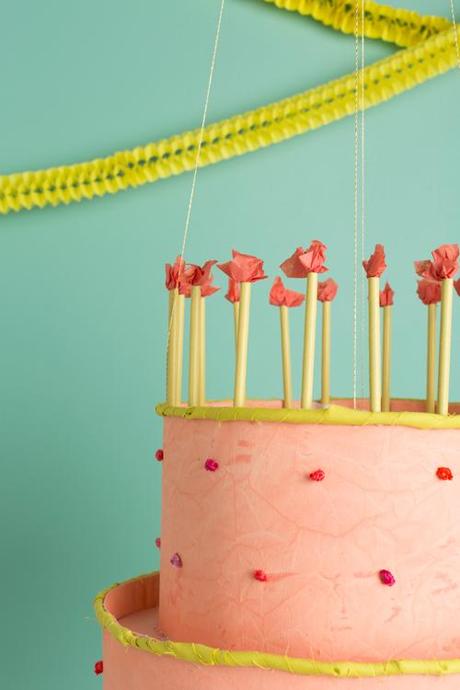
 To kick off the birthday festivities Ashley made a birthday cake chandelier that would be perfect to create as an heirloom piece and bring it out for each holiday. She took the traditional tiered chandelier, flipped it upside down, added some birthday candles, and voila! Let's get to it shall we?


photography by Trisha Zemp
craft by Ashley Isenhour
styling by Brittany Jepsen
Click below to see the step by step tutorial!
Materials:
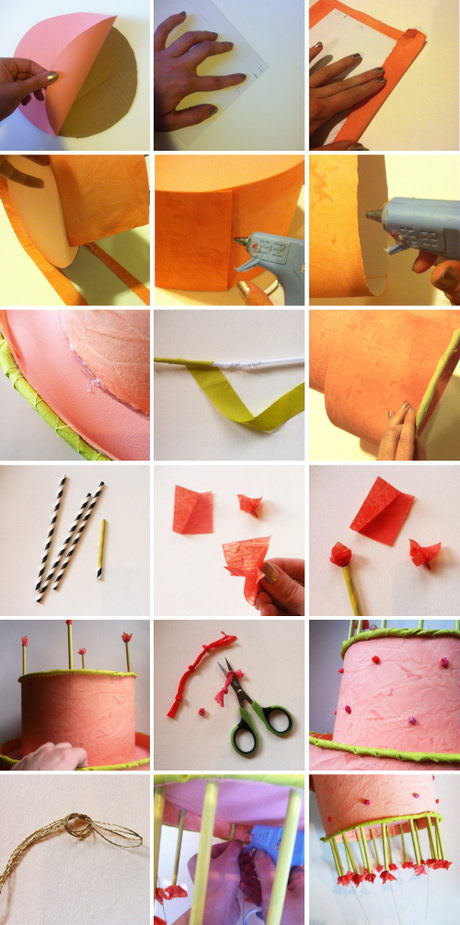
scissors, x-acto knife, cardboard, posterboard or cardstock, 3/4 yard of fabric for cake (optional), pencil, ruler, glue gun, pipe cleaner, 1/6 yard of contrasting fabric for trim, pipe cleaners, paper straws, tissue paper, paint (optional), embroidery thread Step 1: Use your x-acto knife to cut two circles (one about 3" smaller in diameter than the other) out of cardboard. Cut two circles of the same sizes out of colored cardstock. Mine were 12" and 9" in diameter. Nesting mixing bowls make great templates :) Glue the cardstock circles to the corresponding cardboard circles. These circles will be the tops of your cake layers.Step 2: Cut 6" strips out of posterboard or colored cardstock. Step 3: Cut 8" strips of your fabric. Place your posterboard strip on top of your fabric strip. Fold the extra inch of fabric over the bottom of your strip and secure with hot glue. Pull the extra inch of fabric at the top taut, fold it over the top of the posterboard strip, and secure with hot glue. Repeat steps for the wall of your top cake layer. (Note: the easier way is obviously to use a colored posterboard or cardstock to begin with... I just go I little crazy sometimes ;) )Step 4: Squirt a 3" strip of hot glue 1" down from the top of your posterboard strip. Place the edge of your cardboard circle on the strip of glue. Squirt another 3" strip of glue and roll the cardboard circle along the glue strip. Continue this process until the entire wall of your cake layer is wrapped around the cardboard circle. Secure the overlapping end with hot glue. Repeat process for the other cake layer. Step 5: Squirt hot glue along the bottom rim of your top cake layer. Attach top cake layer to the bottom tape layer. You may need to squirt more hot glue along the seam once the top layer is placed on the bottom layer. Step 6: Twist the ends of a few pipe cleaners together to make one long pipe cleaner (long enough to wrap around your bottom cake layer). Hot glue one end of a fabric strip to the pipe cleaner and wrap the pipe cleaner so that it is completely covered. Hot glue wrapped pipe cleaner around the bottom rim of your bottom cake layer. Repeat at the top rim of your bottom cake layer and top rim of your top cakelayer.Step 7: Cut paper straws in half to make candles. You can paint them or leave them as they are. Cut 1" squares of tissue paper. Pinch each square in the middle and twist. Squirt a bit of hot glue in the end of each straw and stick the twisted end of your tissue in there. (This genius idea is from Icing Design Online).Step 8: Hot glue the base of each candle on the inside rim of your top layer.Step 9: Cut 6 strands of embroidery thread to the same length. Bundle threads together and tie tight double knots along the length of the bundle. Cut to the sides of each knot. Hot glue these "faux french knots" onto your cake layers as decoration.Step 10: Cut 2 long strands of embroidery thread to the same length. Holding the strands together, fold them in half and tie a knot at the mid point, leaving a loop. Hot glue the four loose ends to the inside rim of your top cake layer. Space the four ends as evenly as you can. Once glue is dry and secure use loop to hang cake chandelier.
 *Are you just as puzzled why there isn't one in Provo? Let's get it here! Join the Facebook group! I'm serious! I do love me my TJs and I made the Facebook group to prove it.

