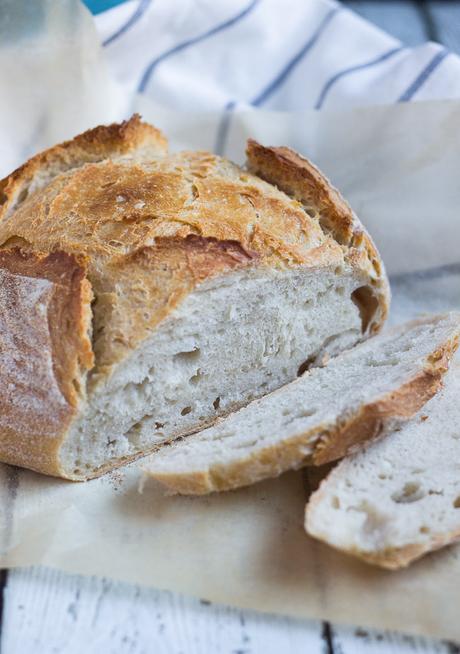
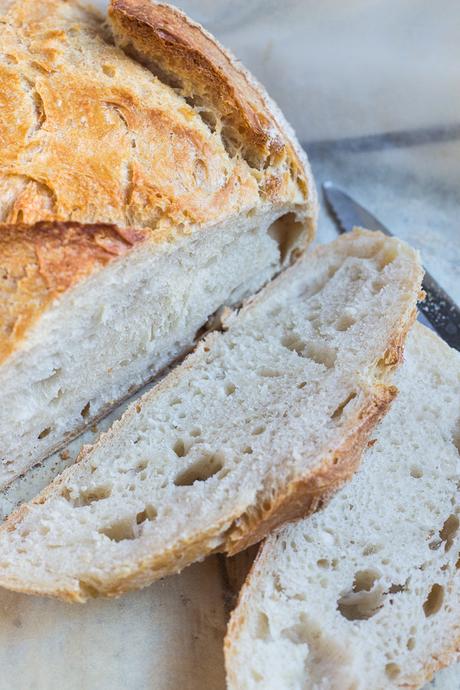
I love to make bread. There is something magical about starting with basic ingredients (flour, water, yeast, salt and time) and arriving at a crusty loaf of freshly made bread. I regularly make a standard sourdough loaf for our everyday needs such as toast and sandwiches. For all my other breadmaking requirements though I rely heavily on a bucket of dough that lives in my fridge; dough made using the Artisan Bread in 5 Minutes a Day method developed by Jeff Hertzberg and Zoe Francois.
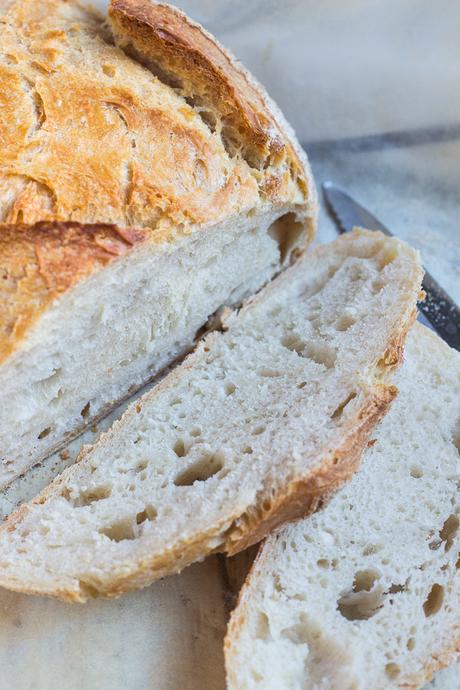
I originally published this recipe way back in 2013, at the beginning of my blogging journey. The method is so useful, such a timesaver, and is the basis of so many other recipes on my blog that I felt it was time to re-introduce it to the world.
The Artisan Bread in 5 Minutes a Day method is quite unique in that rather than making a new batch of dough every time you wish to bake, you make a master batch of dough that lives in the fridge. When you wish to bake, it is as simple as pinching off the appropriate sized piece of dough, shaping it into the requisite form, and cooking. The dough can be stored for up to two weeks in the fridge, depending on the recipe. Doughs made with eggs and butter have a shorter keeping time. What I love most about this method though is that the dough does not require kneading; just mix the ingredients together and leave it to rise.
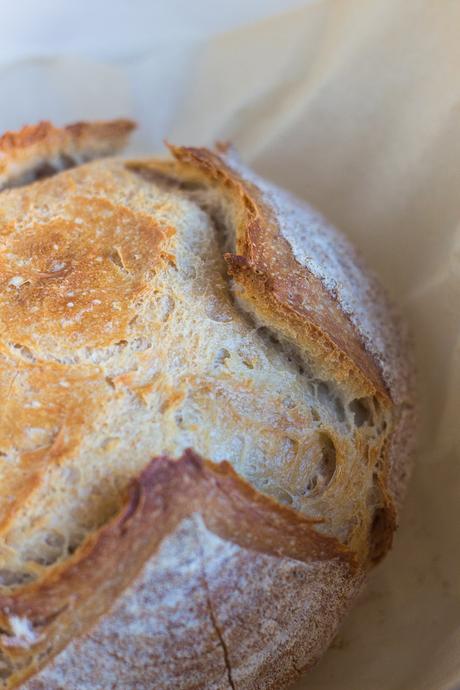
Jeff and Zoe have now published four books using their unique method, including a gluten free version. The only one I don't own is the gluten free version (I really must remedy that). I love these books, use them regularly, and can highly recommend them if you wish to explore their method further.

A bucket of the basic dough is a staple in my fridge, and is frequently put to use in my kitchen. I am constantly finding new ways to use the dough, and you will find I regularly use it in my recipes here on the blog. If you are after some inspiration, try:
I adapted the original Artisan Bread in 5 Minutes a Day recipe to suit my baking needs and the flours available to me. The original recipe uses unbleached, white all-purpose (plain) flour, whilst I prefer to use a strong bread flour. I find I can still achieve good results with this substitution.
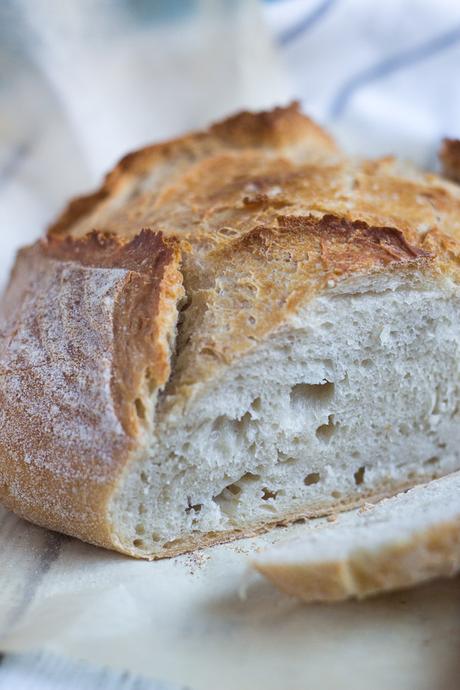
If you have ever wanted to make your own bread, yet have been held back by the worry of kneading and rising times, then this method is for you. I promise that with a bucket of this dough in the fridge a quick meal will never be far away.
Artisan Bread in 5 Minutes a Day Master Recipe
- 675g lukewarm water
- 1 Tablespoon (20ml) dried yeast
- 1 Tablespoon (20 ml) crushed sea salt flakes
- 910g bread flour
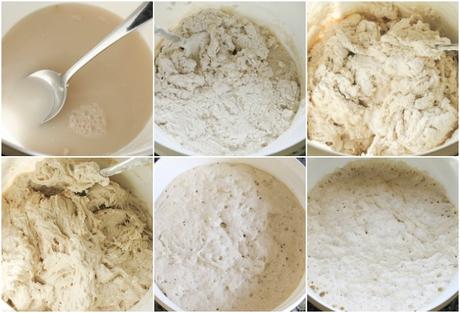
- Weigh the lukewarm water into a 4 litre container.
- Stir the yeast and the salt into the water, ensuring that there are no large lumps of dried yeast remaining in the water.
- Weigh in the flour.
- Stir gently until the flour is incorporated.
- Cover the container loosely with a lid to allow gasses to escape.
- Allow the dough to rise at room temperature.
- Once the dough has flattened and started to fall it is ready to use.
- If not using the dough immediately store in the fridge for up to two weeks.
- Sprinkle the surface of the dough in the container with flour.
- Pull up the dough and cut off approximately 500g with kitchen scissors or a serrated knife.
- Shape the dough into a ball by gently pulling the sides of the dough underneath the ball on all four sides.
- Place the dough on a pizza peel or a piece of baking parchment and allow to rest at room temperature for about 40 minutes.
- About 20 minutes before you are ready to bake the loaf, place a baking stone in the oven and preheat to 200C.
- When you are ready to bake the loaf, liberally dust the top of the loaf with flour and slash the loaf with a serrated knife.
- Place the loaf on the pre-heated baking stone.
- Using a water spritzer, spray both the loaf and the oven liberally with water.
- If you have transferred the loaf using baking parchment, remove the parchment once the loaf has started to brown.
- Bake for approximately 30 minutes, or until the crust is deep brown and firm to the touch and the loaf sounds hollow when tapped on the bottom.
- Remove from the oven and allow to cool completely before slicing.

