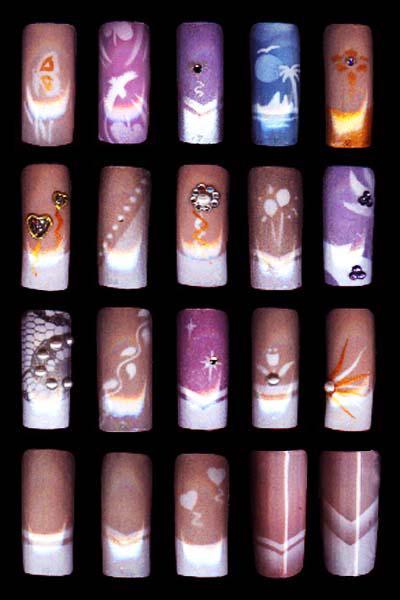
 DIY: MAKE YOUR OWN NAIL ART TOOLS
If you like to play around with different designs on your nails but don't have a dotting tool, a professional nail art brush or a stamping kit that's okay because you can make them at home with things you already have. Plus, who doesn't love a little DIY fun?
DIY: MAKE YOUR OWN NAIL ART TOOLS
If you like to play around with different designs on your nails but don't have a dotting tool, a professional nail art brush or a stamping kit that's okay because you can make them at home with things you already have. Plus, who doesn't love a little DIY fun?DOTTING TOOLS:
YOU WILL NEED:
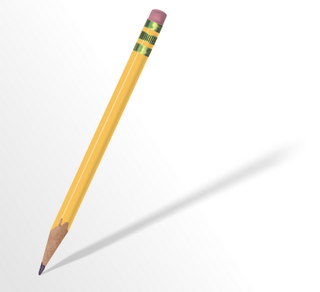
- # 2 Pencil with an eraser
- Sewing Pin
Take a #2 pencil and one of those pins you can find in a sewing kit. Just stick the pointy side of the pin inside the eraser. The size of the ball at the end of the pin is perfect. You can also use different size pins.
 YOU WILL NEED
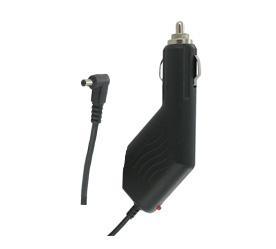
- An old cell phone car charger cord
You can take an old cell phone cord (like the picture below) and use the silver plugs at the end as dotting tools. Again, there the perfect sizes. Just make sure you don't need them anymore!
NAIL ART BRUSH
YOU WILL NEED:
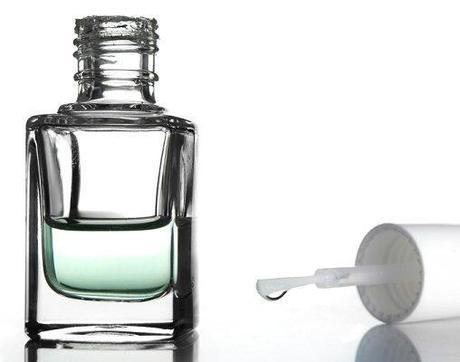
- Old bottle of clear nail polish (preferably with a longer brush)
- Nail polish remover
- Scissors
You can make your own nail art brush by finding a clear nail polish that is old or you wont use anymore. Preferably with a longer brush and take the brush and soak it in nail polish remover for a minute. Then continue to wipe off all the nail polish on the brush. Once its cleaned off take your scissors and start snipping the bristles (start at the top of the brush). Cut little pieces at first. With your fingers shape the brush so its nice and straight and all the bristles are stuck together. By using your judgment split the bristles in half. You can make the brush as thin or thick as you want to by cutting off the remaining bristles. Clean it off with polish remover after everytime you use it and keep the brush stored in the same bottle of polish so it doesn't dry out.
NAIL ART TEMPLATES
YOU WILL NEED:
- Round label stickers (you can find them at the dollar store)
- Scrapbooking hole puncher that will cut shapes
- Nail polish
Also, if you own a pair of scrapbooking scissors that are meant to cut razor shapes, you can cut a piece of tape with those scissors and tape off your nail. Polish over it and you'll have a cool razor looking design.
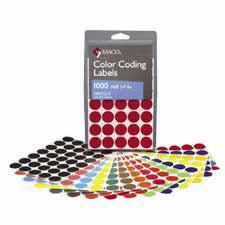
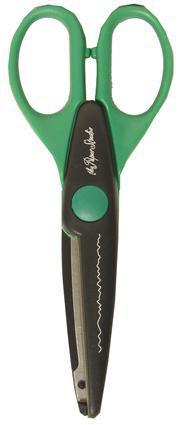
Before I owned my own nail dotting tool and nail art brushes I used these tips and they worked just as good. I was never into scrapbooking so I've never tried those tips but my friend did and her nails looked great!
Click the links below :) Follow via GFC Follow me on Twitter


