Having said that, I also like some bread recipes at here, here, here, here and here that use fresh pasteurized milk (not UHT). Why? Looking at these recipes very closely, I have noticed that there are additional thickening / leavening agents added in these milky breads. And it is true that these thickening ingredients such as condensed milk, eggs, corn syrup and honey will help the dough to rise better even in the presence of the fresh milk enzymes.
Yet, there are two ALL-FRESH-MILK bread recipes that I have came across at here and here that are very interesting! Without the addition of extra thickening / leavening agents, these less-risen fresh-milk breads are surprisingly moister with denser milky crumbs but the recipes will have to be scaled up slightly in order the breads to rise enough to form tall perfect square loaves.
Still not good enough? Then, the curious health-conscious me wonder if I can bake these maximal milky breads at here with less salt and less sugar. To do that, I have to enhance the taste of the breads by baking them with all-butter and of course, not too much butter!
And these are my newly formulated perfect square Japanese Milk Shokupan 食パン with significantly less salt and sugar... Wow! They are so moist and snowy milky white!
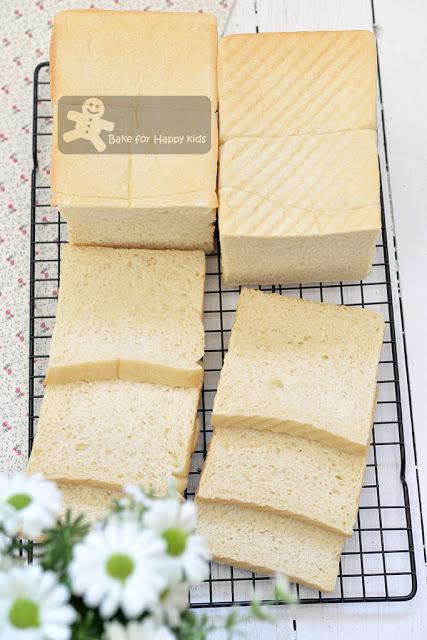
Moist and Soft Japanese Milk Square Toast Bread / Shokupan 食パン
Made with milk, less salt, less sugar and LOVE!
To me, these breads are awesome!!! Made with the maximal amount of milk, I can promise you that these breads are very milky and moist but please be aware that they can taste more to plain due to their low salt and sugar content.
Yes!!! The health conscious me have reduced the added salt from 12g to 4g and sugar from 40g to 30g and improved the taste by replacing 25g vegetable oil with 30g butter. Guess what? I have no regret at all for doing that. LOL!
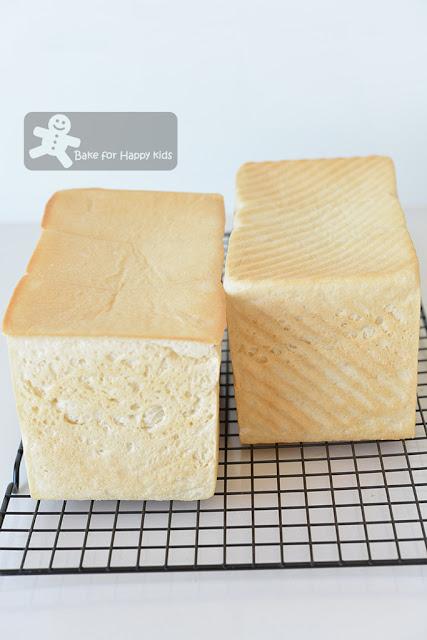
Yay! Here are my two perfect Shokupan!
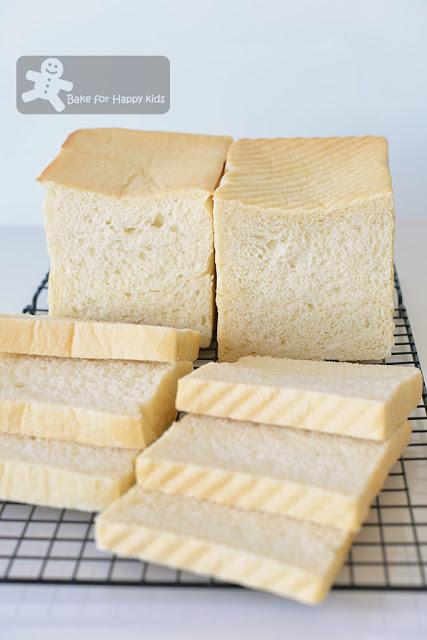
Wow! The lightly crusty breads are so soft and moist!
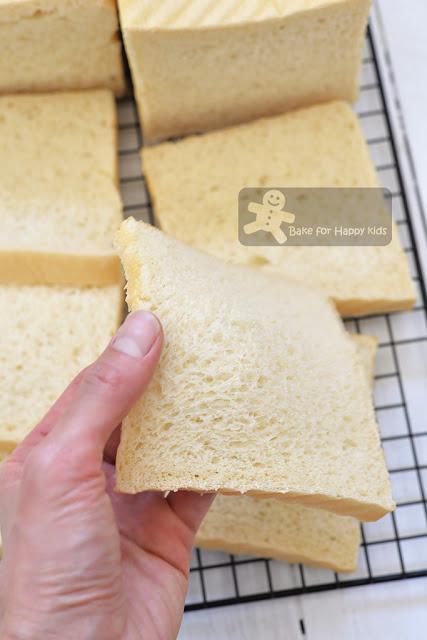
It doesn't taste sweet and salty but it tastes very milky, moist and soft!!!
You know... I have been a very hardworking mom slash blogger! LOL!!!Besides baking these breads with milk and butter, I have also tried using soy milk and vegetable oil to bake the same recipe but it didn't work very well. These vegan soy milk breads turned out to be denser and less moister than the regular-milk breads. So please do not substitute the fresh pasteurized milk in this recipe with other types of milk!!!
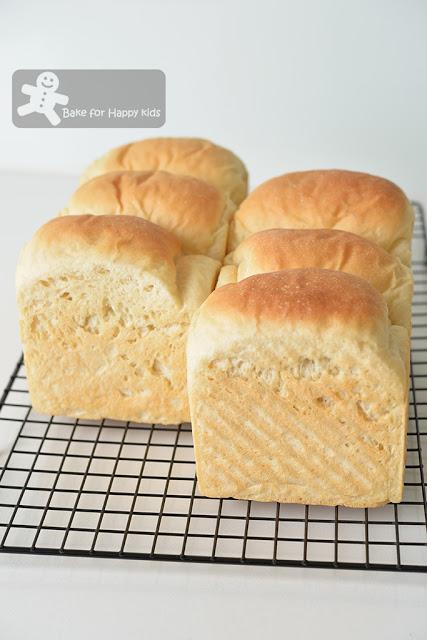
These soy milk breads won't rise tall enough to form a perfect square.
And they are denser and less moister than the regular-milk breads.
So please do not substitute the fresh pasteurized milk in this recipe with other types of milk!!!
Now, here's a video showing how I baked these very moist soft milky snowy white Japanese Shokupan 食パン.
Like my recipes? To get the latest updates, you can follow me at either my Facebook at here or here or my Instagram @zoebakeforhappykids
Here's the recipe that is modified from here.
WARNING: This bread dough is fully loaded with milk and can be sticky and difficult to handle! Please use a breadmaker or an electric mixer with hook attachment for kneading and do not knead the dough by hand.
Makes two 10 x 10 x 20 cm loaves, 450g each
You can use half of the recipe to make one loaf of bread.
510g fresh pasteurized milk (not UHT), lukewarm* at 37°C
700g bread flour with 12% protein
30g caster sugar
4g salt60g unsalted butter, soften at room temperature
2 1/2 tsp dried yeast
*The milk in this recipe doesn't require scalding but need to be lukewarm for efficient proving.
oil or vegetable oil spray to grease the loaf pans and the lids
extra flour for dusting and shaping but please use the minimal amountPlace all the ingredients in a breadmaker according to the order of the above list. Use the dough setting to knead the dough until it is smooth and elastic and allow the dough to prove for 1 hr or until doubled in size.
If breadmaker is not available, kneading by electric mixer with a dough hook is possible. Using an electric mixer with low mixing speed, mix all ingredients except butter to form a dough first. Then, add butter. Keep kneading with the next higher mixing speed for 25-30 mins or until the dough is smooth and elastic. This dough will be very elastic and should be ready if it passes the window panel stretch. Transfer dough into a large bowl and cover it with a cling wrap. Allow the dough to rise in a warm and humid place for about 1 hr or until doubled in size.
Please note that the smooth dough can look a little spongy after proving.
Grease loaf pans and their lids with oil or cooking oil spray.
To shape, divide dough into two and further divide each half into 3 portions (about 215g each) and shape all into smooth balls. Allow them to rest at room temperature for about 10 mins.
Using a lightly floured rolling pin, roll each portion into long and flat oval shape (about 20 cm) on a lightly floured non-stick surface. Use your fingers to pick one shorter side of the dough and tuck and roll the dough like a Swiss roll. Use the rolling pin to flatten and roll the dough into a long rod shape. Then, pick one shorter side of the dough and roll it like a Swiss roll again. Repeat this rolling step with the remaining portions of dough.
Place three of the shaped dough with their seams side down into the each prepared pan. Press the top of the dough lightly to form an even surface. Allow the loaves to prove for another 1 hr or until the dough is going to reach the maximum height of the loaf pans. Cover loaf pans with their lids.
Preheat oven at 180°C. Bake at 180°C for 25 mins or until thoroughly baked. When the bread is removed from the oven, remove the lids and unmould the bread immediately. Transfer bread on a wire rack to cool it completely.
Slice and serve.
To store, wrap tightly in plastic wrap and keep at room temperature for 2 days or freeze in serving portions for 2-3 months. And I strongly recommend freezing because it will preserve the moist and soft texture of these breads a lot better.
Happy BakingPlease support me and like me at Facebook...
