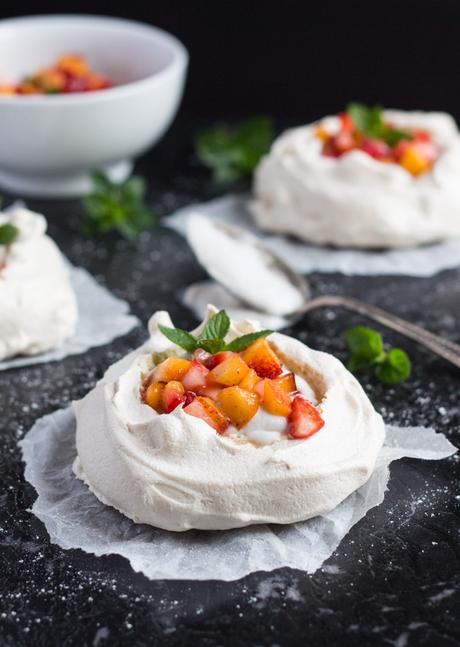
The crowning glory at any family feast during my childhood was always the pavlova. Whilst there may have been other desserts on the table, I only had eyes for that delicate tower of meringue, covered in cream and fruit. In my mind, there is simply no better addition to an Australia Day feast. However, you may have an issue if your guests are vegan or have egg allergies. Which is where these vegan mini pavlovas come in.
This month marks the start of a new challenge for me. I have joined The Recipe ReDux, a monthly blog event focused on making delicious food even healthier; a challenge after my own heart. The theme for this month was to take a new ingredient we had been wanting to try, and to bake up a new recipe for the new year. For months I have been wanting to make vegan meringue, so this was just the push I needed.
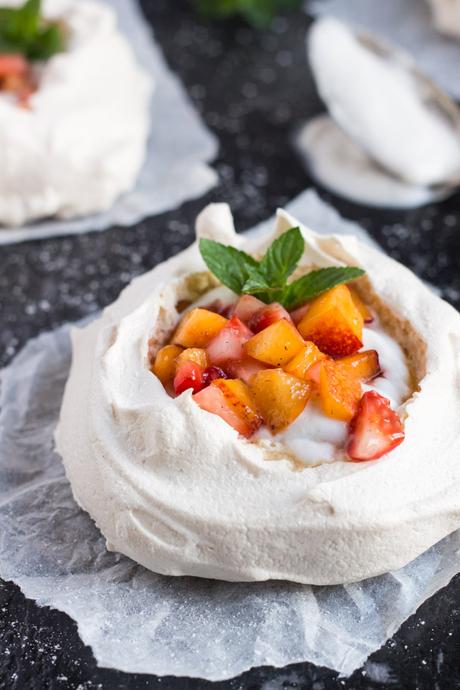
Vegan meringues are made from aqua faba, which is really just a fancy name for bean juice. That liquid poured down the drain when we open a can of beans can actually be turned into something edible. There is even an entire Facebook group dedicated to it. The most popular aqua faba is from chickpeas, although the liquid from any bean can be used.
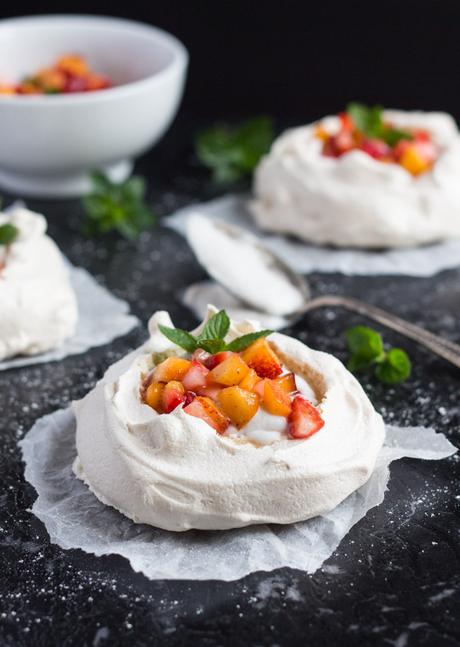
I approached the creation of these mini pavlovas with extreme skepticism, so was extremely surprised at the stiff glossy peaks that formed in my mixer bowl. Taste wise, Mr Grumpy finds them almost indistinguishable from normal meringues, and The Princess kept surreptitiously walking past to take just one more lick from the beater. Both good signs I think.
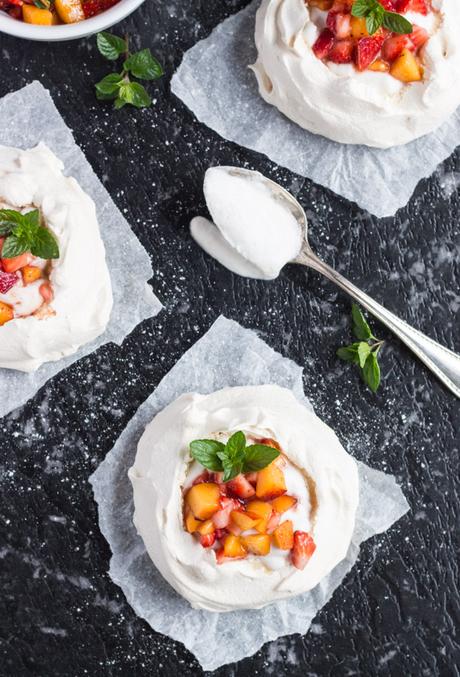
There are, however, a few tricks for successfully making vegan mini pavlovas. Strain the liquid from a can of beans, or use the liquid left over from cooking your own beans (not the soaking water). If you use the water from home-cooked beans, you will need to reduce the cooking liquid before proceeding. The cooled liquid should be of a similar consistency to egg whites.
These vegan mini pavlovas need to completely dry out in the oven to be successful. If they do not peel away from the baking sheet at the end of the cooking/cooling time, give them little longer in the oven.
Vegan meringue starts to melt upon contact with liquid, so these pavlovas should be consumed immediately after decorating. Better yet, let your guests decorate their own. I also found that they softened quite quickly when allowed to sit out on the bench, so do keep them in an airtight container should you wish to make them ahead.
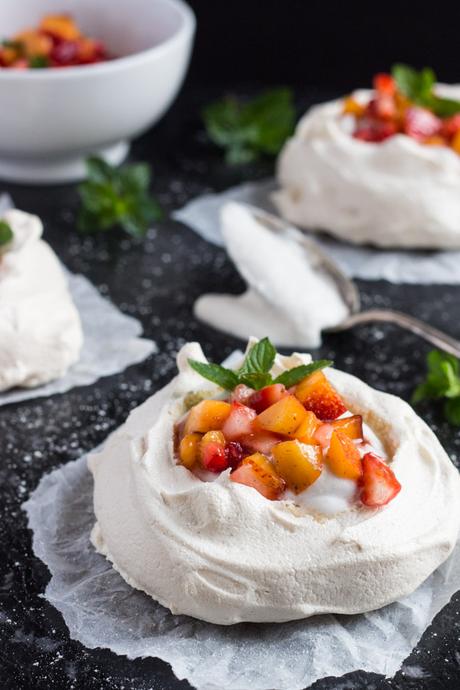
We have yet to make plans for our own Australia Day gathering, but I can rest easy knowing that regardless of the guest list, I need only make one dessert. Pavlova anyone?
Vegan Mini Pavlovas | The Recipe ReDux
Author: Tania @ The Cook's Pyjamas
- ½ cup aqua faba (strained bean juice)
- ¾ cup golden caster sugar*
- ½ tsp cream of tartar
- Whipped coconut cream and fresh fruit to serve.
- Pre-heat the oven to 120C (100C fan forced).
- Line a large baking tray with non-stick baking paper.
- With a sharpie or similar, draw twelve 10cm circles on the baking paper. I used a large jar lid for this. Allow room between the circles as the pavlovas expand slightly in the heat.
- Flip the baking paper over so the pavlovas do not come into contact with the ink.
- Set the tray aside.
- Add the aqua faba and cream of tartar to the scrupulously clean bowl of a free-standing mixer. The bowl needs to be very clean or the aqua faba will deflate, just like a normal meringue.
- Whip for 3 - 5 minutes on high speed, or until stiff peaks have started to form. The meringue needs to be stiff enough that it would remain in the bowl if the bowl were to be tipped upside down.
- With the motor running, on medium - high speed, gradually add the sugar a Tablespoon at a time.
- Allow the sugar to dissolve between each addition.
- Once all the sugar has been added, scrape down the sides of the bowl.
- Continue to whip for a further two minutes, or until the meringue is stiff and glossy.
- Dollop spoonfuls of the meringue onto the baking paper, over the circles.
- Gently spread the meringue out to the edge of the circles. I used a small spatula for this.
- As you are spreading the meringue, try to create a small depression in the centre. This creates a little well to later hold the cream and fruit.
- Bake the meringues for two hours. Do not be tempted to open the oven during this time.
- After the cooking time is up, turn off the oven and leave the door shut.
- Allow the meringues to cool to room temperature I allow mine to sit in the oven overnight.
- Use as desired or store in an airtight container for up to three days.
- When ready to serve, decorate the pavlovas with coconut cream and fruit.
- Serve immediately.
