Today I would like to share with you a very simple tutorial on how to create "watercolor" effect by using gelatos. And of course, you can try this same technique with watercolors too. This technique creates a very subtle look to your project. Adds interest without "screaming" for attention.
Supplies:1 piece of craft sheet1 bottle of water spray1 die cut piece Faber Castell Gelatos colors
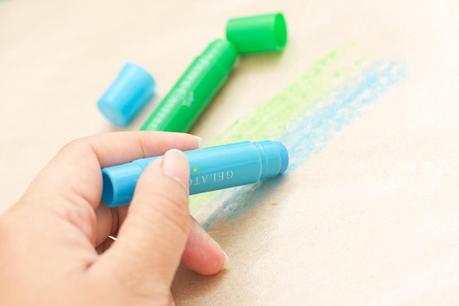 First, you will need to gently color onto the craft sheet. Here I mixed the color blue & green.
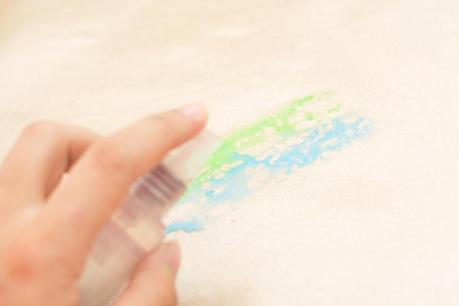 Next, spray some water onto the gelatos.
 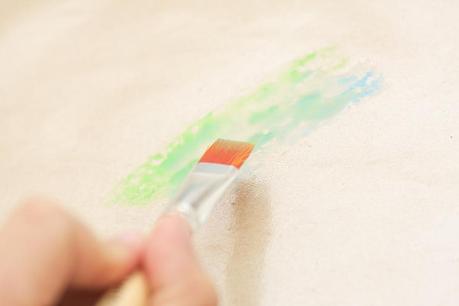 Once you done with the water, use a brush to gently mix the colors to your preference.
 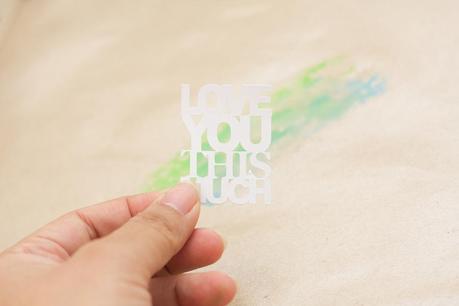 Here is my die cut title that I'll be using.
 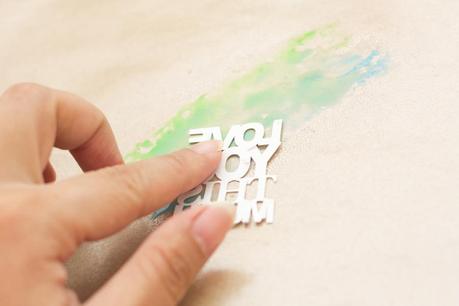 Gently, "stamp" the cut to the gelatos. Be sure that you do not leave the cut onto the gelatos mixture for too long or it will be too wet & it might tear up.
 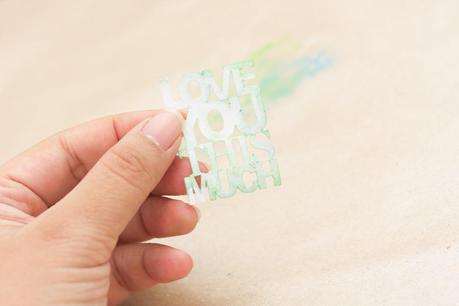 Finally, leave it to dry before you proceed to your next step.
 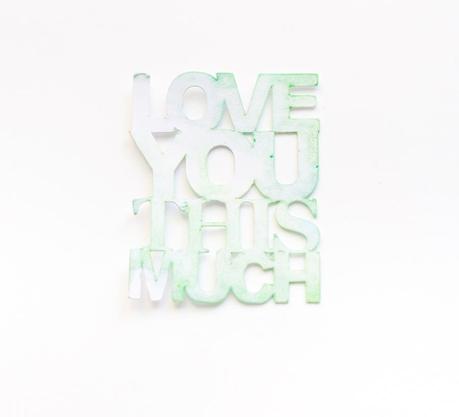 It should look like this once it is thoroughly dry. Absoultely love the "watercolor" effect!
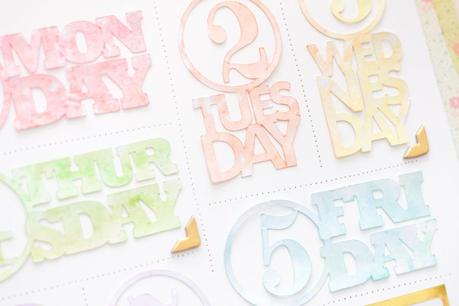
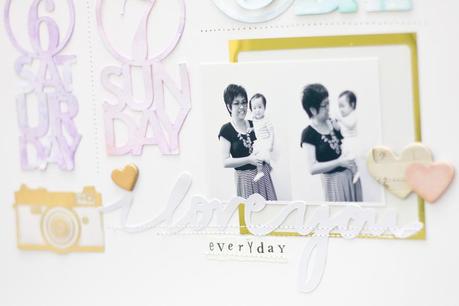
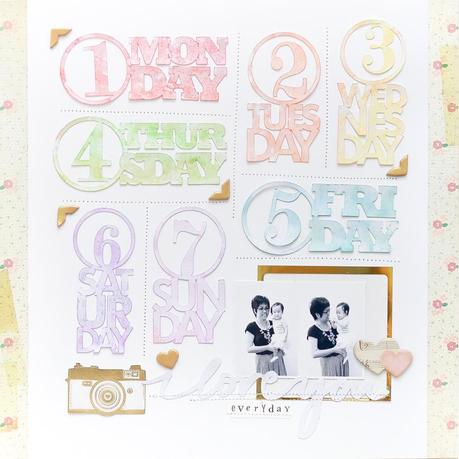 Here is a sample of my layout using the same technique. I used the rainbow colors for each of the cut.
 Close-ups:
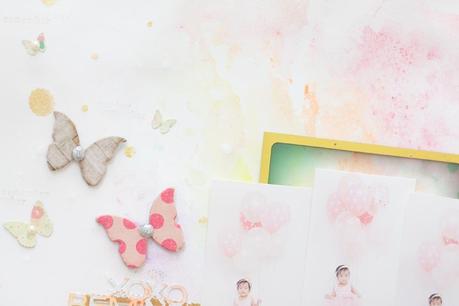
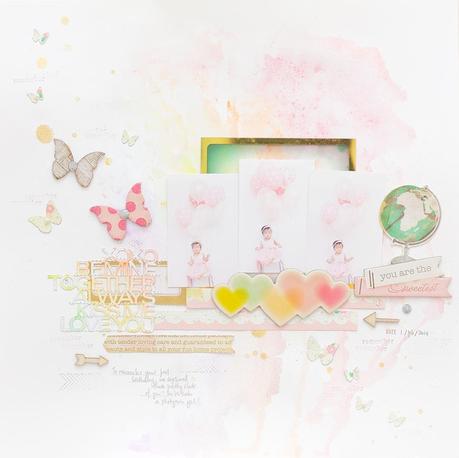 I have also created another layout using the same technique for the background and also for the cut. The only difference is I did it in a bigger scale.
 Here are some close-ups:
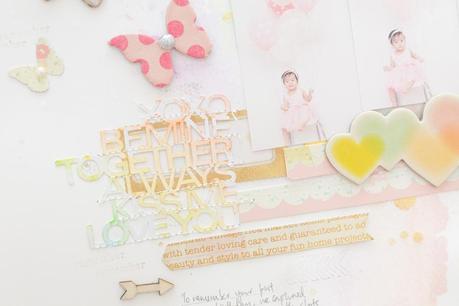
Hope you enjoyed today's tutorial and do link up if you decide to try it too. Lindsey & I would love to peek at your projects too!
You can find me at these social medias too...InstagramPinterest
Thanks for coming by!Xoxo Jessy
