Although for most of my watering tasks I try to rely on my rain barrels, occasionally I do need to use a hose. And as hoses tend to develop cracks and leaks over time, I take time once or twice a year to do some mending. It’s easy to do, and much less expensive than buying a new hose.
I came into a discarded garden hose recently and am carving it up into lengths to join portions of soaker hose. Using short lengths of non-soaker hose in between the soaker lengths reduces water waste in those areas that don’t need watering.
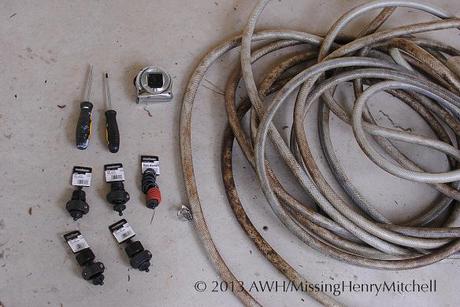
Here, I have two screwdrivers, a flat head and a Phillips head (x-head). I also have a tape measure, male and female hose fittings (be sure to get a size that matches your hose diameter), and rubber washers. A knife or box cutter is also required for this task.
The fittings can be purchased at any hardware store for a few dollars apiece. Rubber washers can be purchased singly for a few cents apiece, or in larger packets, ensuring you’ve got them when you need them. While these are plastic fittings, and this particular brand has worked well for me in the past, brass fittings are also available, and though they cost a bit more they are well worth the investment to repair a high-quality hose.
Repairing a hose:
1. Measure the length of hose you need, mark it, and cut it. Make a straight cut; it will reduce leaks when you attach the fittings.
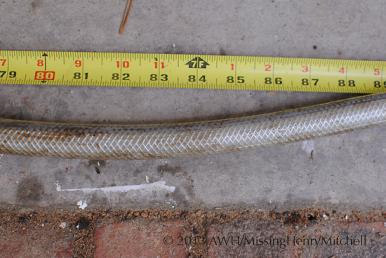
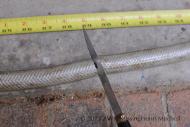
2. Determine which fitting you need. Each length of hose should have one male and one female end.
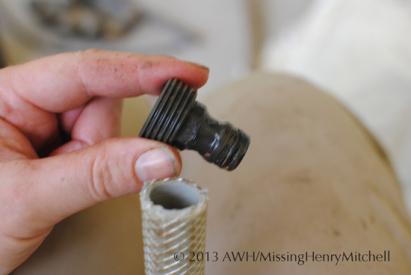
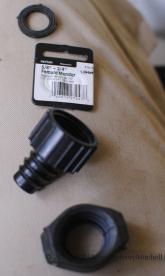
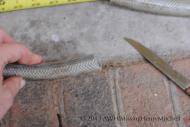
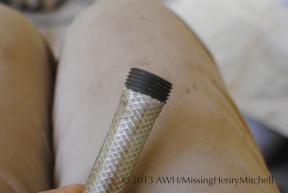
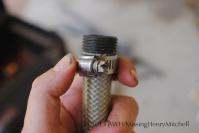
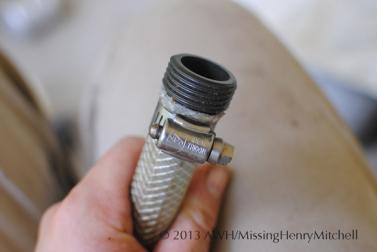
3. Insert the tapered end of the appropriate fitting into the cut length of the hose. It may help to lubricate the end of the fitting with a bit of petroleum jelly. Make sure the hose comes up to the top of the fitting’s threads. Below on the right is a well-seated male fitting.
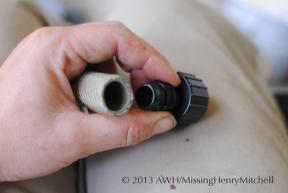
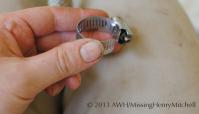
4. Secure the new attachment with a clamp (these often come with the fitting, or can be purchased separately ).
That’s it! Once you mend your first hose you’ll be very impressed with yourself and will start looking for other things to mend. This practice is habit-forming and may result in your spending lots of time in hardware stores poring over bins of clamps and screws.

