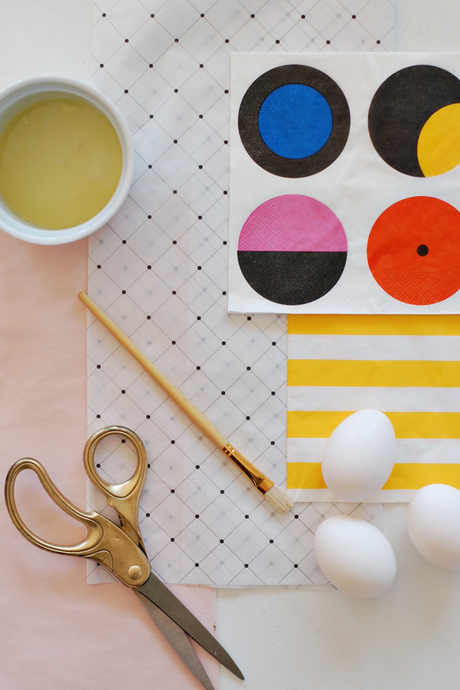
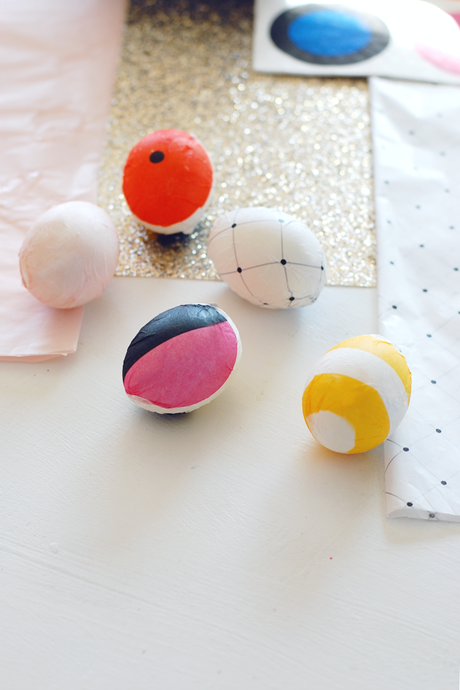
 With hundreds of Easter egg decorating ideas floating around the interwebs, I thought it would be fun to try this one. Anything that involves minimal materials, endless pattern options and no harsh chemicals is a keeper in my book, and these tissue paper eggs fit the bill!
I won't lie, these didn't turn out as fantastic as I imagined in my mind since this was my first go at it, but I figured I would share it anyway. With a little more practice they will look better. Anyway, it's good to show the wonky side of things every once and awhile.
 Supplies:
- Hardboiled eggs
- Tissue paper and napkins of choice (IKEA has awesome napkin prints!)
- 2 egg whites, lightly beaten
- Small brush
- Scissors
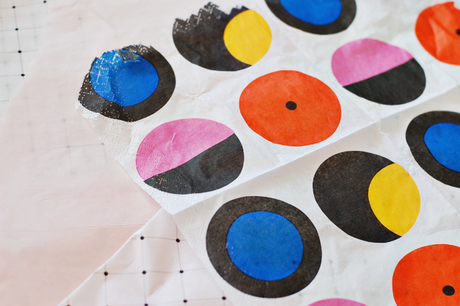
- If you are using a printed napkin, separate the printed top layer from the bottom. Discard the bottom so you now have the printed tissue only.
- Cut your tissues into 7x7 inch squares. This makes it easier to apply.
- Starting from the corner, place the tissue on your egg as smoothly as possible with the pattern going the direction you want and then adhere the tissue by painting the egg with the egg whites in the center and moving outward.
- Cut off the excess tissue at the back.
- Set on a paper towel to dry.
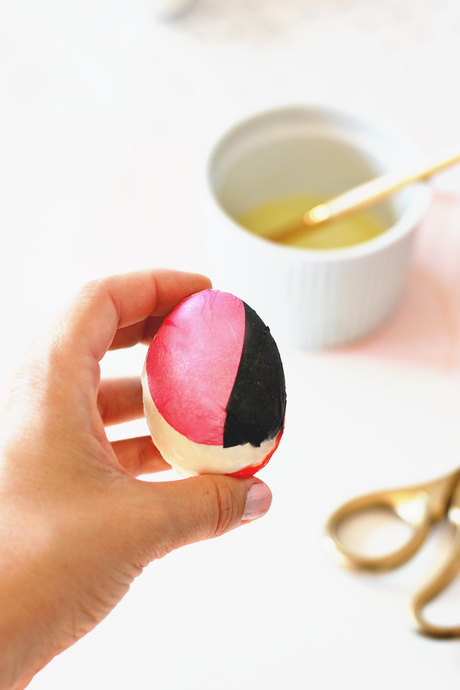 As I mentioned, things may get a little crinkly at the beginning, but the imperfections are what make projects fun! That's how things are learned. Trial and error, failure and success — that's the story of life isn't it? (Who knew decorating Easter eggs could be so philosophical and profound!)
Also, be sure to check out my article on coloring Easter eggs the natural way using veggies and spices over on Parenting.com! It makes egg dyeing much more enjoyable (and by that I mean less paranoid) since those little fingers will be dipped over and over again, and the eggs are totally edible after the fact. Although, I have always eaten our colored eggs with the store-bought dye. Oops? Well, at least this year things will be all natural. Come check out how to make the natural dyes here!
