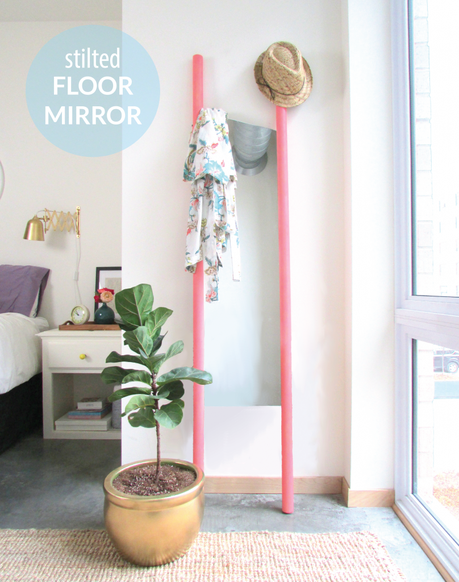
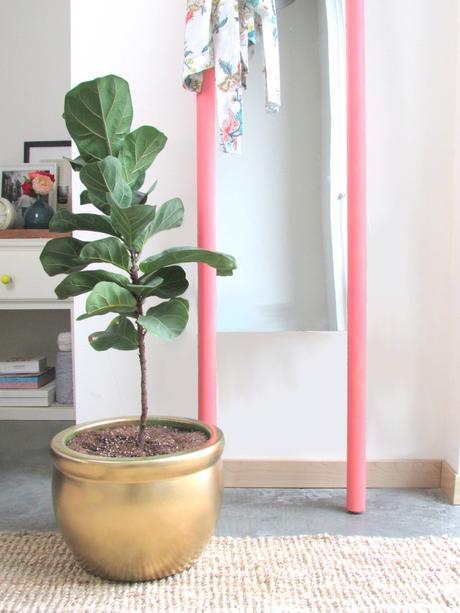
I came across this floor mirror on Pinterest, and fell in love with the unique simplicity of its Scandinavian design. Of course, I couldn’t help but figure out how to DIY one for our place, and in the end, we put our own spin on it by using a fun and retro coral color. Our place is quite white and neutral, so I’ve been feeling lately like we could use a little color in our lives. Problem solved!
Hope you have a great start to the week!
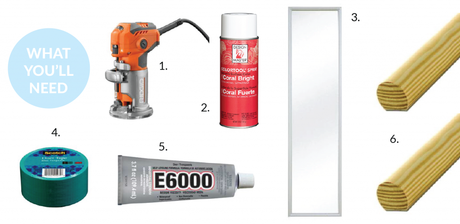
Materials:
- Hand held compact router fitted with the inclusive edge guard + 1/8″ drill bit
- Spray Paint
- Door Mirror: $5.99 at Target!
- Duct Tape
- Industrial strength adhesive
- Two unfinished handrails cut down to 6′ – Home Depot sells the rails by the foot in their store. We chose to use handrails with one one flat side vs. a round wood dowel in order to use the flat side as a guide when routing the mirror slits.
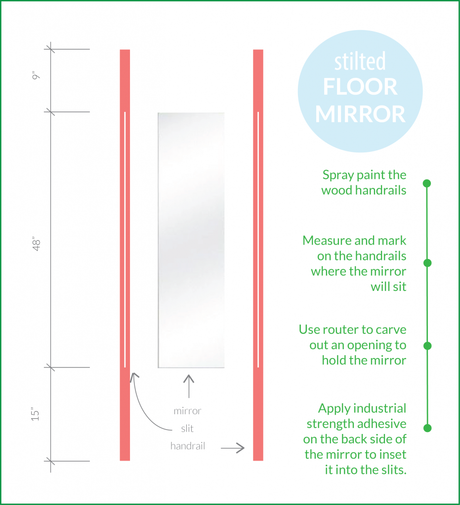
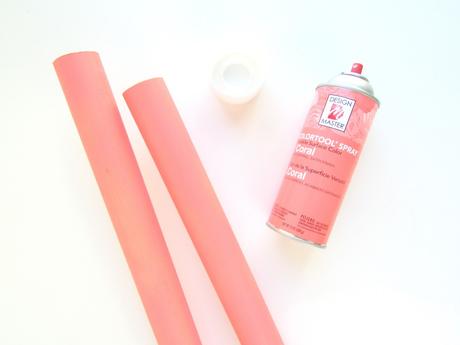
2. Spray paint the handrails the color of your choice, or leave them au naturale. Here we’ve used Design Master’s Coral.
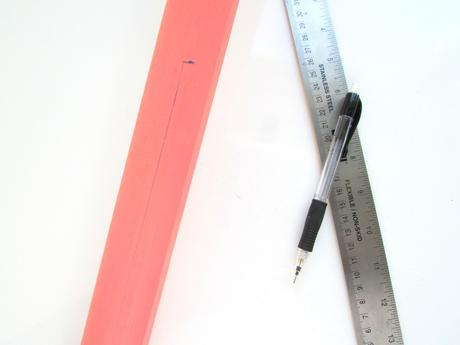
3. Figure out where on the handrails you’d like the mirror to sit, and mark the location on the “side” of the handrail. (Once the mirror is assembled, the flat side of the handrail will face the wall.)
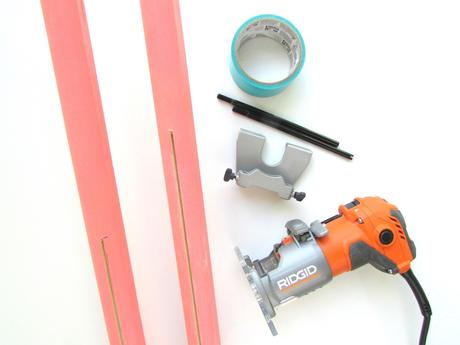
4. Duck tape down the two ends of the handrails, and use the router fitted with the edge guard and an 1/8″ drill bit to route out the line you marked in step 3. Clear out the sawdust.
5. Remove the wood frame and paper backing from the Target door mirror. You may need an artist’s knife to slice through the adhesive. Be SUPER careful while doing so not to crack the mirror. See the organic edge at the top of my mirror? It’s the result of my mirror cracking when removing the frame. Luckily, it cracked serendipitously, so I went with it.
6. Apply a generous beadline of industrial adhesive to the backside of one of the long edges of the mirror. Slide the mirror edge into the routed slit. Allow the adhesive to set (about 1 hour) before assembling the second side.

