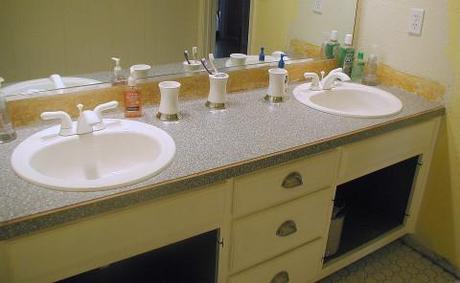
Painting your vanity countertop can fill your bathroom with bright colors or continue a standing motif that runs throughout your home. Touch up the color palette in your bathroom for less than a tank of gas! I know, that’s not saying much with gas averaging $4.30 here in San Diego!
Let’s face it; laminate countertops are a bit dated in present times. If old vanity countertops are driving you crazy, this can be an inexpensive fix that you can do yourself. To complete this project, you’ll need nothing more than sandpaper, primer, paint of your choice, and an old shirt that you don’t mind getting dirty!

Source: Simply Rooms
Before Getting Started: Choosing the Right Color Palette
A few things to keep in mind when selecting the color to use on your vanity countertop. Make sure that the color you choose works well with the color of existing walls, the floor, and decorative accessories. You can accent, contrast, or blend the color scheme together depending on what your goal is. Keep an eye out for Sherwin Williams and Pantone’s Color of the Year to see what’s trending. Previously, I discussed neutural hues as a color of choice that is in high demand by prospective homebuyers. This is something to keep in mind if you’re staging your home for sale.
Like Robert Passal said in the interview I did with him, you want your design to last a lifetime. Make sure it is something you can live with for years to come. This will prevent any additional expenses due to future renovations. You can check out some of the latest design trends in bath vanity design by getting ideas from these modern bathroom vanities.
How to Paint a Bathroom Vanity Countertop
As one of the Top 10 Ways to Decorate for Less, repainting your vanity countertop can be a viable option if you are renovating on a budget. Follow this 5 step guide to learn how to paint a laminate vanity with a vibrant coat of paint. This bathroom update would work well with some of the others that I recently covered. This way, you can recoup treasured items and give them a whole new lease on life.
- How to Re-Paint Your Wood Vanity with Lacquer
- Update Your Bathroom Cabinets for Under $70
- How to Etch Your Glass Bathroom Mirror
Step 1: Prep-Work
This can almost go without being said but it can be overlooked if this is your first time working with paint. Clean the countertop with warm soapy water and then dry everything off with a soft cloth. Make sure that you remove any dirt, debris, hair, etc. or it will stick to the paint and mess up the finish of the new paint.
Step 2: Sanding
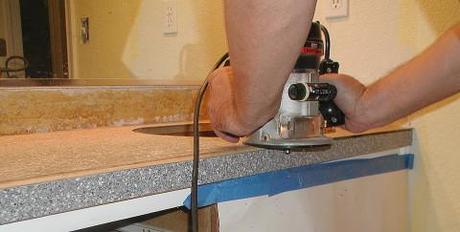
Lightly sand the counter with 150 grit sand paper. Use slow and even strokes. Never stop the sander in one area or you could create an uneven surface. When the existing coating has been stripped, remove every bit of dust and wipe clean with a damp cloth. While you need to get everything that you can, don’t waste your time trying to get every grain of sawdust. You will add primer in the next step to create a basecoat that the finishing coat can adhere to.

Source: Simply Rooms
Step 3: Primer
Primer is an undercoat that creates a bonding surface for the final coat of pain that you will add to your vanity counter. DO NOT SKIP THIS STEP! Priming ensures better adhesion of paint to the surface, increases paint durability, and provides additional protection for the countertop itself.
Prime the surface with 100 percent acrylic primer. When shopping, you want to look for a flash-bond primer. This means that it will stick to the laminate and allow paint to stick to it as well. Bullseye 1-2-3, Benjamin Morris Fresh Start, or XIM Primer are all good choices. The primer you choose will work on a laminate counter so long as the label states that it covers gloss surfaces.
For best results, apply 2 coats of primer to the entire surface of your vanity counter. Allow the initial coat to dry for an hour or so before going over it with an additional coating of primer. Make sure that you use painters tape or painters plastic to protect the basin, faucet, and other areas that you don’t want painted.
Step 4: Painting your Bath Vanity Counter
Once the second coat of primer has dried, you can proceed to paint the counter. To ensure an even and full-coat, add several coats and allow time for each coat to dry in individually. For laminate vanity countertops, you will want to use latex satin or a semi-gloss enamel.
Step 5: Seal the Counter
Sealing the counter will give it a nice shine and protect the paint from wear and tear. Use satin or semi-gloss sealer to make sure that the seal is strong enough for heavy use in the bathroom. Allow at least 24 hours to dry before placing bathroom accessories back on top of your bathroom countertop. Failure to do so can lead to scuffs that won’t come out.

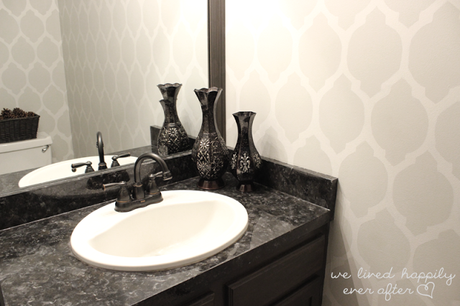
This is Hannah’s Faux Granite Finish. Doesn’t it look amazing! You can see how she did it here.
Closing Thoughts
Should you be unhappy with the way that your vanity looks, you can always re-sand the counter and try a new color. Don’t get too carried away with this however. A lot of times when working with clients I find that the design scheme begins to grow on them after about a week. Sometimes we grow accustomed to the unchanging look of our home. When we alter things, it can feel a bit foreign and uncomfortable so give it a little bit of time before you decide to make any changes.
More Bathroom Renovation Resources:
- Top 4 Interesting Ways to Add Color to a Bathroom
- Bathroom Makeovers: Where Does All That Money Go?
- 5 Quick Tips for a Super Easy Bathroom Makeover
About the Author
This post was written on behalf of Tradewinds Imports by Cheryl Khan. A contributing author and interior designer, Cheryl loves when she can save clients a couple extra dollars using these bathroom budget saving tips!
