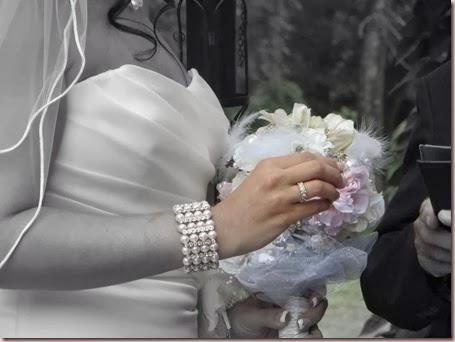

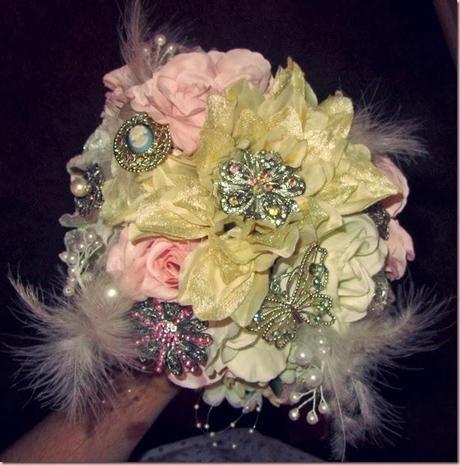
Ciao lovelies!
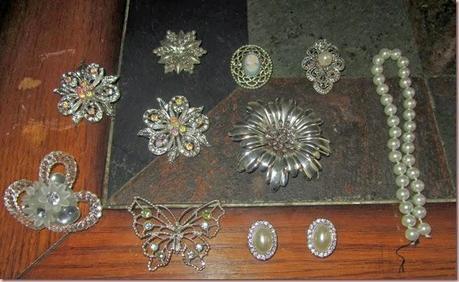
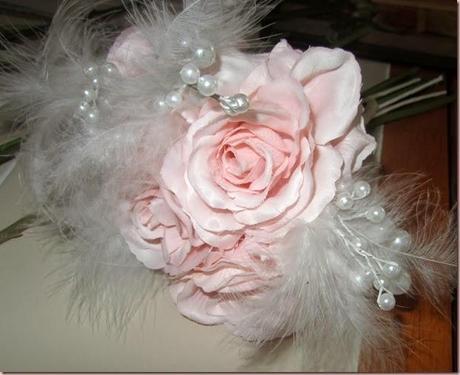
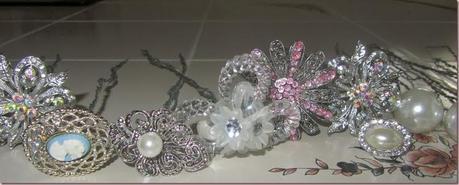
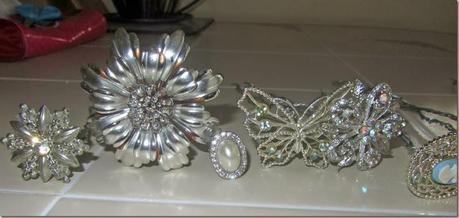
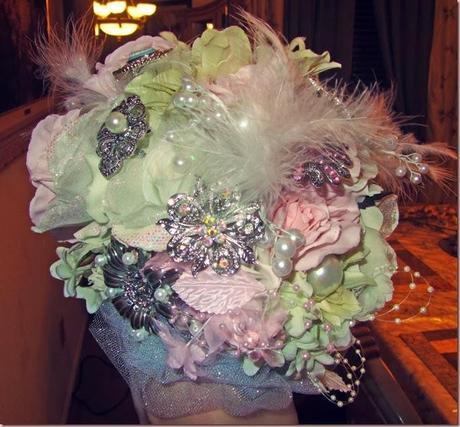
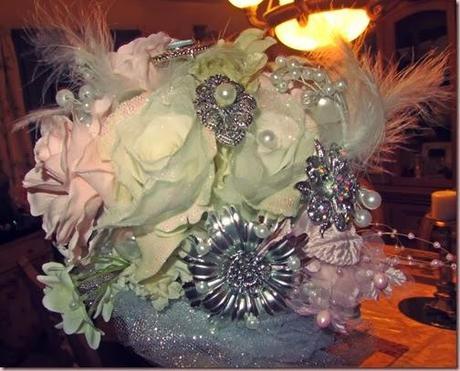
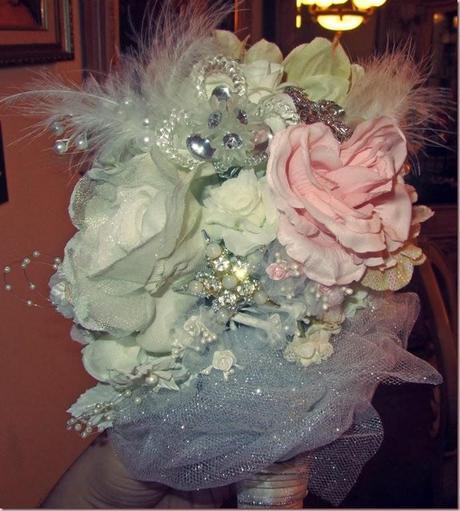
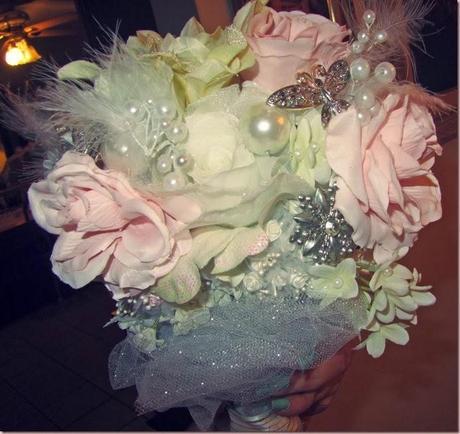
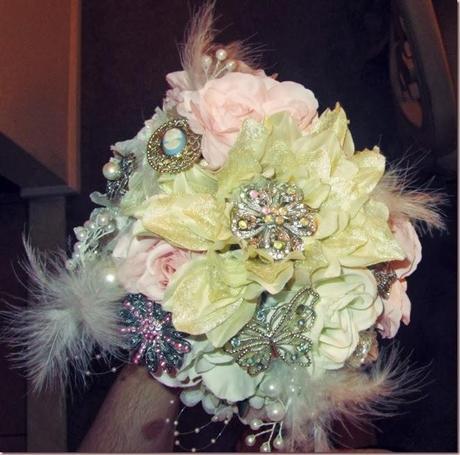
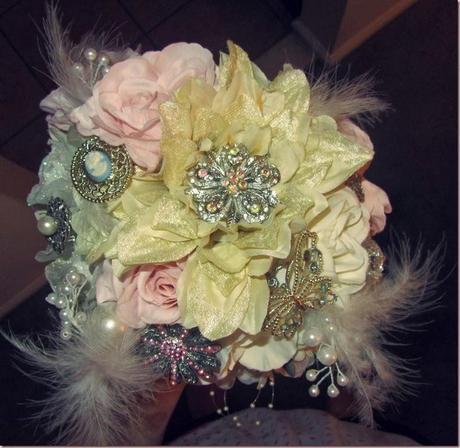
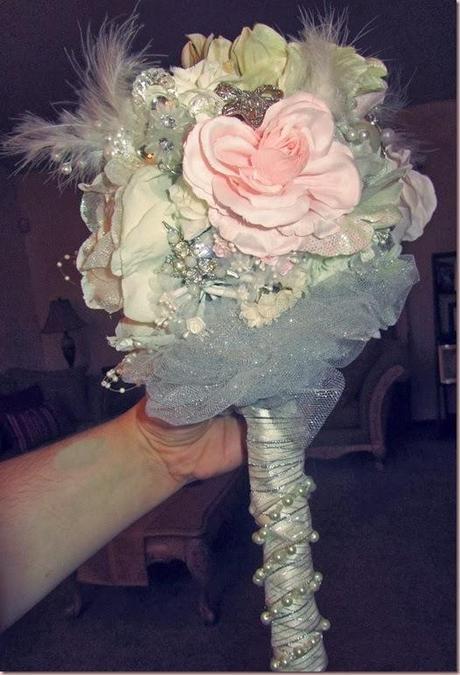
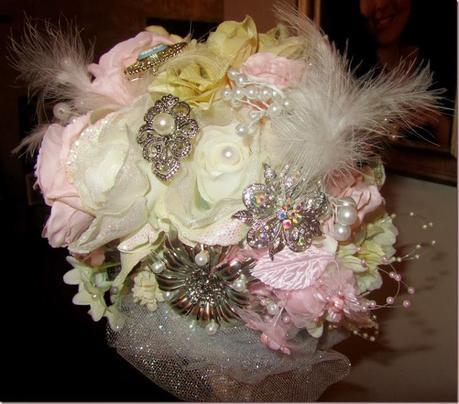
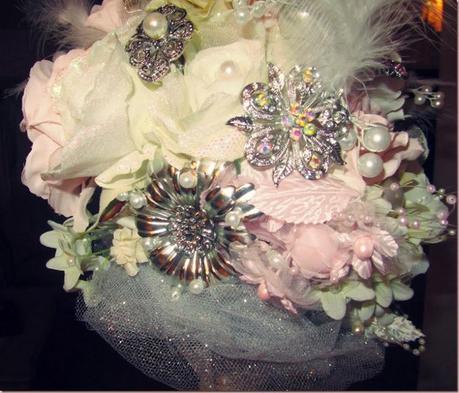
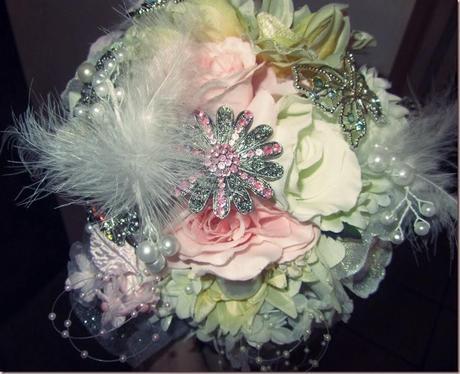
I’m continuing the wedding series I started a while ago. See the first post here where I show you how to make treasure chest bridal shower favors. This is probably my favorite craft/project I did for my sister’s wedding last summer. You can see the bouquet along with my gorgeous sister above. Wasn’t she a beautiful bride?! Brooch bouquets, in case you didn’t know, are bouquets of a mix of both flowers (fake or real if you don’t want to keep it for a long time) and different brooches. If you look up finished brooch bouquets to buy online or somewhere, they can cost hundreds of dollars, depending on how nice they are and what was used to make them. The amount of work probably also factors into the cost. It does take a few hours to make (not that bad to save that much $$) but it is so worth it! I think it cost me about $100 to $120 in total including all the flowers, brooches, and all the supplies. If you are a bridesmaid or maid of honor in a wedding, this would be a great gift to make for the bride to carry in her wedding. Make sure you match the theme and colors of the wedding as well as the bride’s preferences. I made this one along with my sister’s best friend as a gift for my sister. I was the maid of honor and her best friend was the matron of honor in her wedding. The first thing you need to do is buy and collect the supplies. Here’s what you’ll need. Of course, adjust everything depending on what your theme/colors are and what the bride (or yourself if you’re making your own) would want. I found all of the craft supplies and flowers at craft stores like AC Moore or Michaels. The brooches I suggest collecting among the bridesmaids and the bride’s and groom’s families. It’s nice to include brooch’s that have some meaning or significance. You can also find them reasonably priced at flea markets or online (I found some here: http://www.fabulousbrooch.com/).
Supplies:
- An array of brooches (We used about 13 or so, use more or less depending on the size of your bouquet.)
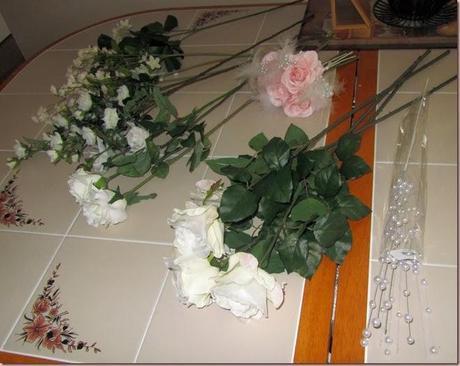
- Flowers matching your theme/colors (real or synthetic, I used synthetic so my sister could save the bouquet forever. I used white, ivory, light pink, and champagne colored flowers.)
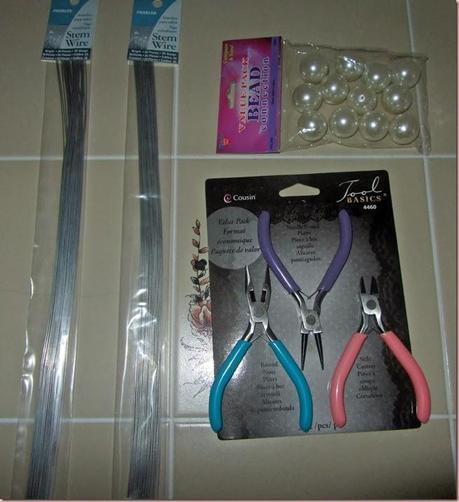
- Stem Wire (20 gauge)
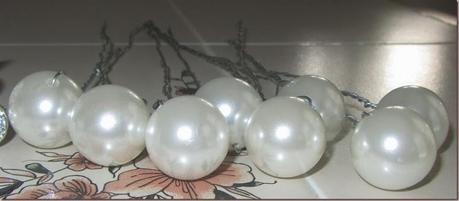
- Large Beads (I used pearls.)
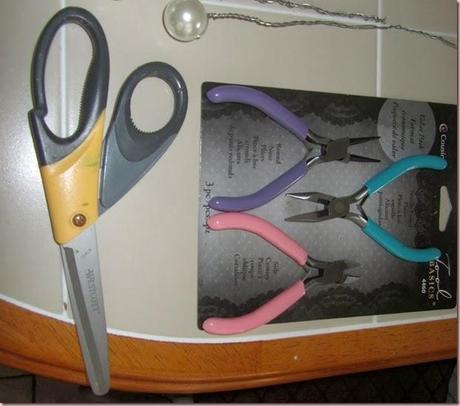
- Wire tools (Needle Nose pliers and wire cutters, found in the jewelry making section of the craft store)
- Scissors
- Stem Wrap Tape
- Pretty Satin (Ivory) Ribbon and a Sparkly Ribbon (to wrap the stem)
- Strings of pearls (to decorate the stem)
- Corsage Pins (with pearls for decoration and securing things)
- Tulle (glittery!)
- Glue Gun and Glue Sticks
Steps:
1.) Get all of your supplies out and ready to be used. Make sure you have enough of everything for your bouquet.
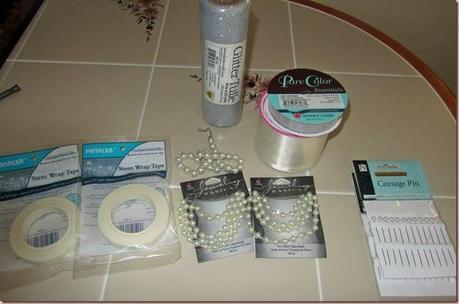
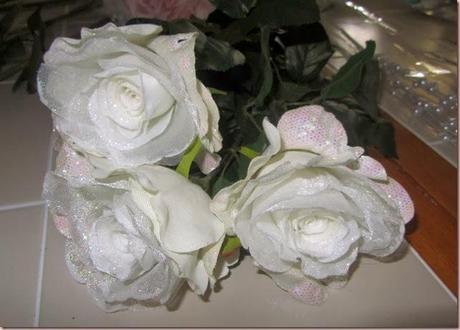
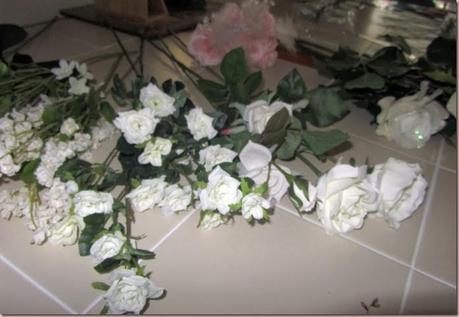
2.) Wire your brooches. Depending on the size and weight of each brooch, you might need one or 2, maybe 3 pieces of wire for each. Try to stick the wire though the bottom parts of the brooch and attach it an way you can, then twist the wire(s) together all the way to the bottom. The brooch on the wire should be sturdy enough for you to hold it from the stem without drooping. I also wired the large pearl beads.
3.) Trim your flowers. Make them your desired length, depending on your brooch stems. Also, trim extra leaves as they will get in the way. Leave a few if you wish.
4.) Start arranging your bouquet! 

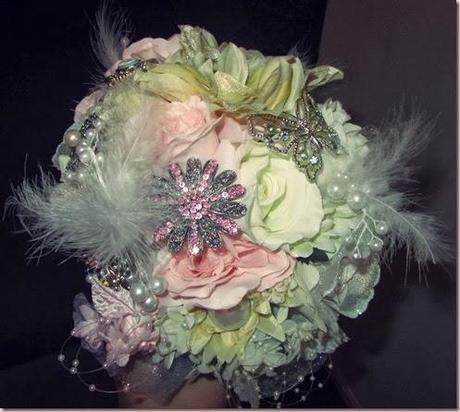
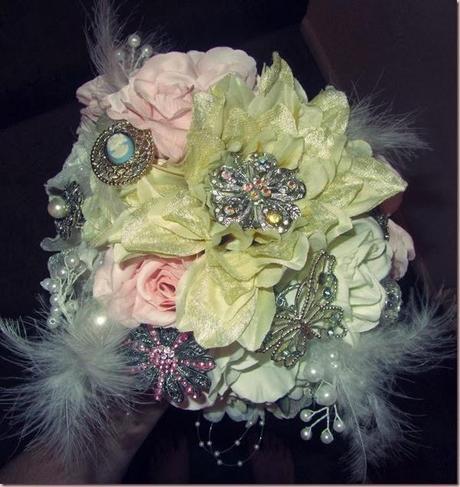
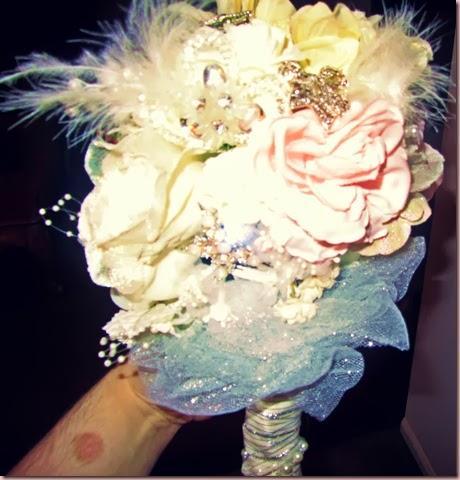
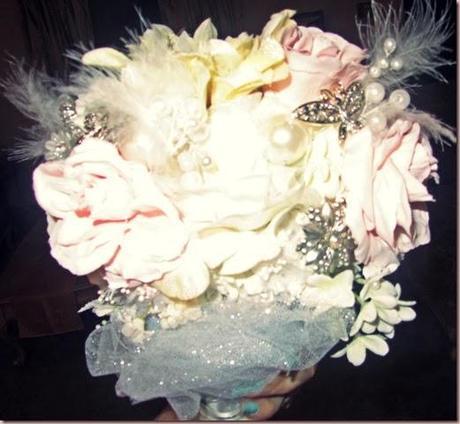
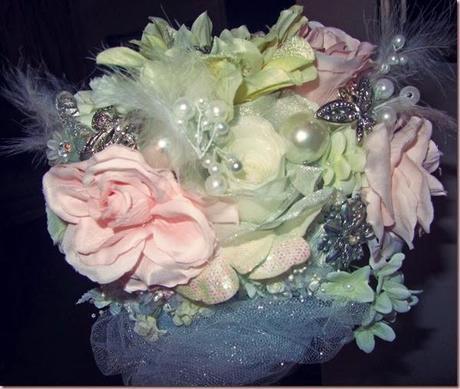
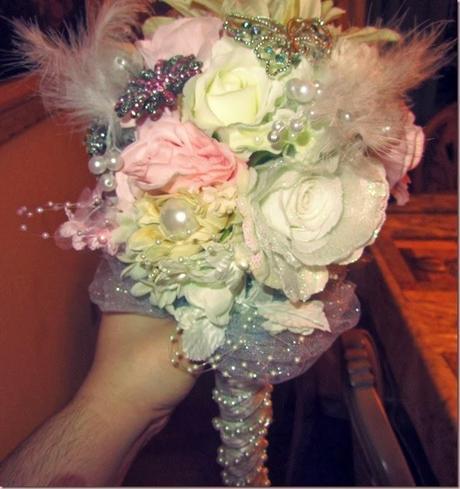
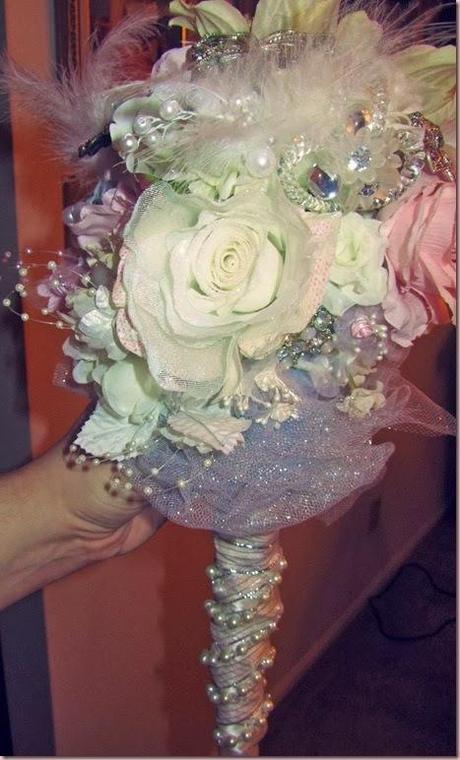
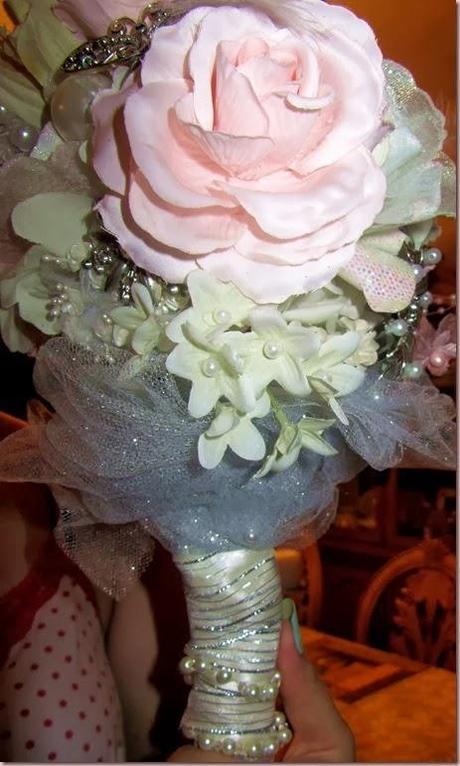
5.) Bunch up some tulle, arrange it in a way you think look pretty and hot glue it to the base of the flower bouquet. I think you could also wrap it around an extra piece of wire and wrap that around and glue it aw well.
6.) Wrap your stem with the satin ribbon first, hot gluing it as you go along until you reach the bottom. Then add a sparkly or other decorator ribbon on top of that one using the hot glue as well. I also stuck a big pearl bead at the bottom using hot glue for added decoration.
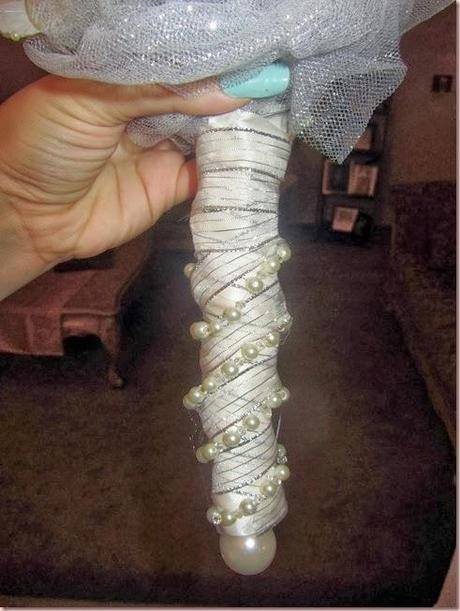
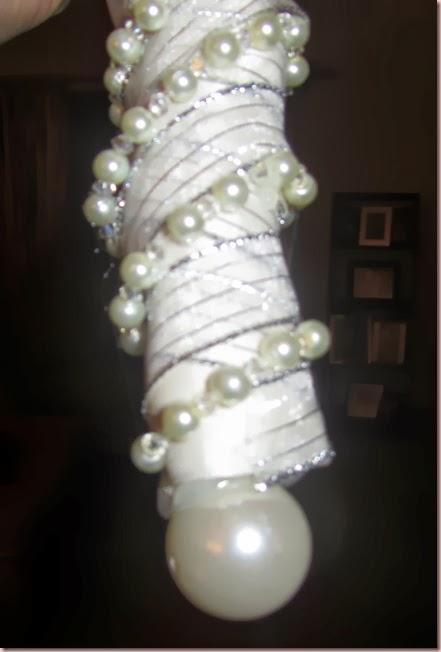
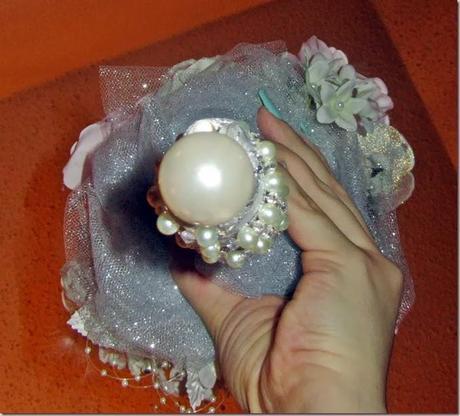
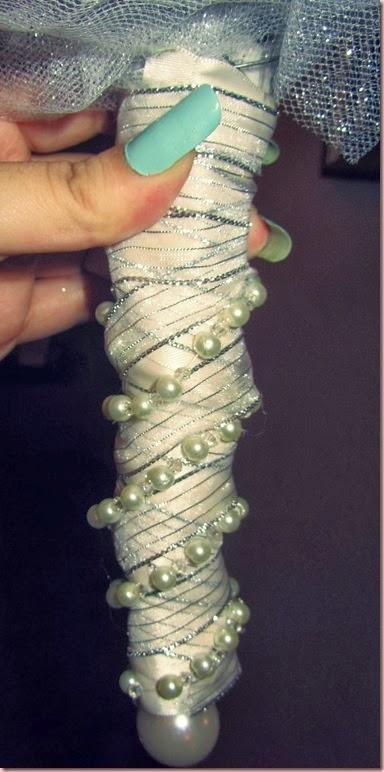
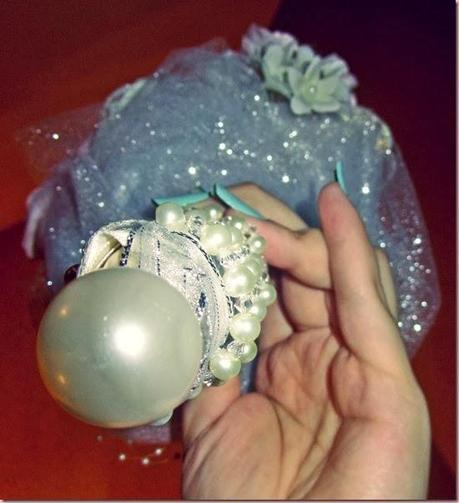
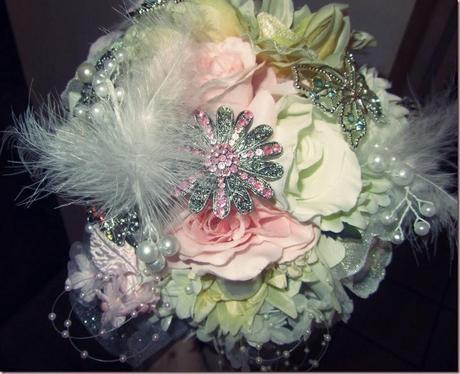
7.) Optional: Add the strings of pearls around the stem/base of your bouquet for extra prettiness, using the hot glue.
Tada! And then you have your very own, handmade, gorgeous brooch bouquet!

Resources:
I found this video helpful:
