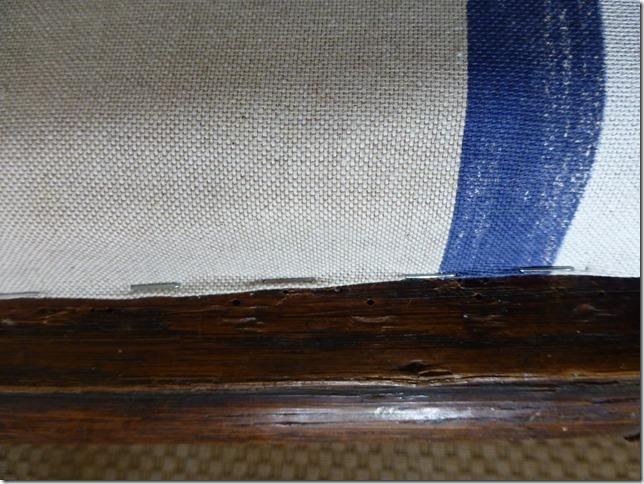
Sunday afternoon, time to get busy with the Postal Chair, we started on last weekend. You might be wondering we we’ve called it a ‘postal chair’. Ever since a Dutch fashion designer made jackets from old postal bags I’ve been fantasising about using them too. And a project like this is perfect for it! Before we started cutting and stapling, we filled some of the holes in the wood and gave it a good bees waxing.
In Utrecht we bought the fabric (8€ a meter), and new reupholstering nails and strips. Friday I bought new foam in Brussels (2.5 cm thick). So we’re ready to go!
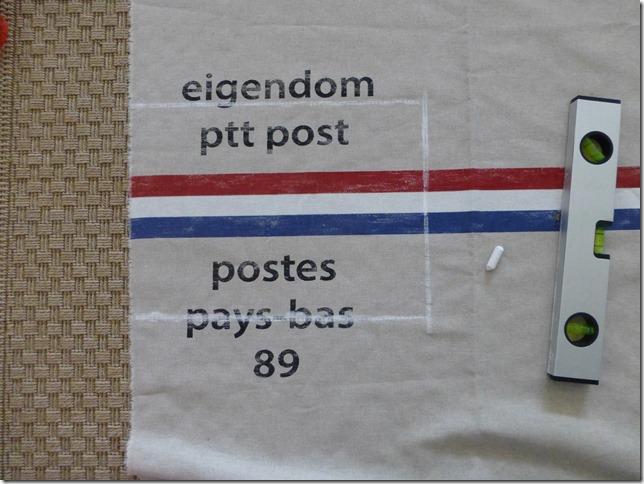
We cut the fabric using the old fabric as a template (just to be sure we added a couple of centimetres on either side). The first part we stapled down was the back side of the back of the chair (makes sense right?).
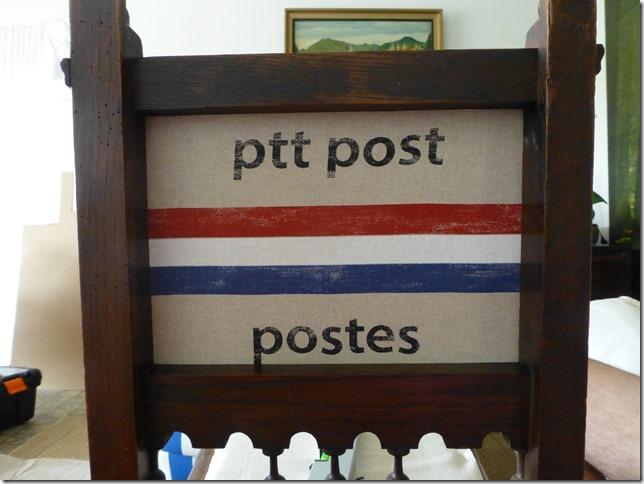
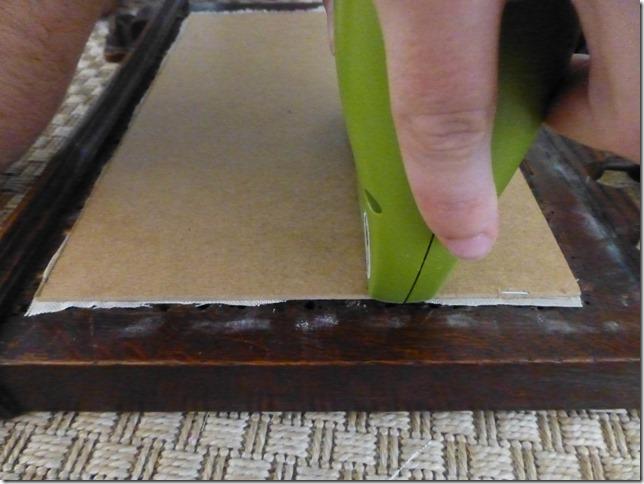
Tom then stapled a piece of cardboard (or singleplex?) over it. If you look closely you can see the fabric of the back of the back sticking out underneath. We used spray glue to stick a layer of foam to the back and the seat. Over that we placed the fabric, pulled it tight, and stapled it down.
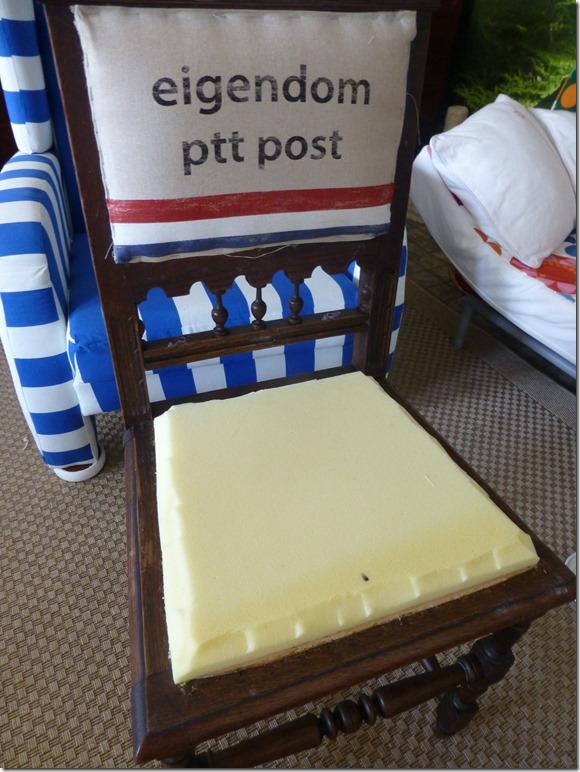
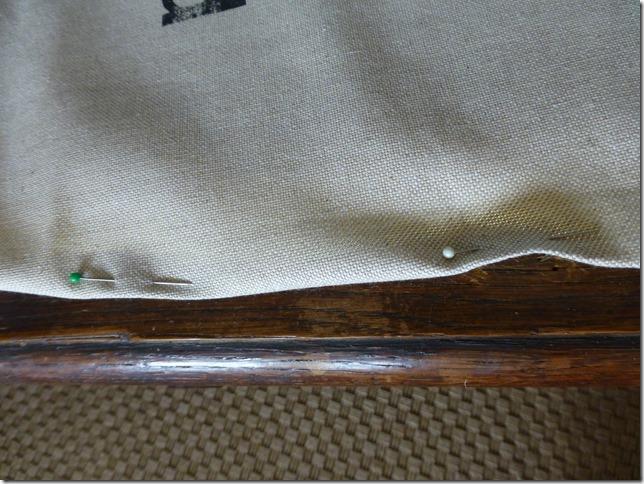
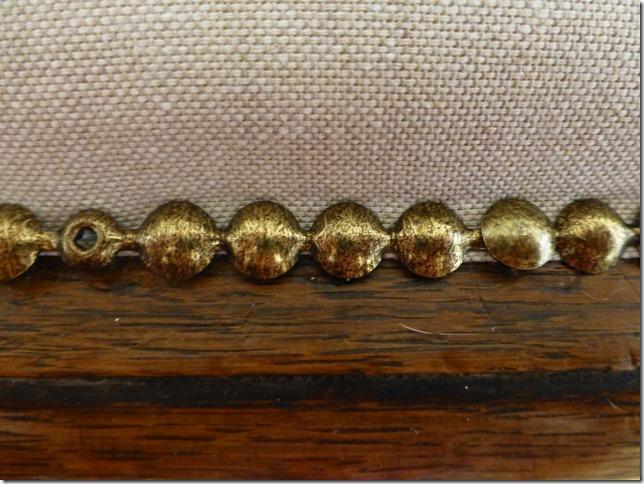
Because of the thickness of the foam we had some trouble pressing it down, folding the edges and pulling it tight. Luckily we found a method that worked for us. We would fold the fabric and pin it in position, then I would push down the foam with a strong metal strip, and Tom would have little trouble stapling it down in a straight line. Over the staples we hammered the nail strips.
In our next post we’ll show the Before & After!
